Getting it right: the best settings for night photography
by Alex W.
For beginners, night photography can be a confusing and frustrating thing to get to grips with. The naked eye can see almost nothing, yet night time images you see online show there are millions of stars and a surprising array of colors ready to be captured.
The ability to capture this hidden beauty comes down to a few things: location, weather conditions and, of course, using the best settings for night photography.
While settings are more malleable in other genres of photography, when it comes to shooting in the dark the extremity of the situation makes getting the camera settings nailed down much more important.
The darkness means we’ll be pushing our camera’s sensor to the limits of light collection by using everything in our arsenal to improve light gathering capabilities while trying not to sacrifice quality in other areas of the image.
So, for when you find yourself gazing at that endless sea of stars, here are the best settings for night photography:
Aperture – The wider the better
When it comes to aperture settings for night photography the general rule is that the wider it is, the better it is.
As illustrated in our F-Stop Chart, a wider aperture means more light is getting through to hit the sensor, increasing exposure without having to bump up the ISO or increase the shutter speed. This results in brighter images and a reduction in the areas of deep shadows that hold no data.
This is the reason that all our top lenses for astrophotography have large, fixed apertures of f/2.8 or wider.
Of course, there are exceptions to the rule. Some lenses perform poorly when shot wide open and it may be preferable to stop down a little so you’re not compromising too much on image quality, while some night scenes do require a little extra depth of field (although focus stacking is your friend in these situations).

ISO – Don’t be afraid to bump it up
Most photographers, especially landscape photographers, have it drilled into them early on that a low ISO is absolutely crucial to maintain a decent image quality.
Thanks to the constantly evolving technology this simply isn’t the case any more, which is a huge relief to night photographers everywhere.
We want as much light gathering capability as possible in night photography and, as you’ll see below, shutter speed is our biggest limiting factor. This means we need to wring as much performance as possible from our aperture and ISO values.
The specific ISO value that crosses the line into unacceptable image quality will vary depending on your camera and your preferences, but in any case you’ll probably be surprised at how high you can crank your ISO.
I regularly shoot night time images at ISO 12,800 on my Fujifilm, while cameras like the Sony a7R IV can produce usable images as high as ISO 25,600.
You can find out more about the best cameras for astrophotography here.
Shutter speed – Find the balance
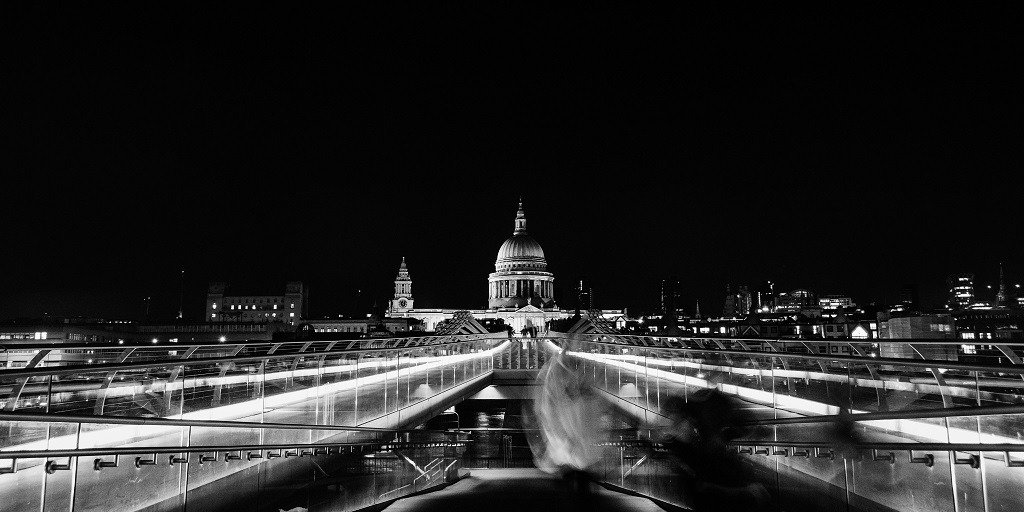
Whether you’re embarking on some night time street photography or shooting starry skies, shutter speed is likely to be your biggest limiting factor when it comes to settings for night photography.
When shooting dynamic scenes such as street photography we’ll often want to freeze the action, while photographing the stars requires us to think about the rotation of the earth and minimising star trails. Both of these put a cap on our maximum usable shutter speed.
For more dynamic scenes that will vary on the situation, but you’re unlikely to be venturing over a couple of seconds.
The rule is more concrete when shooting the stars. A good rule of thumb is the Rule of 500.
The calculation is simple: 500 / focal length = longest exposure in seconds before star trailing
Remember that this is for full-frame cameras. If you’re using a cropped sensor or Micro 4/3 sensor you’ll have to calculate your relative focal length before the Rule of 500 calculation.
Or you could just download an app that does all the heavy lifting for you…
Focus – Stick to manual (most of the time)
While technology is improving regarding autofocus in dark conditions, it’s still not quite there and the best way to achieve razor sharp focus at night is, generally speaking, by getting to grips with manual focus.
Once again, there are exceptions to the rule. Cityscape photography, for example, will allow you to autofocus on the bright city lights rather than resorting to manual focus.
Even in astrophotography you can autofocus on distant objects (to ensure your lens is focused to infinity) before toggling back to manual focus to take your images.
Even so, distant bright lights might not always be available to it’s best to get to grips with manually focusing your lens. Most cameras these days have a function that allows you to zoom in on the LCD screen and fine tune your focus, and I encourage you to make good use of this tool.
Other night photography settings to consider
- Long Exposure Noise Reduction – When turned on, LENR follows each long exposure with a ‘blank frame’ to eliminate sensor related noise and produce a cleaner image. However, be aware that it will effectively double your exposure time (a 20 second exposure will take one 20 second image and another 20 second blank frame).
- Shoot RAW – I recommend shooting RAW all the time, but it’s even more important in night photography. The extremity of the conditions mean that every bit of data is important, and RAW images capture a lot more data than JPEGs.
- White balance – This doesn’t matter too much if you’re shooting RAW as you can change it in post-processing.
- Shutter timer – If you’re not using a remote shutter release, setting your camera to a 2-second timer will eliminate any camera shake from your long exposures.
More from Click and Learn Photography
12 best cameras for under $500
Ultimate Guide to beach photography
Mountain landscape photography: 7 tips to improve your mountain photography
The best vlogging cameras right now
 |
 |
 |
 |

About Alex W.
Alex is the owner and lead writer for Click and Learn Photography. An avid landscape, equine, and pet photographer living and working in the beautiful Lake District, UK, Alex has had his work featured in a number of high profile publications, including the Take a View Landscape Photographer of the Year, Outdoor Photographer of the Year, and Amateur Photographer Magazine.
Thoughts on "Getting it right: the best settings for night photography"
|
|
|
|
Learn Photography
You can Get FREE Gifts. Furthermore, Free Items here. Disable Ad Blocker to receive them all.
Once done, hit anything below
|
|
|
|