The best place to start your street photography for beginners journey is wherever people naturally gather — markets, transit hubs, parks, downtown intersections, and café districts. You don't need to travel far or invest in expensive gear. You just need to show up with a camera and an eye for the unscripted moments that make city life worth documenting. If you're new to this genre or looking to sharpen your skills, check out our photography beginners resource hub for foundational techniques that translate directly to shooting on the street.
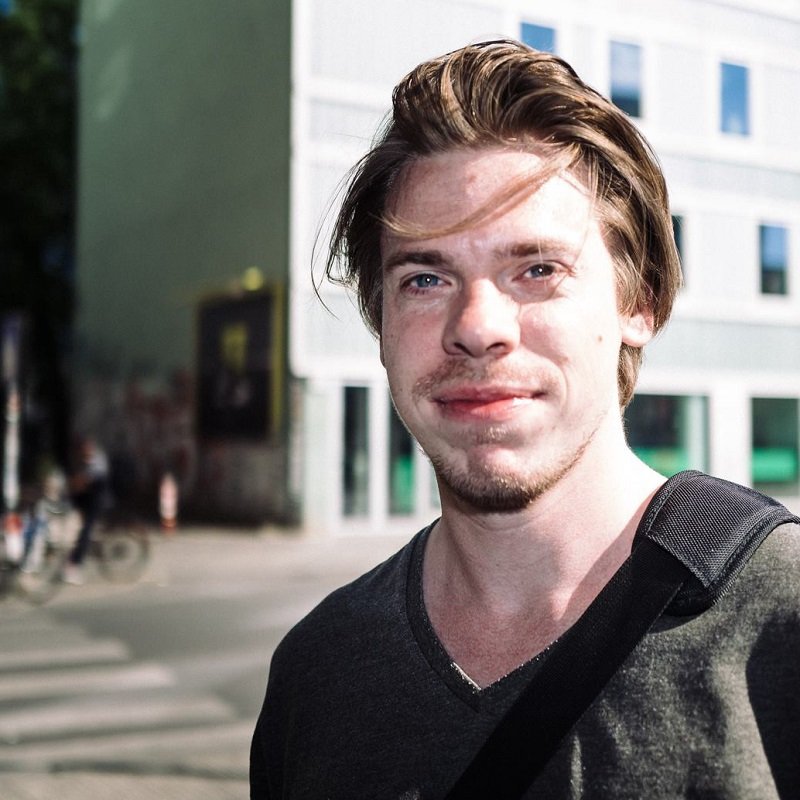
Street photography strips away the controlled conditions of studio work and drops you into pure chaos. Light changes by the second, subjects never pose, and the decisive moment vanishes before you can think about it. That's what makes it one of the most rewarding — and humbling — genres you can practice. The good news is that the learning curve flattens quickly once you understand where to go, what to look for, and which habits to build early.
This guide walks you through five proven locations to launch your practice, the gear and settings that actually matter, the mistakes that slow most beginners down, and a long-term strategy for turning casual outings into a cohesive body of work.
Contents
Quick Wins: 5 Locations That Teach You the Fastest
Not all locations are equal when you're learning street photography for beginners. The best spots combine high foot traffic, interesting light, and enough visual variety to keep you challenged without overwhelming you. Here are five location types that consistently produce strong images — even on your first outing.
Public Markets and Food Halls
Markets are street photography on easy mode. Vendors repeat their actions, customers cycle through predictable patterns, and the stalls create natural frames within frames. You get steam, color, texture, and emotion all packed into a compressed space. Start at the edges of the market where you can shoot into the crowd, then gradually work your way deeper as your confidence builds.
The overhead coverings in most markets create beautiful diffused light — similar to the soft conditions you'd chase during golden hour. If you've ever shot cityscapes in places like Seoul, you already understand how artificial and natural light mix in urban environments. Markets give you that same interplay at arm's length.
Transit Stations and Bus Stops
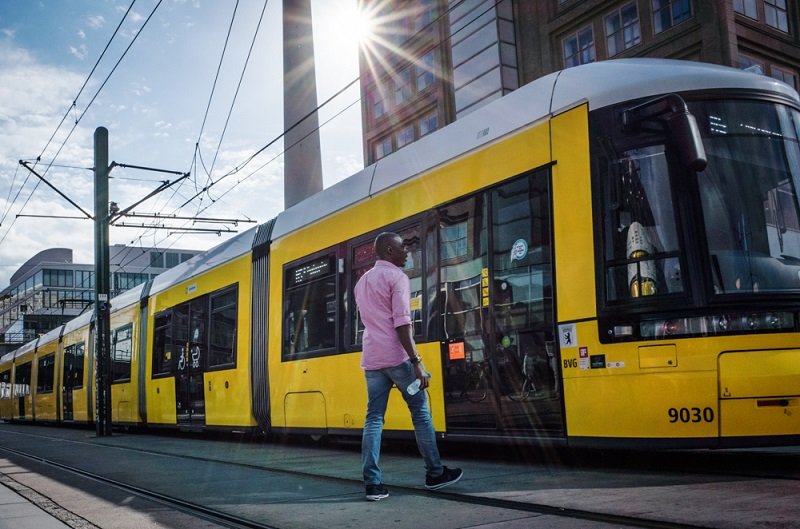
People waiting for trains and buses are temporarily still in a world that's moving around them. That contrast — stillness within motion — is the foundation of compelling street photography. Station platforms offer leading lines, repetitive architecture, and dramatic light shafts that pour through openings. Rush hour is gold. People are too preoccupied to notice you, and the density of subjects means you can shoot continuously.
Downtown Intersections
Major crosswalks give you a controlled burst of human activity every few minutes. The walk signal triggers a wave of pedestrians that fills the frame, then clears. This rhythm lets you anticipate, compose, and shoot with intent rather than chasing subjects. Stand on one corner and work the same composition through multiple light cycles. You'll be surprised how different each wave looks.
Parks and Public Plazas
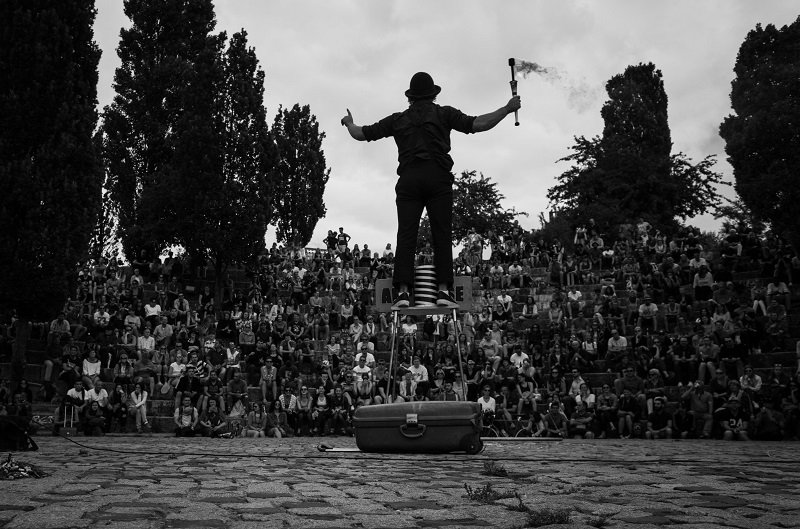
Parks offer a slower, more contemplative version of street photography. You'll find couples on benches, kids chasing pigeons, musicians performing for tips, and elderly people reading newspapers. The backgrounds tend to be cleaner than chaotic downtown blocks, which makes it easier to isolate subjects. This is where you practice patience and observation over speed.
Pro tip: Pick one bench in a busy park and shoot from that single spot for 30 minutes. Forcing yourself to stay put trains your eye to notice moments you'd walk right past.
Café Districts and Pedestrian Streets
Pedestrian-only zones remove the visual noise of cars and traffic infrastructure, giving you cleaner compositions. Café patrons sitting at outdoor tables make excellent subjects — they're relaxed, expressive, and anchored in place. Shoot from across the street with a short telephoto for candid portraits, or get close with a wide angle to capture the full scene. Either approach works, and both teach you different things about distance and intimacy in street photography.
Street Photography Mistakes That Keep Beginners Stuck
Every street photographer makes the same handful of errors early on. Recognizing them before they become habits saves you months of frustration. These are the patterns that separate shooters who improve quickly from those who plateau.
Chimping After Every Shot
Checking your LCD screen after every frame pulls you out of the moment. While you're reviewing the shot you just took, three better moments walk past you. Trust your settings, trust your instincts, and review later. The street doesn't wait for you to admire your work. Set a rule: no chimping until you've shot at least 20 frames in a row. This forces you to stay present and reactive.
Using the Wrong Focal Length
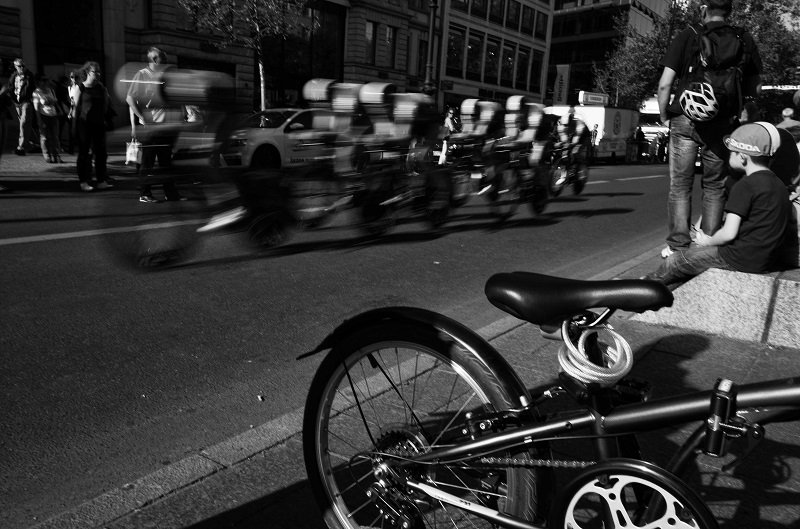
Beginners often reach for a telephoto because it feels safer — you can shoot from a distance without anyone noticing. But telephoto lenses compress perspective and flatten the scene, stripping away the environmental context that makes street photography powerful. A 35mm or 50mm equivalent forces you to get closer, engage with the space, and include the surroundings that tell the story. If you're debating gear choices, our DSLR vs mirrorless comparison covers how different systems handle street shooting scenarios.
Ignoring the Background
Your subject is only half the photograph. A compelling person against a cluttered, distracting background produces a mediocre image every time. Train yourself to scan the background before you even look at the subject. Find clean walls, geometric patterns, or pockets of light — then wait for someone interesting to walk into your pre-composed frame. This "fishing" technique is how the best street photographers work, and it flips the beginner habit of chasing subjects on its head.
Understanding basic photography composition principles accelerates your progress here dramatically. The rule of thirds, leading lines, and negative space all apply directly to street work.
Gear and Settings: What Actually Matters
Street photography for beginners doesn't demand expensive equipment. Some of the most iconic street photographs in history were shot on cameras that cost less than a decent dinner. What matters is that your gear gets out of your way and lets you react quickly.
Camera Choice Comparison
Here's a practical breakdown of the most common camera types for street photography, along with their real-world strengths and limitations:
| Camera Type | Size/Weight | Stealth Factor | Autofocus Speed | Best For |
|---|---|---|---|---|
| Mirrorless (APS-C) | Compact | High | Excellent | All-around street shooting |
| Mirrorless (Full Frame) | Medium | Medium | Excellent | Low light, shallow DOF |
| Compact / Point-and-Shoot | Very compact | Very high | Good | Everyday carry, travel street |
| Smartphone | Pocket-sized | Maximum | Good | Casual practice, always available |
| Film Rangefinder | Compact | High | Manual only | Slowed-down, intentional shooting |
The sweet spot for most beginners is a mirrorless APS-C body with a single prime lens — either 23mm (35mm equivalent) or 35mm (50mm equivalent). This combination keeps you light, fast, and unobtrusive. Leave the zoom lenses at home.
Recommended Street Settings
Set your camera to aperture priority mode at f/8, auto ISO capped at 6400, and a minimum shutter speed of 1/250s. This combination gives you enough depth of field to keep moving subjects sharp, enough shutter speed to freeze motion, and enough ISO headroom to handle shade and indoor markets. If you haven't already, switch to shooting RAW — the flexibility in post-processing is essential when you're working in unpredictable lighting conditions.
Warning: Don't fall into the trap of endlessly tweaking settings on location. Pick a configuration that works, lock it in, and spend your mental energy on seeing — not fiddling with dials.
The Honest Pros and Cons of Street Photography
Before you commit to building a street photography practice, it helps to understand what you're signing up for. This genre offers rewards that studio and landscape work simply can't match — but it comes with its own unique set of challenges.
What You Gain
Street photography sharpens your reflexes and visual awareness faster than almost any other genre. You learn to read light in real time, anticipate human behavior, and compose on the fly. These skills transfer directly to event photography, photojournalism, travel photography, and documentary work. You also develop a thick skin and a confidence with your camera that comes from working in unpredictable public environments.
The genre is also radically accessible. You don't need studio lights, models, permits, or travel budgets. Your hometown has enough material to fill a lifetime of shooting. The history of street photography is built on photographers who worked their own neighborhoods obsessively — think Vivian Maier in Chicago or Daido Moriyama in Tokyo.
What You Face
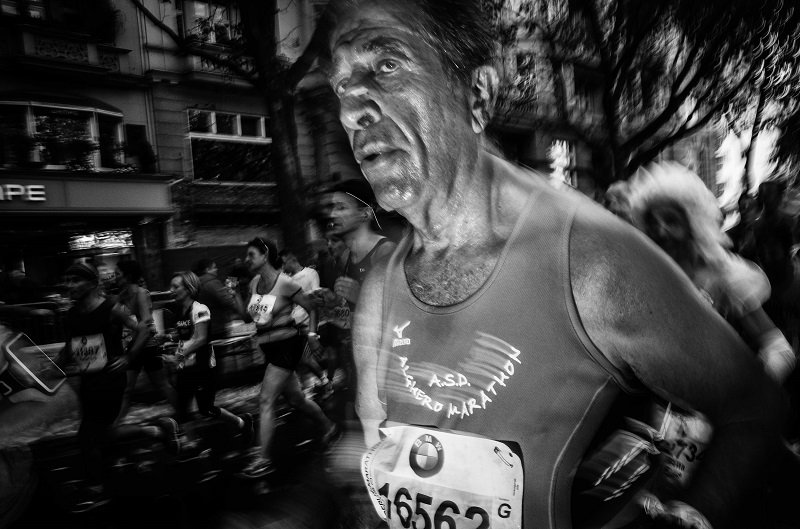
The hit rate is brutal. You might shoot 500 frames and keep five. That ratio improves with experience, but it never reaches the consistency of controlled photography. The emotional side is real too — approaching strangers, dealing with confrontation, and pushing through self-consciousness are skills that take time to develop.
Weather and seasonal conditions affect your outings significantly. Unlike landscape photographers who can plan around golden hour and sunrise conditions, street photographers have to work with whatever the day gives them. Rain, harsh midday sun, and flat overcast skies all demand different approaches, and you'll need to become comfortable in all of them.
Legal and ethical considerations also deserve your attention. In most countries, photographing people in public spaces is legal — but legality and ethics aren't the same thing. Develop your own guidelines for when to shoot and when to put the camera down. Respect goes further than any lens.
Building a Long-Term Street Photography Practice
The photographers who produce meaningful street work aren't the ones who shoot once a month when inspiration strikes. They're the ones who build systems, shoot consistently, and think in terms of bodies of work rather than individual frames.
Shooting in Projects, Not Singles
Once you've found your footing with street photography for beginners, shift from random shooting to project-based work. A project gives you a framework — a specific neighborhood, a type of person, a time of day, a visual motif. It focuses your eye and creates coherence across your images. Some project ideas to get you started:
- One block, one month — photograph the same city block every day for 30 days
- Commuters — document the morning rush at a single transit station
- Shadows — shoot only hard-shadow compositions for an entire season
- Rain days — build a series exclusively from wet-weather outings
Projects also give you a natural editing constraint. When you're curating images for a series, the selection process becomes more intentional than cherry-picking your "best" random shots.
Developing an Editing Routine
Post-processing for street photography should be minimal and consistent. Develop a base preset that handles your typical lighting conditions — slight exposure correction, contrast adjustment, and a subtle film-like tone if that suits your aesthetic. Apply it to every image as a starting point, then fine-tune individual frames.
The more important "editing" is curation. Sit with your images for at least 24 hours before selecting your keepers. First impressions are often driven by the memory of the moment rather than the strength of the photograph. Distance gives you objectivity. Rate your images on a 1-5 scale, and only share or print the 5s. Being ruthless with your curation is the fastest path to a strong portfolio.
Finding Your Community
Street photography can feel solitary, but you don't have to practice it alone. Join local photography walks, participate in online critique groups, and study the work of photographers you admire. Constructive feedback from other street photographers accelerates your growth in ways that solo practice alone cannot match. Look for communities that emphasize honest critique over mutual praise — the uncomfortable feedback is always the most useful.
Consider pairing your street work with other genres to keep your creative muscles flexible. Many street photographers also shoot landscapes, and skills like reading natural light and composing around environmental elements transfer beautifully in both directions.
Frequently Asked Questions
What camera settings should I use for street photography?
Start with aperture priority at f/8, auto ISO up to 6400, and a minimum shutter speed of 1/250s. This gives you sharp subjects, enough depth of field for moving scenes, and flexibility in varying light. As you gain experience, you can open up to f/5.6 or f/4 for shallow depth-of-field work in specific situations.
Is street photography legal?
In most countries, photographing people in public spaces is legal because there is no reasonable expectation of privacy. However, laws vary by jurisdiction — some regions require consent for commercial use. Always research local regulations and use common sense. Legal permission does not replace ethical judgment.
What focal length is best for street photography?
A 35mm equivalent is the classic street photography focal length. It captures enough environment to tell a story while still allowing you to isolate subjects. A 50mm equivalent is also popular and produces a more intimate, portrait-like feel. Start with one and commit to it for at least a month before switching.
How do I overcome the fear of photographing strangers?
Start in busy, tourist-heavy areas where cameras are expected. Shoot from the hip initially if you need to, then gradually bring the camera to your eye as your comfort grows. Remember that most people are absorbed in their own lives and barely notice you. The fear fades with consistent practice — it never fully disappears, but it becomes manageable.
Do I need to ask permission before taking someone's photo on the street?
For candid street photography, asking permission beforehand defeats the purpose — it changes the moment. However, if someone notices you and objects, always respect their wishes and delete the image if asked. For posed street portraits, approaching someone and asking is part of the craft and often leads to stronger images.
Can I do street photography with a smartphone?
Absolutely. Modern smartphones have capable cameras, and their biggest advantage is invisibility — nobody thinks twice about someone holding a phone. The limitations in manual controls and sensor size are real, but they don't prevent you from making strong images. Some photographers produce their best street work on phones precisely because the tool disappears from the process.
How do I find good light for street photography?
Look for pockets of light rather than chasing even illumination. Hard shadows from buildings create dramatic contrast. Light shafts through alleyways or between structures isolate subjects naturally. Overcast days provide soft, forgiving light that works well for quieter, more contemplative images. Train yourself to see light first, then find subjects within it.
How many photos should I expect to keep from a street session?
A realistic keeper rate for experienced street photographers is about 1-2% of total frames. If you shoot 300 images in a two-hour walk, expect to keep 3-6 strong shots. Beginners may see an even lower ratio, and that's completely normal. Volume is part of the process — the more you shoot, the more opportunities you give yourself to capture something exceptional.
Final Thoughts
Grab your camera, pick one of the five locations above, and commit to a single two-hour session this week. Don't overthink the gear, don't wait for perfect weather, and don't worry about coming home with masterpieces. Your only goal on that first focused outing is to shoot 200 frames and get comfortable being a photographer in public. The images will improve with every session — but only if you start.
 |
 |
 |
 |

About Alex W.
Alex is a landscape, equine, and pet photographer based in the Lake District, UK, with years of experience shooting in one of Britain's most photographically demanding natural environments. His work has been featured in Take a View Landscape Photographer of the Year, Outdoor Photographer of the Year, and Amateur Photographer Magazine — publications that reflect a serious, competitive standard of image-making. At Click and Learn Photography, he shares the camera settings, gear choices, and compositional techniques he has developed through real-world shooting and competition-level work.
You can Get FREE Gifts. Furthermore, Free Items here. Disable Ad Blocker to receive them all.
Once done, hit anything below
|
|
|
|