What does it really take to capture landscapes that stop people mid-scroll? In this photography interview behind the lens, our team sat down with Matt Holland — a landscape and outdoor photographer whose work across Wales, Dorset, and beyond has earned widespread admiration. His approach to light, composition, and patience offers lessons that anyone with a camera can apply immediately. We first discovered Matt's work through our Behind the Lens interview series, and his insights have shaped how our team thinks about shooting in the field ever since.
Matt's photography journey started not with expensive gear or formal training, but with a deep curiosity about the natural world. He picked up a camera, headed outdoors, and never looked back. Over the years, he has refined a workflow that balances technical precision with creative instinct — something our team explores in detail throughout this piece.
Whether someone is just getting started with landscape photography or has been shooting for a decade, Matt's philosophy offers a refreshing reminder that great images come from preparation, persistence, and a willingness to fail. Below, we break down the key takeaways from our conversation and translate them into actionable guidance.
Contents
- How Matt Holland Plans and Executes a Landscape Shoot
- From Snapshots to Portfolio Shots: Progressing Through Skill Levels
- Photography Interview Behind the Lens: Matt's Top Shooting Tips
- Protecting Gear in Harsh Conditions
- Matt Holland's Essential Gear and Software
- Common Mistakes That Hold Landscape Photographers Back
- Frequently Asked Questions
- Final Thoughts
How Matt Holland Plans and Executes a Landscape Shoot
One of the most revealing parts of our photography interview behind the lens with Matt was learning just how much work happens before the shutter clicks. Matt doesn't show up to a location and hope for the best. He plans methodically, and that preparation is what separates a forgettable snapshot from a portfolio-worthy image.
Scouting and Pre-Visualization
Matt uses a combination of topographic maps, weather apps, and sun-position tools to scout locations before ever setting foot on site. Here's the typical sequence our team observed in his workflow:
- Research the location using satellite imagery and photography forums
- Check tide tables, sunrise/sunset times, and cloud cover forecasts
- Visit the location during midday to scout compositions without the pressure of fading light
- Identify two or three backup compositions in case the primary angle doesn't work
- Return during golden hour or blue hour for the final shoot
This kind of discipline is something our team has seen echoed across many professional photographers. Our interview with Anton Gorlin revealed a remarkably similar scouting philosophy, which suggests this isn't optional — it's foundational.
Timing the Light
Matt emphasized that light is the single most important variable in landscape photography — more than location, more than gear. He often arrives at a spot 45 minutes before golden hour and stays well past sunset to capture the transition through blue hour. Our team has found this practice invaluable when shooting in locations like national parks, where the light changes rapidly and the best conditions last only minutes.
From Snapshots to Portfolio Shots: Progressing Through Skill Levels
Matt was candid about his early work. He described his first few years of photography as "enthusiastic but directionless." The turning point came when he stopped collecting gear and started studying composition. Anyone at the beginning of that same journey will benefit from understanding the exposure triangle — it's the technical backbone that supports every creative decision.
Building a Solid Foundation
For those just starting out, Matt recommends focusing on three fundamentals:
- Learn to shoot in manual mode — full control over exposure builds understanding faster
- Study the basics of composition before investing in new lenses
- Shoot in RAW to preserve maximum editing flexibility
That last point is one our team feels strongly about. The difference between RAW and JPEG processing latitude is enormous, and shooting in RAW is the single easiest upgrade most people can make without spending a penny.
Pushing Into Advanced Territory
Once the basics are locked in, Matt pushes photographers toward techniques that require patience and experimentation. Focus stacking for front-to-back sharpness, exposure bracketing for high-dynamic-range scenes, and long exposures for silky water effects are all staples in his toolkit. He noted that the jump from intermediate to advanced isn't about learning new buttons — it's about learning to see differently.
Photography Interview Behind the Lens: Matt's Top Shooting Tips
This section distills the most practical advice from our conversation with Matt. These aren't abstract theories — they're field-tested habits that produce results.
Composition Secrets
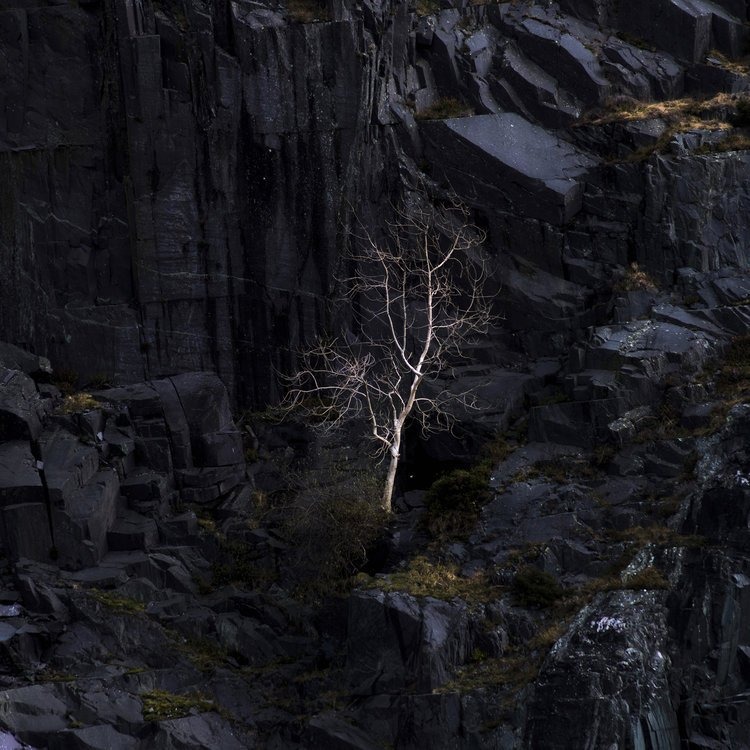
Matt's approach to composition goes well beyond the rule of thirds. He actively looks for:
- Leading lines — rivers, paths, fences, or shorelines that pull the eye into the frame
- Layered depth — foreground interest, a mid-ground subject, and a background that provides context
- Negative space — leaving room in the frame for the scene to breathe
- Frame-within-a-frame — using natural arches, overhanging branches, or rock formations
He also stressed the importance of moving around. Too many photographers find one angle and fire off dozens of identical frames. Matt walks the entire scene, shoots vertically and horizontally, gets low, and looks behind himself. Some of his best-known images came from turning away from the obvious subject.
"The best composition is often the one most people walk right past. Our team has learned to spend at least ten minutes exploring a scene before even mounting the camera on a tripod."
Working With Unpredictable Weather
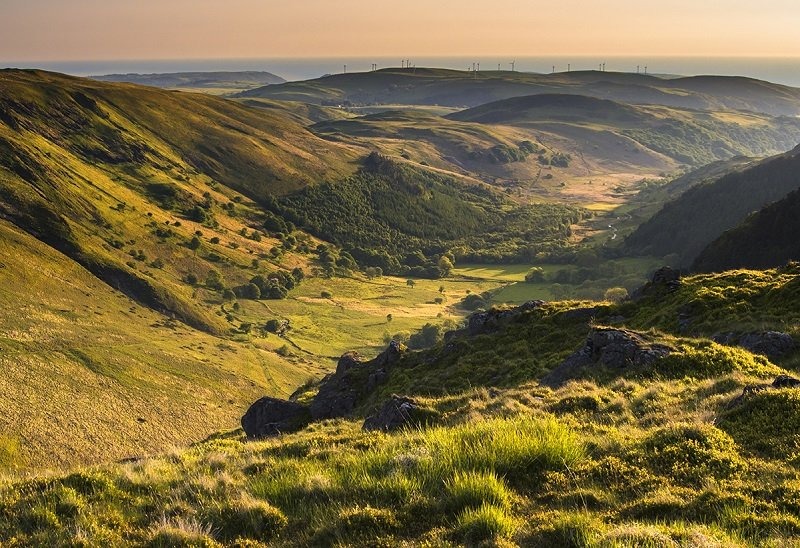
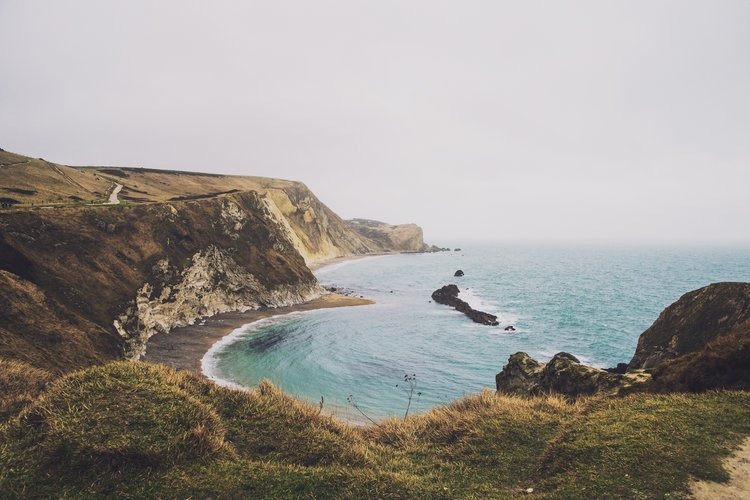
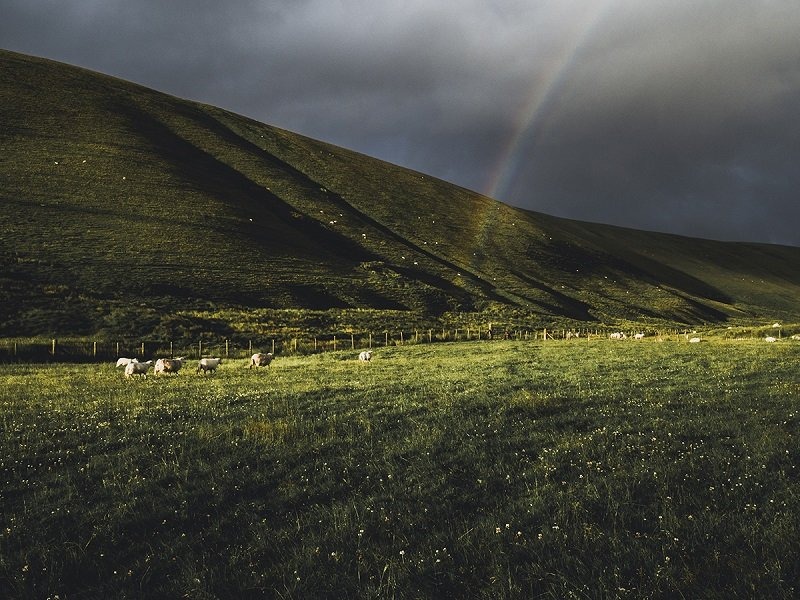
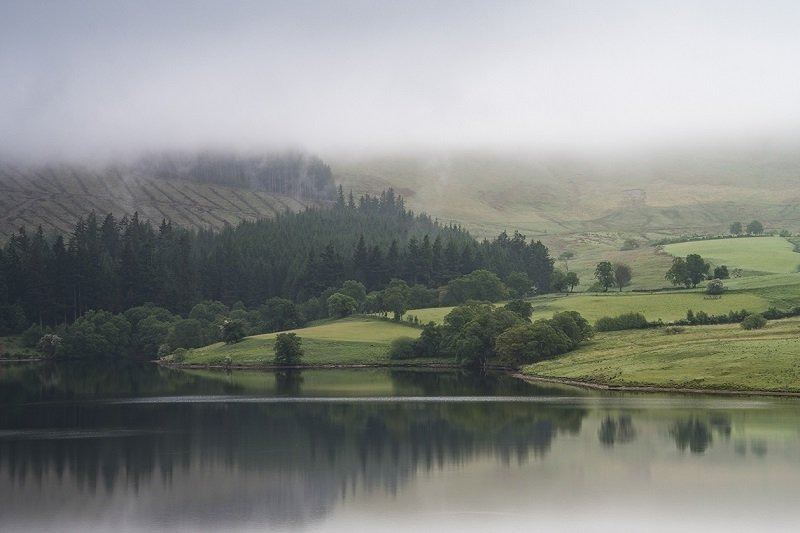
Matt shoots primarily in the UK — Wales, Dorset, and the Lake District — where weather is notoriously changeable. Rather than seeing this as an obstacle, he treats it as an advantage. Dramatic clouds, mist rolling through valleys, and storm light breaking through gaps in the overcast sky produce images that clear blue skies simply cannot match.
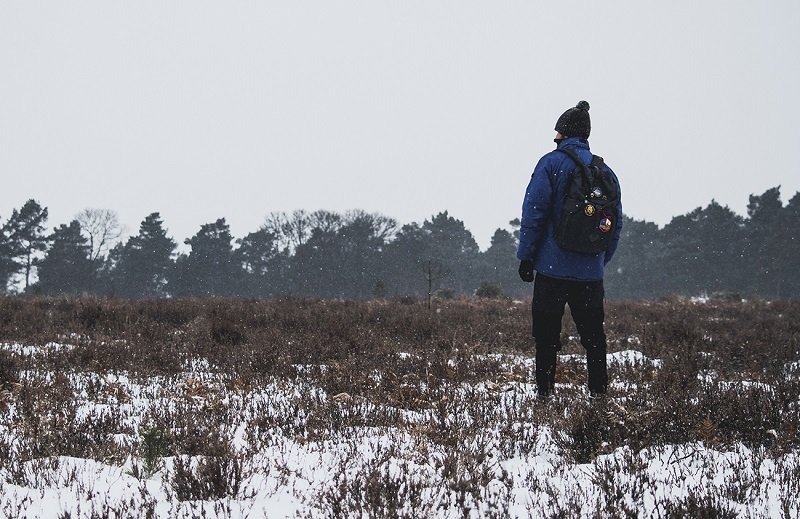
His advice: never pack up because it starts raining. Some of the most extraordinary light appears in the minutes immediately after a storm passes. For anyone looking to improve their cold-weather shooting, our guide on winter photography tips covers the technical adjustments needed for snow and harsh conditions.
Protecting Gear in Harsh Conditions
Landscape photography means exposure to rain, salt spray, sand, cold, and humidity. Matt has lost equipment to the elements and now follows a strict care routine. This is especially relevant for anyone who shoots coastal or mountain scenes regularly.
Field Maintenance Essentials
Matt's field kit always includes:
- Microfiber cloths and a lens pen for quick front-element cleaning
- A rain cover for the camera body — even a plastic bag with a rubber band works
- Silica gel packets inside the camera bag to combat moisture
- A dedicated weatherproof camera bag with sealed zippers
After every coastal shoot, Matt wipes down the entire camera body and lens barrel with a slightly damp cloth, then lets the gear air-dry before storing it. Salt air is corrosive and will damage metal contacts and rubber seals over time if neglected. He also removes batteries during long storage periods to prevent corrosion inside the battery compartment.
Matt Holland's Essential Gear and Software
Our team always asks interview subjects about their gear — not because equipment makes the photographer, but because understanding someone's toolkit reveals their priorities. Matt's setup reflects a clear philosophy: invest in glass, be practical about bodies.
Camera and Lens Choices
| Category | Matt's Choice | Why He Uses It |
|---|---|---|
| Camera Body | Nikon D850 | 45.7MP resolution, excellent dynamic range, weather-sealed |
| Wide-Angle Lens | Nikon 14-24mm f/2.8 | Corner-to-corner sharpness, ideal for sweeping landscapes |
| Mid-Range Lens | Nikon 24-70mm f/2.8 | Versatile focal range for tighter compositions |
| Telephoto Lens | Nikon 70-200mm f/2.8 | Compression for isolating distant peaks and details |
| Tripod | Carbon fiber travel tripod | Lightweight, stable in wind, quick to deploy |
| Filters | Lee 100mm system (ND, GND, polarizer) | Controls exposure and manages bright skies |
Matt pointed out that most people overthink lens choices early on. A single quality wide-angle zoom covers the vast majority of landscape situations. Adding a prime lens later for low-light or astrophotography work is a smart next step once the fundamentals are solid. According to the Wikipedia overview of landscape photography, the genre has relied on wide-angle optics since its earliest days — and that hasn't changed.
Post-Processing Workflow
Matt keeps his editing minimal and intentional. His standard workflow follows this order:
- Import RAW files into Adobe Lightroom and cull ruthlessly — he keeps roughly 10% of frames from a session
- Apply lens corrections and straighten the horizon
- Adjust white balance to match the mood he experienced on location
- Fine-tune exposure, highlights, and shadows to recover detail
- Add subtle clarity and vibrance — never saturation
- Export as high-quality JPEG for web or full-resolution TIFF for print
He avoids heavy-handed HDR processing and sky replacements entirely. In Matt's words, the goal is to present the scene as it felt to stand there — not to create something that never existed.
Common Mistakes That Hold Landscape Photographers Back
Matt was generous in sharing the errors he's made over the years. Our team has compiled these into the pitfalls we see most frequently across all skill levels.
Technical Pitfalls
- Ignoring the foreground — a stunning sky means nothing without an anchor in the lower third of the frame
- Shooting at wide-open apertures — landscape sharpness typically peaks between f/8 and f/11; anything wider sacrifices depth of field
- Relying on autofocus in low light — manual focus with live view magnification delivers more reliable results at dawn and dusk
- Not checking the histogram — the LCD screen lies, especially in bright conditions; the histogram tells the truth
Creative Traps
Beyond the technical, Matt identified several creative habits that stall progress:
- Chasing iconic locations instead of finding beauty in local environments — great images exist within a short drive of anywhere
- Over-editing to compensate for weak compositions — no amount of post-processing fixes a fundamentally uninteresting frame
- Never revisiting the same location — familiar spots reveal new possibilities in different seasons, weather, and light
- Comparing work to heavily processed social media images — this creates unrealistic expectations and discourages authentic style development
Our team has covered mountain shooting in depth in our mountain photography guide, which addresses many of these same issues from a location-specific angle.
Frequently Asked Questions
What camera does Matt Holland use for landscape photography?
Matt primarily shoots with a Nikon D850, which offers 45.7 megapixels of resolution and excellent dynamic range. He pairs it with Nikon's professional f/2.8 zoom trilogy — the 14-24mm, 24-70mm, and 70-200mm — along with a Lee 100mm filter system for controlling exposure in the field.
How does Matt Holland plan his landscape shoots?
Matt scouts locations in advance using satellite imagery, weather apps, and sun-position tools. He visits the site during midday to identify compositions without the pressure of changing light, then returns during golden hour or blue hour for the actual shoot. He always prepares backup compositions in case conditions shift.
What post-processing software does Matt Holland use?
Matt uses Adobe Lightroom as his primary editing tool. His workflow focuses on subtle adjustments — lens corrections, white balance, exposure recovery, and light clarity boosts. He avoids heavy HDR processing and sky replacements, preferring images that reflect the scene as it actually appeared.
What is the biggest mistake beginners make in landscape photography?
According to Matt, the most common mistake is ignoring the foreground. A dramatic sky needs a strong anchor in the lower portion of the frame to create depth and draw the viewer into the scene. Without foreground interest, even spectacular light falls flat in the final image.
Final Thoughts
Matt Holland's approach proves that stunning landscape photography comes from preparation, patience, and honest self-critique — not from the most expensive gear in the bag. Our team encourages anyone inspired by this photography interview behind the lens to pick one of Matt's tips, head out this week with a camera, and practice it deliberately. The best way to grow as a photographer is to shoot with intention, review the results critically, and then get back out there and do it again.
 |
 |
 |
 |

About Alex W.
Alex is a landscape, equine, and pet photographer based in the Lake District, UK, with years of experience shooting in one of Britain's most photographically demanding natural environments. His work has been featured in Take a View Landscape Photographer of the Year, Outdoor Photographer of the Year, and Amateur Photographer Magazine — publications that reflect a serious, competitive standard of image-making. At Click and Learn Photography, he shares the camera settings, gear choices, and compositional techniques he has developed through real-world shooting and competition-level work.
You can Get FREE Gifts. Furthermore, Free Items here. Disable Ad Blocker to receive them all.
Once done, hit anything below
|
|
|
|