Toy photography is one of the most accessible and rewarding creative outlets in photography — all it takes is a figure, a camera, and a bit of imagination. Our team has spent years exploring toy photography tips for beginners, and the truth is that anyone can produce stunning miniature scenes without expensive gear or a studio. Whether the goal is crafting cinematic action figure shots or whimsical LEGO dioramas, these fundamentals will build a solid foundation. For a deeper dive into this genre, our toy photography guide covers everything from concept to final edit.
The beauty of this genre is its flexibility. A kitchen table becomes a battlefield, a backyard turns into an alien landscape, and a handful of craft supplies transforms into a movie set. Our experience shows that the biggest breakthroughs come not from buying more gear, but from learning to see the world from a toy's perspective — literally getting down to their eye level and thinking about light, story, and composition at miniature scale.
Below, we break down the essential techniques, gear comparisons, common problems, and budget considerations that matter most when starting out. Many of these principles overlap with macro photography equipment essentials, since working at such a small scale demands similar attention to detail.
Contents
Keeping Toys and Gear Shoot-Ready
Dust, fingerprints, and loose joints are the silent killers of great toy photography. Before any shoot, our team runs through a quick prep routine that takes under five minutes but saves hours of retouching later.
Cleaning Figures Without Damage
- A soft-bristle makeup brush removes dust from crevices without scratching paint.
- For sticky residue, a cotton swab dipped in isopropyl alcohol works well — but test on an inconspicuous spot first.
- Never soak articulated figures in water. Moisture gets trapped inside joints and causes rust on metal pins over time.
- Microfiber cloths handle glossy surfaces like helmets and vehicles without leaving lint.
Storing Setups Between Shoots
If a scene took an hour to build, tearing it down after one shot is painful. Our recommendation is to use shallow plastic bins with removable dividers. Each diorama base sits flat, props stay in labeled bags, and nothing shifts during storage. For anyone who reuses background elements, keeping a dedicated "scene box" for each ongoing project saves rebuilding time on every session.
Why Toy Photography Works So Well for Beginners
Toy photography tips for beginners matter because this genre strips away the variables that make other types of photography intimidating. There are no models to direct, no golden-hour windows to chase, and no weather to fight. The subject sits perfectly still and waits.
A Brief History of the Genre
Miniature photography dates back to the earliest days of the medium, but the modern toy photography community exploded alongside social media. Platforms like Instagram turned hobbyists into artists overnight. The toy photography movement now includes dedicated exhibitions, published books, and corporate partnerships with brands like LEGO and Hasbro. It has real artistic credibility.
Skills That Transfer to Other Photography
Every core skill practiced in toy photography — composition, lighting, color theory, post-processing — applies directly to portraits, product shots, and even creative photography projects at home. Our team has seen beginners who started with action figures move confidently into studio product photography within months. The controlled environment builds confidence fast.
Camera and Lens Options at a Glance
One of the most common questions in toy photography tips for beginners is whether a phone camera is enough. The short answer: absolutely, especially at the start. But as ambitions grow, dedicated gear opens up creative options that phones simply cannot match.
Phone vs. Dedicated Camera
| Feature | Smartphone | Mirrorless / DSLR | Compact Camera |
|---|---|---|---|
| Cost | Already owned | $400–$2,000+ | $200–$800 |
| Depth of field control | Limited (software blur) | Full manual control | Moderate |
| Macro capability | Clip-on lens needed | Dedicated macro lens | Built-in macro mode |
| Manual focus | Tap-to-focus only | Full ring + peaking | Some models |
| RAW files | Some apps support it | Standard | Most models |
| Portability | Excellent | Bulky | Good |
| Best for | Quick social posts | Serious creative work | Balanced starter option |
Best Lens Choices for Miniatures
For dedicated cameras, a 50mm prime lens with a close focus distance is the sweet spot for most beginners. It is affordable, sharp, and produces beautiful background blur. A true macro lens (1:1 magnification) is the next step — our team uses a 90mm or 100mm macro for almost every toy shoot. Those interested in telephoto options for compressed backgrounds can check out our budget telephoto lens guide for affordable picks.
Fixing Common Toy Photography Problems
Even with solid technique, certain issues crop up repeatedly in miniature photography. Here are the fixes our team relies on most.
Soft Focus and Depth of Field Issues
The number one frustration for beginners is getting only a sliver of the toy in focus. At close distances, depth of field (the zone of sharpness in a photo) becomes razor-thin.
- Stop down the aperture to f/8 or f/11. This widens the focus zone significantly while keeping the image sharp.
- Use a tripod. At smaller apertures, shutter speeds drop, and any camera shake destroys sharpness.
- Try focus stacking — taking multiple shots at slightly different focus points and merging them in software. It sounds advanced, but free tools like CombineZP handle it easily.
- If shooting on a phone, tap to lock focus on the toy's face or most important detail.
Unnatural Lighting and Harsh Shadows
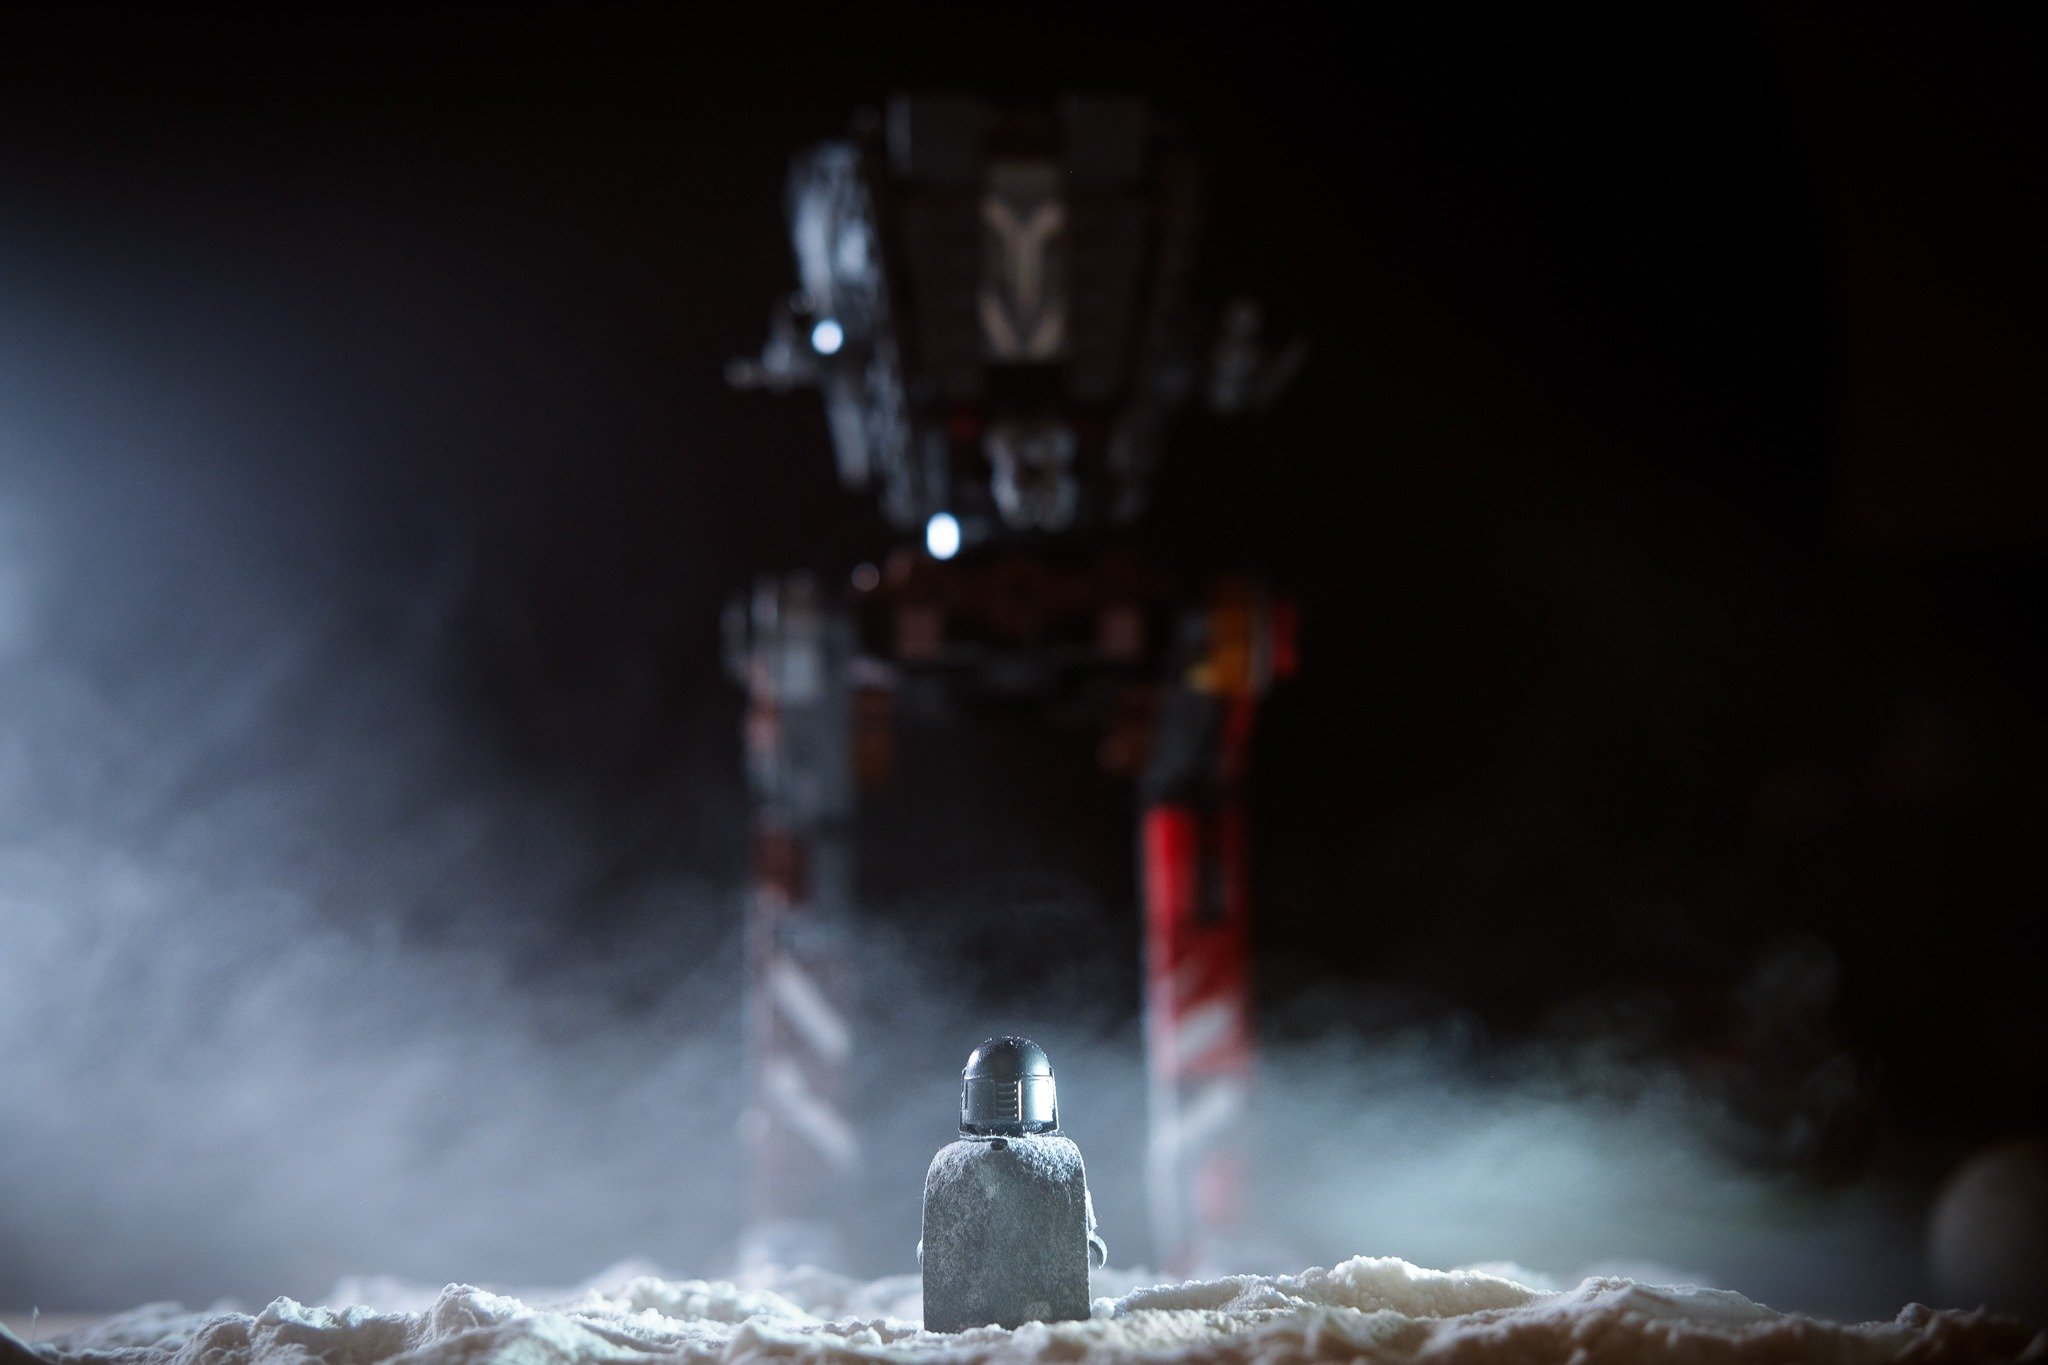
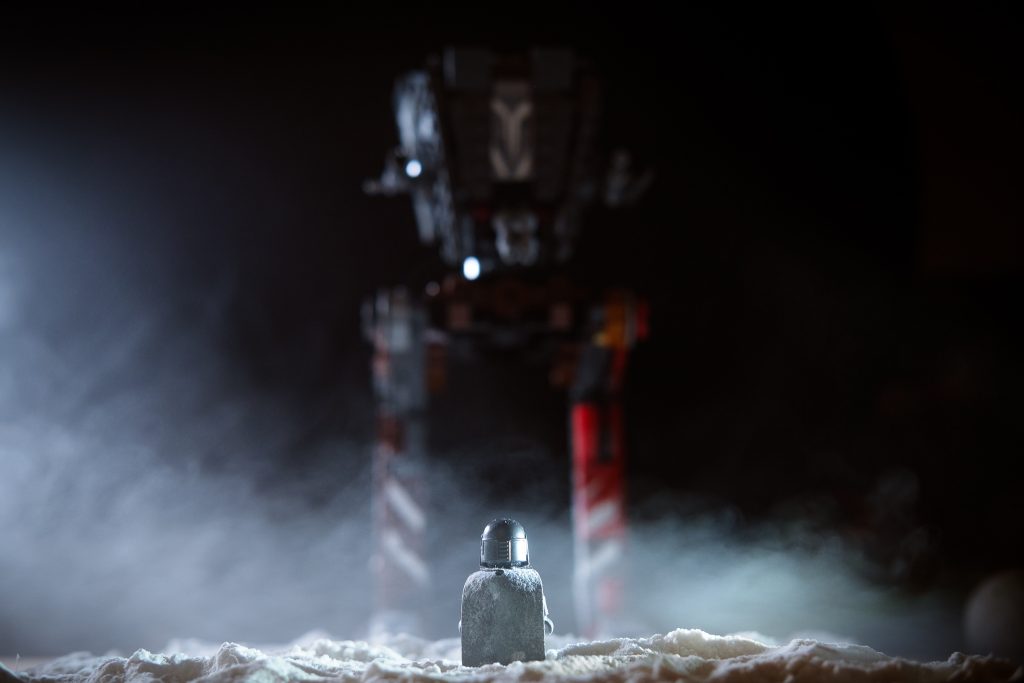
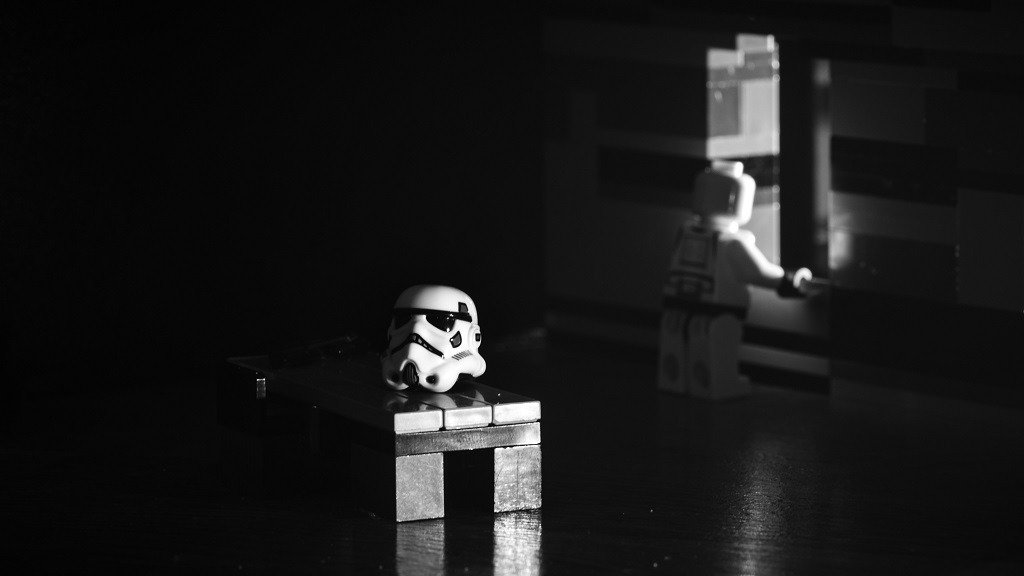
Direct flash or overhead room lights create unflattering, hard shadows that scream "amateur." Natural window light is the easiest fix — place the scene near a window with a sheet of white paper opposite for fill. For artificial setups, small LED panels with diffusers give complete control. A single desk lamp bounced off a white card produces remarkably cinematic results.
When to Shoot Outdoors and When to Stay Inside
Location choice is one of the most underrated toy photography tips for beginners. Both indoor and outdoor shooting have distinct advantages, and knowing when to use each makes a real difference.
Outdoor Advantages
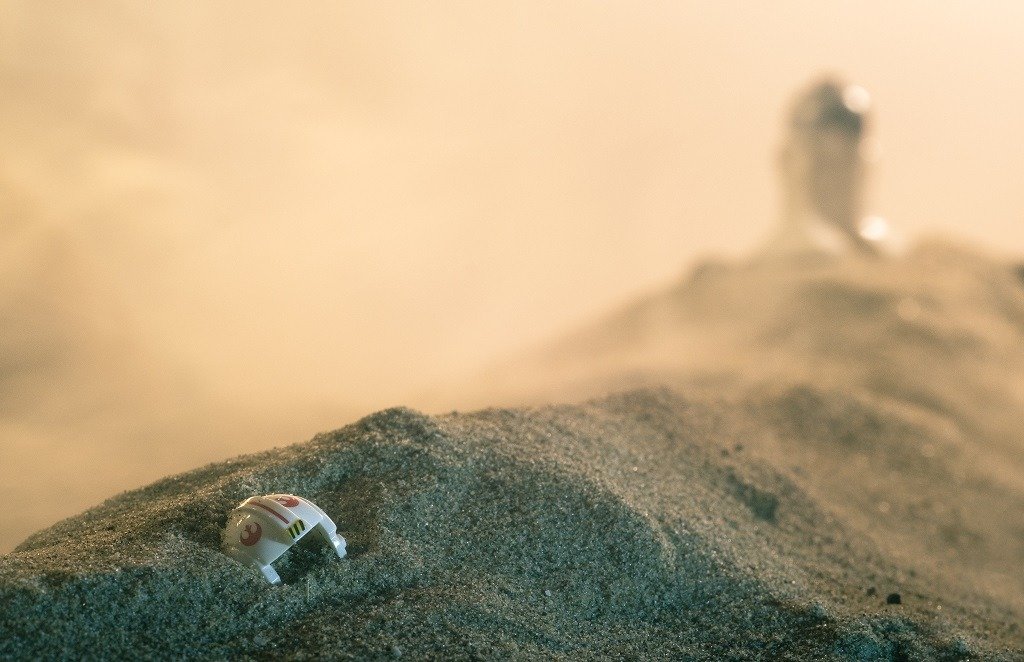
- Natural textures — real dirt, rocks, grass, and water add instant realism that is nearly impossible to fake.
- Sunlight provides beautiful, dynamic lighting, especially during golden hour.
- Scale illusions work better outdoors. A toy soldier posed on a real hillside can look genuinely cinematic.
The downsides: wind knocks figures over constantly, passersby give curious looks, and rain is an obvious problem. Our team recommends outdoor shoots on calm, overcast days when the light is soft and even.
Indoor Control
Indoor shooting offers total environmental control. Temperature, wind, and lighting are all manageable. Most people start indoors and never leave — and that is perfectly fine. A small tabletop setup with a backdrop, a single light source, and some craft materials provides endless creative possibilities. The key advantage is repeatability: once a lighting setup works, it works every time.
What Toy Photography Actually Costs
One of the biggest draws of this genre is the low barrier to entry. Here is a realistic breakdown of what most people spend at different stages.
The Starter Kit
- Toys/figures: $5–$30. Thrift stores, dollar stores, and existing collections all work. LEGO minifigures and small action figures are the most popular subjects.
- Backgrounds: $0–$15. Printed paper, fabric scraps, or real outdoor settings cost almost nothing.
- Lighting: $0–$25. Window light is free. A basic clip-on LED panel runs under $25.
- Camera: $0 (smartphone). Most beginners already own a capable camera.
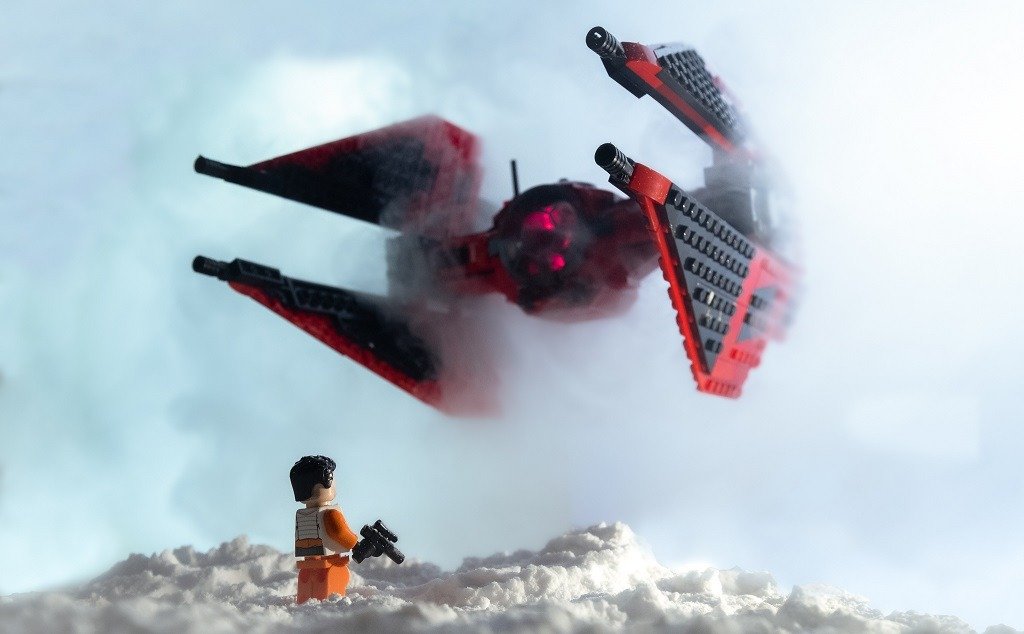
- Props: $0–$10. Toothpicks, cotton balls (for smoke/clouds), aluminum foil (for water), and baking flour (for snow) are household staples.
Total starter cost: under $50, often under $20 if using what is already available at home.
Scaling Up Without Overspending
As skills grow, the temptation to buy expensive gear hits hard. Our advice: invest in lighting before lenses, and lenses before camera bodies. A $100 macro lens on an entry-level DSLR produces better toy photos than a $3,000 body with a kit zoom. The biggest upgrade for most people is a sturdy tabletop tripod ($20–$40) — it eliminates camera shake and opens the door to focus stacking and long exposures.
Frequently Asked Questions
What camera settings work best for toy photography?
Our team recommends starting with aperture priority mode at f/8, ISO 100–400, and letting the camera choose the shutter speed. A tripod is essential at these settings because shutter speeds will be slow. Manual focus gives the most control over exactly what appears sharp in the frame.
Do most people need a macro lens for toy photography?
Not at the beginning. A smartphone or a standard 50mm lens gets excellent results. A true macro lens becomes valuable when someone wants extreme close-ups showing fine details like facial expressions or texture on armor. It is a worthwhile upgrade but not a requirement to start.
What is the best background material for miniature scenes?
Printed photo backdrops, colored cardstock, and real outdoor environments are the three most popular options. Our team uses printed sky backdrops for indoor scenes and real dirt or gravel for ground textures. Fabric works well for abstract or studio-style shots.
How important is post-processing in toy photography?
Very important. Even simple edits — adjusting contrast, boosting saturation, and cropping — transform a flat snapshot into a polished image. Our team uses Lightroom for basic adjustments and Photoshop for compositing effects like adding smoke, sparks, or atmospheric haze.
Can toy photography be done with just a phone?
Absolutely. Modern smartphones have excellent cameras with built-in portrait modes and manual controls. Many award-winning toy photos in online communities were shot entirely on phones. The main limitation is depth of field control, which software blur partially addresses.
How does one make toys look realistic in photos?
The three keys are shooting at eye level with the toy, using soft directional light, and paying attention to scale. Oversized background elements instantly break the illusion. Shallow depth of field helps blur any objects that reveal the true scale of the scene.
What are the best toys for photography beginners?
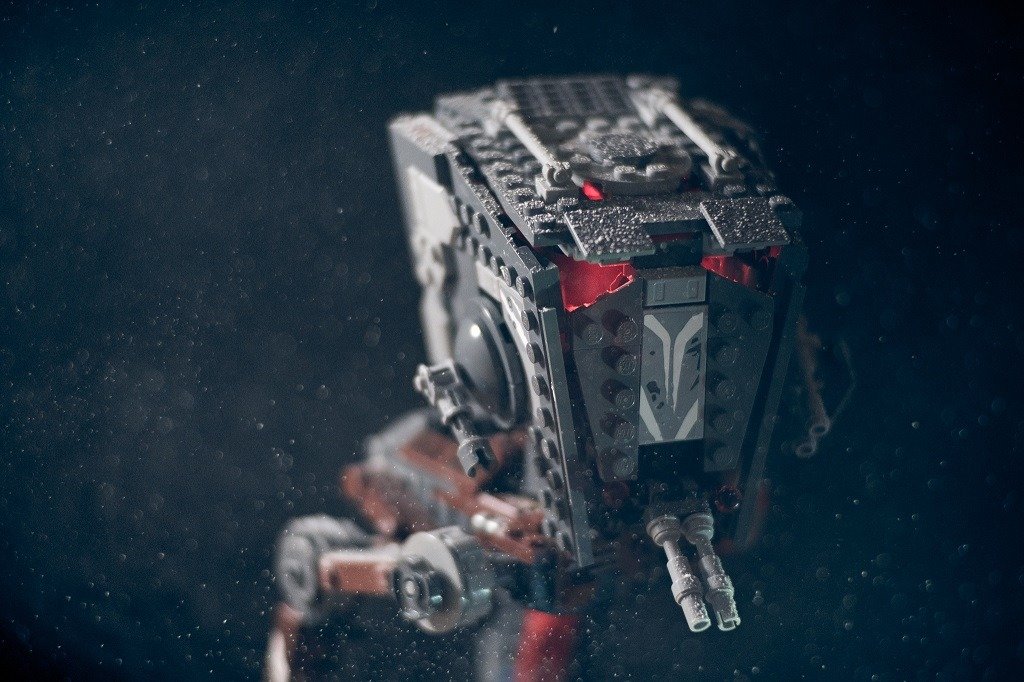
LEGO minifigures, Star Wars Black Series figures, and Funko Pops are popular starting points. LEGO works well because of the endless customization options. Articulated figures allow dynamic poses. Our team suggests starting with whatever figures are already on hand — the best toy is the one that inspires creativity.
Next Steps
- Grab a figure and a phone right now — set up near a window, get down to eye level, and take 10 shots with different angles. No setup needed, just start shooting to build the habit.
- Build a simple tabletop studio — a piece of cardboard for the backdrop, a desk lamp with a paper diffuser, and a stack of books as a tripod substitute. This $5 setup is enough to practice lighting fundamentals.
- Join the community — search for toy photography groups on Instagram, Reddit (r/toyphotography), or Flickr. Posting regularly and studying what other creators do accelerates learning faster than any tutorial.
- Practice one technique per week — focus stacking one week, forced perspective the next, atmospheric effects (cotton smoke, water spray) the week after. Deliberate practice on single skills builds real competence.
 |
 |
 |
 |

About Alex W.
Alex is a landscape, equine, and pet photographer based in the Lake District, UK, with years of experience shooting in one of Britain's most photographically demanding natural environments. His work has been featured in Take a View Landscape Photographer of the Year, Outdoor Photographer of the Year, and Amateur Photographer Magazine — publications that reflect a serious, competitive standard of image-making. At Click and Learn Photography, he shares the camera settings, gear choices, and compositional techniques he has developed through real-world shooting and competition-level work.
You can Get FREE Gifts. Furthermore, Free Items here. Disable Ad Blocker to receive them all.
Once done, hit anything below
|
|
|
|