What does it take to stand beneath a curtain of green and violet light, camera in hand, and walk away with a photograph that stops people mid-scroll? Photographer Joe Clarke has spent years answering that question through his stunning work in aurora borealis landscape photography, and his insights reveal that capturing the northern lights is equal parts preparation, patience, and technical know-how. In this interview, Joe shares the gear choices, field techniques, and creative decisions that shape his approach to shooting under some of the most dramatic skies on earth — lessons you can apply to your own night and astrophotography pursuits.
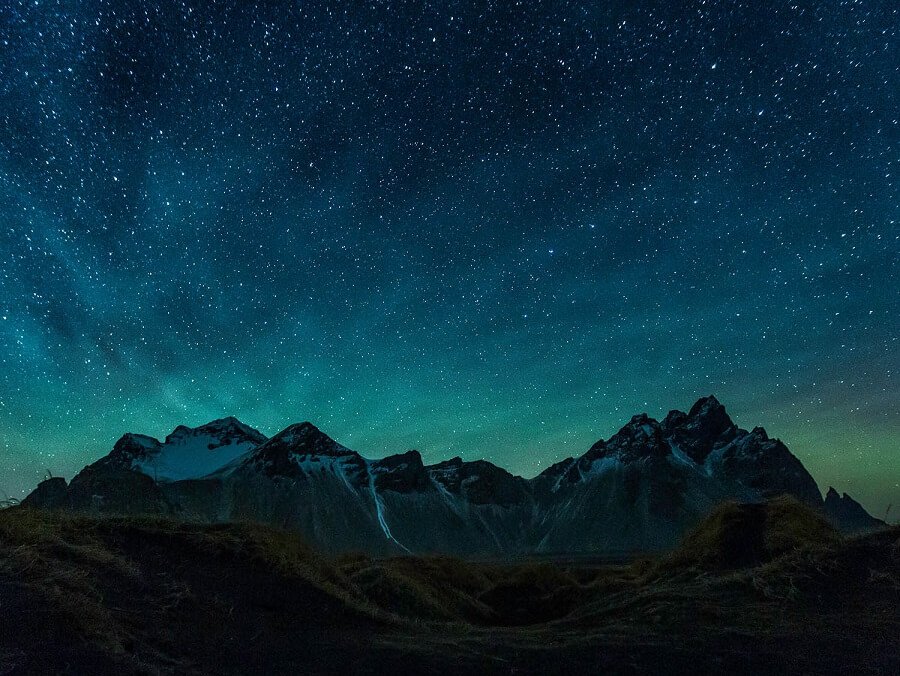
Joe's portfolio spans rugged mountain ranges, volcanic coastlines, and ice-covered fjords, but it's his aurora work from Iceland and northern Scandinavia that has drawn the most attention. Like other landscape photographers we've featured — including Alex Pflaum and RJ Franklin — Joe emphasizes that the best images come from understanding your environment long before you press the shutter.
Whether you're planning your first northern lights trip or looking to refine your technique, the practical advice below will help you get sharper, more compelling aurora shots with the gear you already own.
Contents
When and Where to Photograph the Aurora Borealis
Aurora borealis landscape photography depends heavily on location, season, and solar activity — and Joe stresses that getting these fundamentals right matters more than any piece of gear. You need dark skies, clear weather, and a strong enough geomagnetic storm to produce visible bands of light, which means your planning and preparation phase is critical.
Best Locations for Aurora Shooting
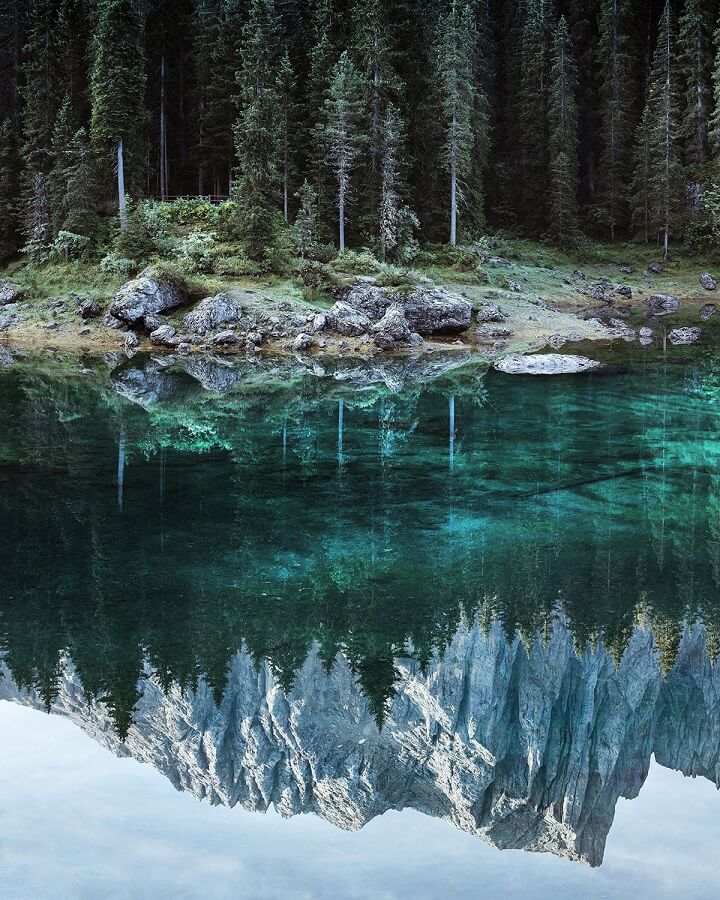
Joe has shot auroras across several countries, but he keeps returning to a handful of proven destinations that offer both strong aurora activity and compelling foreground elements for your compositions:
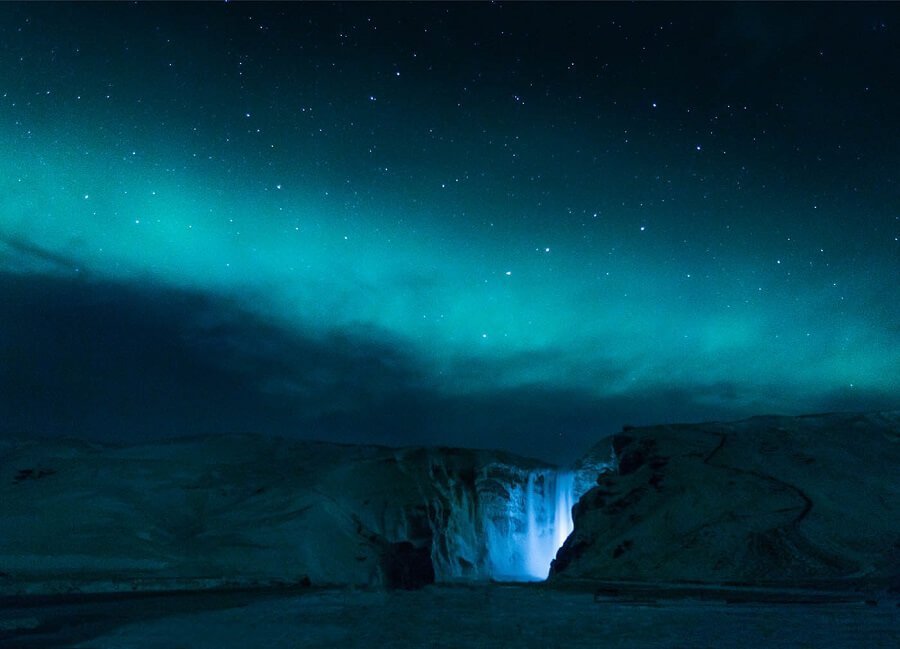
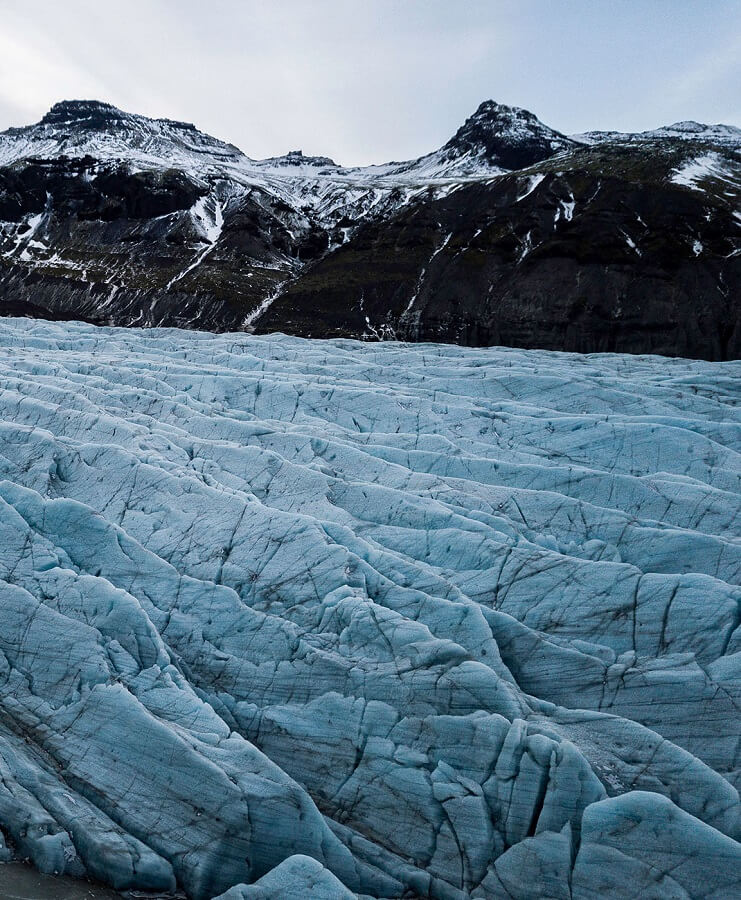
- Iceland — volcanic landscapes, glacial lagoons, and black sand beaches create dramatic foregrounds beneath the lights
- Northern Norway (Lofoten, Tromsø) — fjords and fishing villages provide human-scale elements that anchor your compositions
- Swedish Lapland — frozen lakes and boreal forests offer clean, uncluttered scenes with strong reflections
- Scottish Highlands — a more accessible option for UK-based photographers, with occasional strong displays
- Canadian Yukon and Northwest Territories — consistently high aurora activity with vast, open terrain
Timing Your Shoot with Aurora Forecasts
You don't need to guess when the aurora will appear — reliable forecasting tools exist, and Joe checks them obsessively in the days before a shoot. Here's his approach:
- Monitor the NOAA Space Weather Prediction Center for Kp index forecasts and 30-minute aurora oval predictions
- Cross-reference with local cloud cover maps to find clear-sky windows within your shooting area
- Scout your foreground locations during daylight so you can navigate safely in complete darkness
- Arrive at your chosen spot at least an hour before the predicted peak to set up and test your exposure
Joe notes that some of his best aurora shots came on nights when the forecast was only moderate, because clear skies and a well-chosen foreground can elevate even a subtle display into something remarkable.
Essential Techniques for Sharp Aurora Shots
The technical side of aurora borealis landscape photography can feel intimidating, but Joe breaks it down into a set of reliable starting points that you can adjust on the fly as conditions change throughout the night.
Camera Settings That Actually Work
Joe recommends beginning with these baseline settings and then fine-tuning based on how fast the aurora is moving and how bright it appears to the naked eye:
- Aperture: f/2.8 or wider — you need every photon you can gather, so shoot your lens wide open
- Shutter speed: 8–15 seconds for slow-moving arcs, 2–6 seconds for fast-moving curtains and coronas
- ISO: 1600–6400 depending on your camera's high-ISO performance and the brightness of the display
- Focus: manual focus set to infinity using live view magnification on a bright star, then tape the ring in place
- White balance: set manually between 3200K and 3800K to preserve natural green and purple tones
If you're still getting comfortable with manual exposure at night, Joe suggests practicing on the moon or bright stars before your aurora trip, which is similar to the preparation covered in our guide to shooting on location.
Composing Landscapes Under Moving Light
Aurora photography is unique because your "sky element" is constantly shifting in shape, color, and intensity, which means you need to compose with the foreground first and then react to whatever the sky gives you. Joe's composition checklist looks like this:
- Find a strong foreground anchor — water for reflections, a church, a mountain ridge, or interesting rock formations
- Use leading lines in the terrain to draw the viewer's eye from foreground up into the aurora
- Leave plenty of sky in the frame (at least two-thirds) so the aurora has room to breathe
- Shoot both landscape and portrait orientation — vertical compositions can emphasize towering corona displays
Gear Advantages and Limitations for Night Landscapes
Joe is refreshingly honest about what gear can and cannot do for your aurora borealis landscape photography, and he warns against assuming that expensive equipment will compensate for poor planning or weak composition.
Lenses and Camera Bodies
Your lens choice matters more than your camera body for aurora work, because a wide, fast aperture is non-negotiable for gathering enough light in short exposures. Here's how Joe weighs the trade-offs:
- Full-frame bodies — better high-ISO performance and wider field of view with any given lens, but heavier and more expensive
- APS-C/crop sensor — perfectly capable at ISO 3200 or below, and a lighter kit for remote hiking locations
- Fast primes (14mm f/2.8, 20mm f/1.8, 24mm f/1.4) — Joe's preferred choice for maximum light gathering and edge-to-edge sharpness
- Wide zooms (14-24mm f/2.8) — more versatile framing but slightly heavier and often softer in the corners wide open
If you're weighing which camera system to invest in, our DSLR vs mirrorless comparison covers the broader decision, but for aurora-specific work Joe notes that mirrorless bodies offer a real advantage through their electronic viewfinders, which let you preview exposure in real time.
Accessories for the Field
Beyond the camera and lens, Joe carries a lean kit of accessories that solve specific problems you'll encounter during long nights in cold environments:
- A sturdy tripod with legs that won't freeze your hands — carbon fiber with foam grips is ideal
- Spare batteries stored inside your jacket pocket, since lithium-ion cells lose capacity rapidly below freezing
- A headlamp with a red-light mode to preserve your night vision while adjusting settings
- Lens cloths and a rocket blower for clearing condensation that builds up when you bring cold glass into warm air
- Hand warmers wrapped around the lens barrel to prevent frost and dew from forming on the front element
Aurora Photography Gear at a Glance
To help you narrow down your options, Joe put together a comparison of the wide-angle lenses he has used for aurora borealis landscape photography, along with notes on where each one excels and where it falls short.
Wide-Angle Lens Options Compared
| Lens | Max Aperture | Weight | Best For | Limitation |
|---|---|---|---|---|
| Sigma 14mm f/1.8 Art | f/1.8 | 1170g | Maximum light gathering, ultra-wide field | Very heavy, no filter thread |
| Nikon 14-24mm f/2.8 | f/2.8 | 970g | Versatile framing, excellent sharpness | Bulbous front element, no standard filters |
| Sony 20mm f/1.8 G | f/1.8 | 373g | Lightweight fast prime, filter-friendly | Narrower field of view than 14mm options |
| Samyang 14mm f/2.8 | f/2.8 | 560g | Budget-friendly, sharp center | Manual focus only, softer corners |
| Tamron 15-30mm f/2.8 G2 | f/2.8 | 1110g | Zoom flexibility, built-in stabilization | Heavy, bulbous front element |
Joe personally gravitates toward the Sigma 14mm f/1.8 for dedicated aurora trips despite the weight penalty, because that extra stop of light allows him to keep ISO lower and shutter speeds shorter, which results in cleaner files with sharper aurora detail. For trips that also involve daytime landscape work where you might want ND filters, he switches to the Sony 20mm for its standard 67mm filter thread.
Joe's Personal Kit Breakdown
When Joe packs for an aurora-focused trip, his bag is built around reliability in extreme cold and the ability to react quickly when the sky erupts with color:
- Primary body: Sony A7R IV (high resolution for large prints, strong high-ISO performance)
- Primary lens: Sigma 14mm f/1.8 Art (his go-to for aurora, mounted and ready at all times)
- Secondary lens: Sony 20mm f/1.8 G (for daytime landscapes and sunrise sessions after an overnight shoot)
- Tripod: Really Right Stuff TVC-24L (carbon fiber, stable in wind, locks tightly at any angle)
- Four spare batteries kept warm inside a down jacket, rotated through the camera every 45 minutes

Frequently Asked Questions
What camera settings should you start with for aurora photography?
Begin with f/2.8 or wider, ISO 3200, and a shutter speed between 8 and 15 seconds. Adjust your ISO and shutter speed based on how bright and fast-moving the aurora appears — brighter, faster displays need shorter exposures to preserve detail in the light curtains.
Do you need a full-frame camera to photograph the northern lights?
A full-frame sensor helps with high-ISO noise, but crop-sensor cameras produce excellent aurora images when you pair them with a fast wide-angle lens and keep your ISO at 3200 or below. Your lens aperture matters more than your sensor size for this type of photography.
How do you focus your lens in complete darkness?
Switch to manual focus, activate live view, and zoom in on a bright star or distant light until it appears as a sharp pinpoint. Once you've locked focus, use gaffer tape to secure the focus ring so it doesn't shift accidentally while you're shooting.
What is the best time of year to see the aurora borealis?
The aurora is visible from late September through late March in the northern hemisphere, with the equinox months of September and March often producing the strongest geomagnetic activity. You need long, dark nights and clear skies, so plan around both the solar cycle and local weather patterns.
Can you photograph the aurora with a smartphone?
Modern smartphones with night mode or astrophotography modes can capture faint aurora displays, but the results lack the detail and dynamic range you get from a dedicated camera with a fast lens. If you're serious about aurora borealis landscape photography, a camera with manual controls and a tripod will give you dramatically better results.
How does Joe Clarke handle post-processing for aurora images?
Joe processes his aurora shots in Adobe Lightroom, keeping adjustments minimal — slight exposure correction, white balance fine-tuning, and careful noise reduction. He avoids oversaturating the greens, which is a common temptation that makes aurora images look artificial rather than true to the experience of seeing them in person.
Next Steps
- Check the NOAA aurora forecast for upcoming geomagnetic storms, then book accommodation in one of the high-latitude locations listed above during a new moon window for the darkest skies possible.
- Practice your manual focus technique on stars or distant city lights from your backyard this week, so the process becomes second nature before you're standing in freezing conditions under an active aurora display.
- Review your current lens collection and identify which optic gives you the widest angle at the fastest aperture — if nothing opens wider than f/4, consider renting or purchasing a fast wide-angle prime before your trip.
- Build a cold-weather kit bag with spare batteries, hand warmers, lens cloths, and a red-light headlamp so you're not scrambling to find these items the night before departure.
 |
 |
 |
 |

About Alex W.
Alex is a landscape, equine, and pet photographer based in the Lake District, UK, with years of experience shooting in one of Britain's most photographically demanding natural environments. His work has been featured in Take a View Landscape Photographer of the Year, Outdoor Photographer of the Year, and Amateur Photographer Magazine — publications that reflect a serious, competitive standard of image-making. At Click and Learn Photography, he shares the camera settings, gear choices, and compositional techniques he has developed through real-world shooting and competition-level work.
You can Get FREE Gifts. Furthermore, Free Items here. Disable Ad Blocker to receive them all.
Once done, hit anything below
|
|
|
|