How to Photograph Lightning – Top Tips for Shooting the Storm
by Alex W.
What if the most dramatic photo you ever take happens in a fraction of a second — and you only get one chance to nail it? That's the challenge when you learn how to photograph lightning. It's unpredictable, fleeting, and absolutely electrifying when you get it right. The good news is that with the right preparation and settings, capturing a powerful lightning bolt is far more repeatable than most photographers assume. Whether you're drawn to storm photography as part of your broader landscape and nature work or you simply want to push your creative limits, this guide breaks down everything you need to walk away with jaw-dropping results.
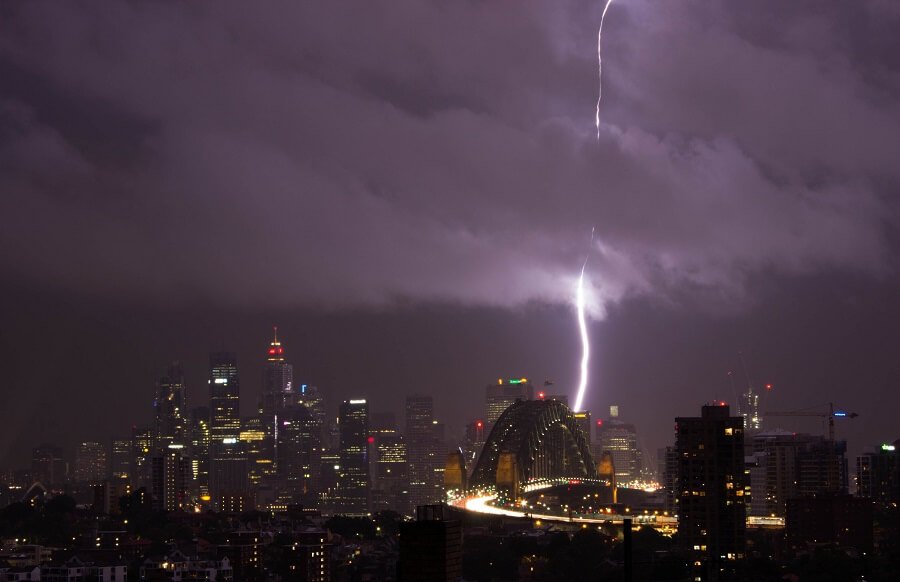
Lightning photography sits at the intersection of patience, technical skill, and a healthy respect for Mother Nature. You don't need exotic gear — a sturdy tripod, a camera with manual controls, and a remote shutter release will get you started. What separates a lucky snapshot from a portfolio-worthy image is understanding how to set up before the storm arrives and knowing exactly what to do when bolts start firing.
Contents
- Why Lightning Photography Demands a Different Approach
- Essential Camera Settings for Photographing Lightning
- Real-World Lightning Shots and How They Were Captured
- Daytime vs. Nighttime Lightning: Weighing Your Options
- Protecting Your Gear in Severe Weather
- Building a Lightning Portfolio Over Time
- Frequently Asked Questions
- Key Takeaways
Why Lightning Photography Demands a Different Approach
The Science Behind the Flash
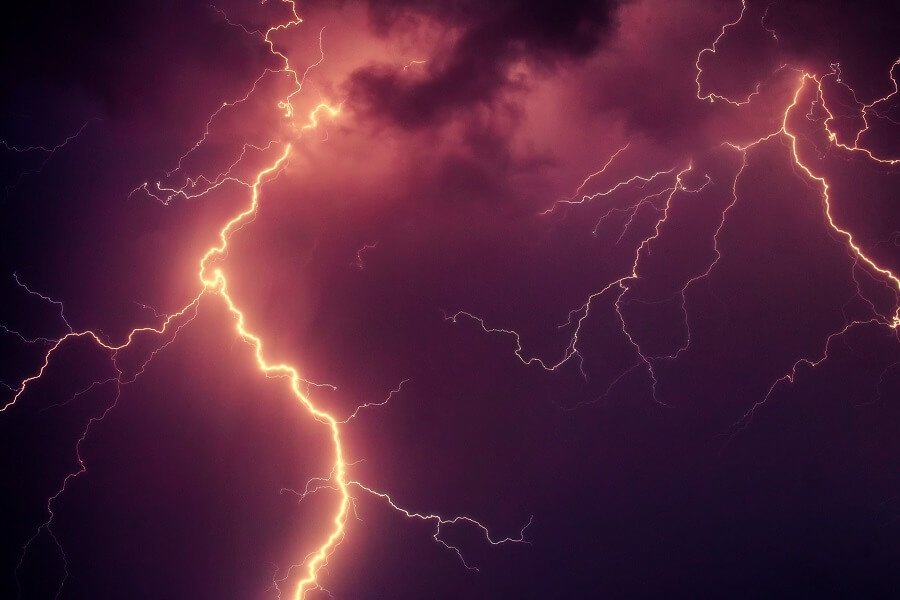
A single lightning bolt lasts roughly 0.2 seconds. Your reflexes simply cannot match that speed — by the time you see a flash and press the shutter, it's already gone. This is why how to photograph lightning relies on long exposures rather than fast reaction times. You leave the shutter open and let the bolt paint itself onto your sensor. According to the National Weather Service, lightning can reach temperatures of 30,000 Kelvin — five times hotter than the surface of the sun. That intense brightness is what makes it possible to capture a crisp bolt even during a multi-second exposure.
Shifting Your Mindset from Reaction to Anticipation
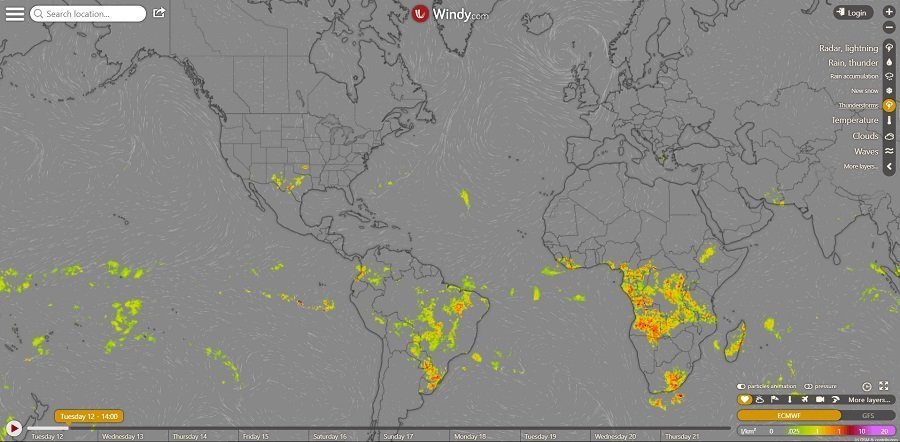
The biggest mental shift in storm photography is moving from reactive shooting to anticipatory setup. You aren't trying to time the bolt. Instead, you compose your frame, lock in your settings, and fire continuous long exposures while the storm is active. If you've ever shot long exposures for astrophotography or night photography, the workflow will feel familiar — except your subject is moving toward you rather than slowly rotating overhead.
Essential Camera Settings for Photographing Lightning
Exposure Triangle for Storms
Your settings will differ between nighttime and daytime storms, but the core principle stays the same: use a long enough shutter speed to catch a bolt, a narrow enough aperture to control brightness, and the lowest clean ISO your camera offers. Here's a starting-point reference chart:
| Setting | Nighttime Storm | Daytime Storm |
|---|---|---|
| Shutter Speed | 10–30 seconds | 1–4 seconds (with ND filter) |
| Aperture | f/8 – f/11 | f/11 – f/16 |
| ISO | 100–400 | 100 |
| Focus | Manual – infinity | Manual – infinity |
| ND Filter | Not needed | 6–10 stop ND required |
| Drive Mode | Continuous / Intervalometer | Continuous / Intervalometer |
Shoot in RAW. You'll want the latitude in post-processing to recover highlight detail in the bolt itself while lifting shadow detail in the surrounding landscape. If you need a refresher on how aperture and shutter speed interact, our shutter speed cheat sheet breaks it down visually.
Focusing in the Dark
Autofocus struggles in storm conditions. Switch to manual focus, set your lens to infinity, then back off just slightly. Use live view zoomed to 10x on a distant light source — a streetlight, a cell tower — to dial in critical sharpness. Once you're locked in, tape the focus ring so it doesn't drift when you bump the lens in the dark.
Real-World Lightning Shots and How They Were Captured
Urban Storms
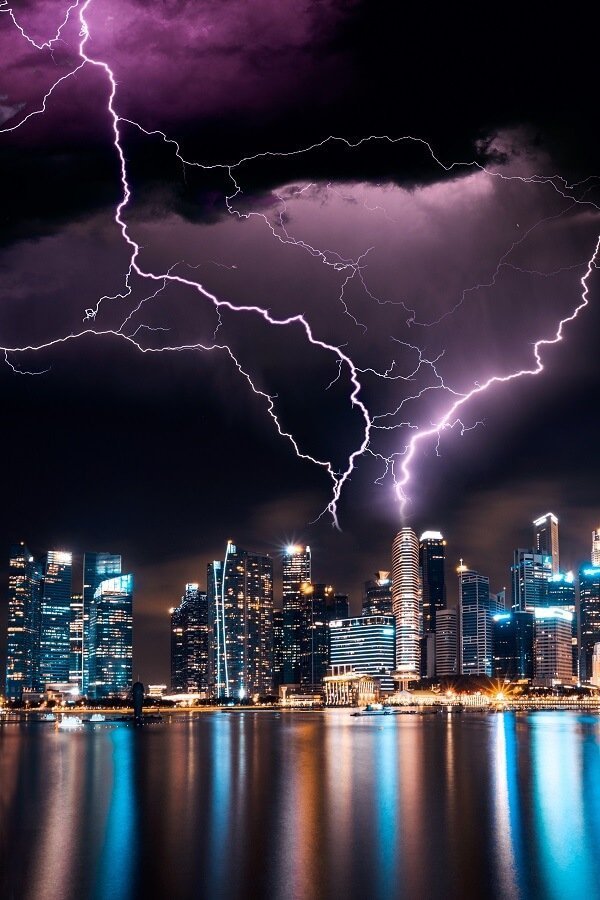
City skylines make powerful foregrounds for lightning photography. The ambient glow from buildings gives your scene depth and context, while the bolt provides the drama. One effective approach is positioning yourself on an elevated vantage point — a parking garage, a hillside overlook — so the skyline sits in the lower third of your frame with plenty of sky above for bolts to fill. Keep your shutter speed shorter in urban settings (8–15 seconds) because city lights will blow out during very long exposures.
Open Landscape Bolts
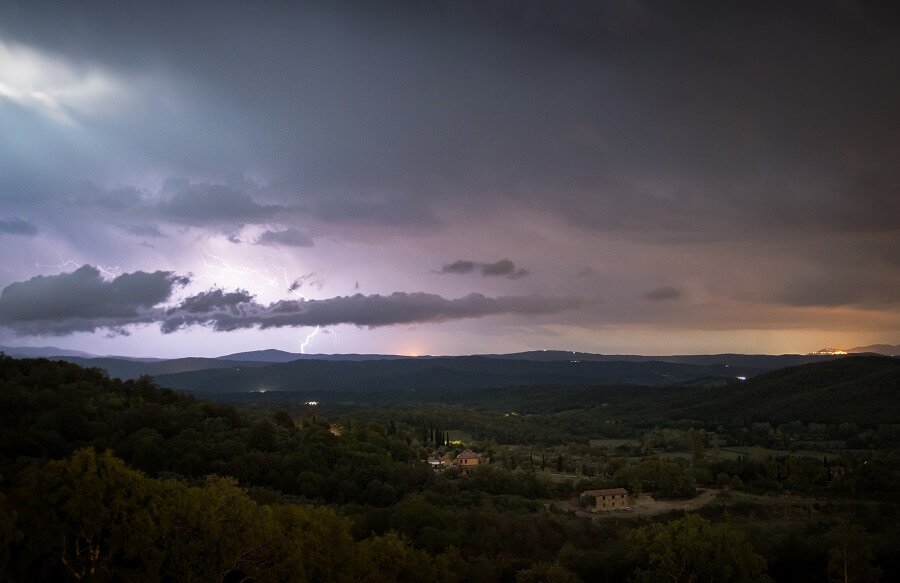
Rural and open-landscape storm shots deliver a completely different mood — isolated, raw, and vast. Position a single element in the foreground: a lone tree, a barn, a winding road. This gives the viewer scale against the massive bolt. Use a wider lens (14–24mm) to capture as much sky as possible. The trade-off is that individual bolts will appear smaller, but you dramatically increase your chances of catching one in the frame. For more on composing wide landscape scenes, check out our landscape photography settings guide.
Daytime vs. Nighttime Lightning: Weighing Your Options
Most photographers start with nighttime storms, and for good reason — the darkness acts as a natural shutter, letting you hold exposures for 20–30 seconds without overexposing. You fire frame after frame and review later. It's the most forgiving way to learn how to photograph lightning.
Daytime lightning is significantly harder. Ambient light floods the sensor, so you need a strong ND filter (6–10 stops) to stretch your shutter speed beyond a second or two. Without that filter, your exposure will be too short to reliably catch a bolt. A lightning trigger — a sensor that detects the electromagnetic pulse and fires your shutter automatically — becomes much more valuable during the day. These triggers cost between $80 and $400, but they transform your hit rate in bright conditions.
The reward for daytime shooting is dramatic cloud structure. Storms lit by sunlight produce towering cumulonimbus formations with incredible texture, and a bolt cutting through that scene creates an image with far more depth than a simple bolt against a black sky.
Protecting Your Gear in Severe Weather
Rain and Wind Management
You're deliberately standing near a thunderstorm. Your gear is going to get wet. A rain sleeve or plastic bag secured with a rubber band around the lens barrel is non-negotiable. Keep a microfiber cloth handy to wipe the front element between exposures — a single raindrop in the wrong spot will ruin an otherwise perfect frame. Weigh down your tripod with your camera bag hung from the center column hook, or spread the legs wide and low to resist gusts. Speaking of bags, having a weather-resistant option makes a real difference — see our picks for the best camera bags for photographers.
Post-Storm Cleanup
After every storm session, wipe down your entire kit before packing it away. Moisture trapped inside a sealed bag breeds mold on lens coatings and sensor surfaces. Remove the lens, let the body air out for 30 minutes, and use a blower to clear any water from the hot shoe and port covers. If your camera took a serious soaking, toss silica gel packets into your bag overnight.

Building a Lightning Portfolio Over Time
Image Stacking for Composite Bolts
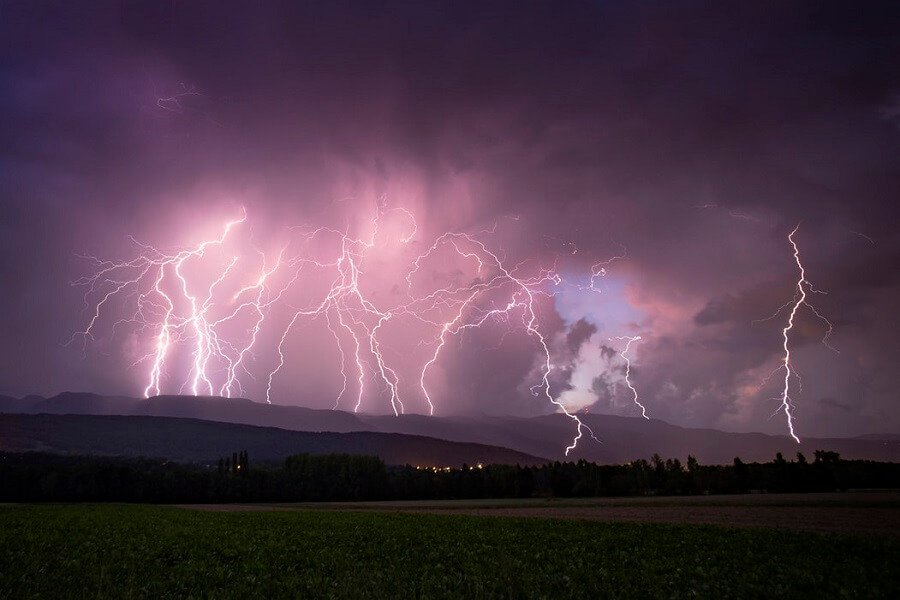
One of the most effective techniques for creating showstopping lightning images is frame stacking. You shoot dozens — sometimes hundreds — of consecutive exposures during an active storm, then blend the frames containing bolts into a single composite in Photoshop using "Lighten" blend mode. This combines multiple bolts into one image without affecting the base exposure of the landscape. The result looks like a single apocalyptic moment, even though the bolts were spread across several minutes.
Seasonal Planning
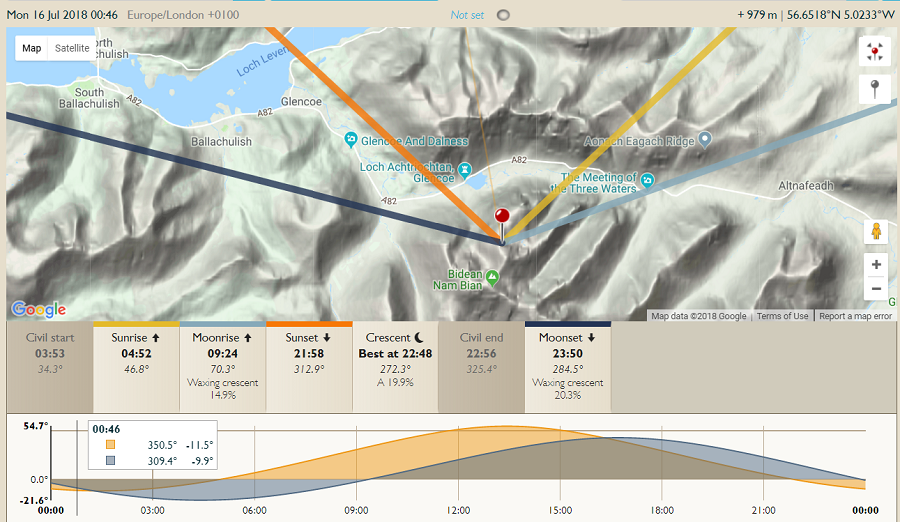
Storm seasons vary by region. In the central United States, late spring through summer delivers the most frequent and photogenic supercell storms. Coastal areas see increased activity during late summer and early fall. Use weather radar apps and lightning tracking tools to monitor developing cells in real time. Scout your locations during calm weather — identify safe positions with clear sightlines, shelter options nearby, and strong compositions. The photographers who consistently produce great lightning work aren't luckier than you. They simply show up more often, to locations they've already planned.
Frequently Asked Questions
What lens focal length is best for lightning photography?
A wide-angle lens in the 14–35mm range gives you the best chance of capturing bolts since you're covering more sky. Once you learn where a storm is concentrating its activity, you can switch to a 70–200mm telephoto to isolate individual bolts with more detail and impact.
Do I need a lightning trigger to photograph lightning?
Not for nighttime shooting — long exposures handle it. For daytime storms where you can't use exposures longer than a second or two without an ND filter, a lightning trigger dramatically improves your success rate by firing the shutter the instant it detects a flash.
How far away should I be from a thunderstorm to stay safe?
Maintain a minimum distance of 10 miles from the nearest lightning strikes. Use the 30-30 rule: if the time between a flash and thunder is under 30 seconds, you're too close. Seek hard shelter immediately and wait 30 minutes after the last strike before resuming.
Can I photograph lightning with a smartphone?
Some smartphones offer long-exposure or "live photo" modes that can catch a bolt, but the results lack the resolution and dynamic range of a dedicated camera. Specialized lightning camera apps use the phone's sensor to detect flashes, which helps, but you'll always get superior results with a DSLR or mirrorless body on a tripod.
What ND filter strength do I need for daytime lightning?
A 6-stop ND filter is the minimum for overcast daytime conditions. For bright or partly sunny storms, you'll want a 10-stop ND to push your shutter speed into the 1–4 second range needed to catch bolts reliably.
How do I prevent blurry lightning photos?
Use a sturdy tripod, a remote shutter release or intervalometer, and manual focus set to infinity. Mirror lock-up (on DSLRs) or electronic front curtain shutter (on mirrorless) eliminates internal vibration. Wind is your other enemy — shelter the tripod behind your vehicle if gusts are strong.
Key Takeaways
- How to photograph lightning comes down to long exposures and anticipation rather than fast reflexes — set up your composition, lock focus to infinity, and fire continuous frames while the storm is active.
- Nighttime storms are the most forgiving for beginners, while daytime lightning requires ND filters or a lightning trigger but rewards you with dramatic cloud structure.
- Protect your gear with rain sleeves, weigh down your tripod against wind, and always dry your equipment thoroughly after every session.
- Build your portfolio through frame stacking, seasonal storm chasing, and repeated visits to pre-scouted locations with strong compositions.
 |
 |
 |
 |

About Alex W.
Alex is a landscape, equine, and pet photographer based in the Lake District, UK, with years of experience shooting in one of Britain's most photographically demanding natural environments. His work has been featured in Take a View Landscape Photographer of the Year, Outdoor Photographer of the Year, and Amateur Photographer Magazine — publications that reflect a serious, competitive standard of image-making. At Click and Learn Photography, he shares the camera settings, gear choices, and compositional techniques he has developed through real-world shooting and competition-level work.
You can Get FREE Gifts. Furthermore, Free Items here. Disable Ad Blocker to receive them all.
Once done, hit anything below
|
|
|
|