A few years ago, I came back from a weekend hike with three hundred photos on my memory card and absolutely no idea what to do with them beyond scrolling through thumbnails. The moment I opened Adobe Lightroom and started organizing those files, everything changed. If you want to learn how to use Adobe Lightroom to take your images from forgettable snapshots to polished portfolio pieces, you are in the right place — and pairing solid editing skills with a foundation in the basics of photography will accelerate your progress dramatically.
Lightroom is not just another photo editor — it is a complete digital asset management system wrapped around a powerful non-destructive editing engine. Whether you shoot landscapes, portraits, street scenes, or astrophotography, the workflow stays the same: import, organize, develop, and export. This guide walks you through each stage with practical advice you can apply to your very next shoot.
You do not need to master every slider and panel on day one, and honestly trying to do so is one of the biggest mistakes newcomers make. Instead, focus on building a repeatable workflow that grows with your skill level, and the advanced techniques will follow naturally once the fundamentals feel automatic.
Contents
When Lightroom Is the Right Tool (And When It Isn't)
Lightroom handles roughly ninety percent of what most photographers need from post-processing software, but understanding its boundaries saves you from frustration. The application is purpose-built for photographic adjustments — exposure correction, color grading, sharpening, noise reduction, and lens corrections — applied across large batches of images with consistent results.

Where Lightroom Excels
If you shoot in RAW — and you absolutely should — Lightroom is your best friend because every edit you make is stored as metadata rather than baked into the file. You can revisit any image months later, undo a single adjustment, and re-export without touching the original pixels. That non-destructive workflow is the single biggest reason professionals choose Lightroom over basic editors, and it pairs perfectly with the discipline of shooting in manual mode where you control every exposure variable from the start.
When to Reach for Photoshop Instead
Lightroom is not a compositing tool, and it is not built for heavy retouching that requires layers, masks with precise brush control, or pixel-level manipulation. If you need to remove a person from a scene, blend multiple exposures with different focal points, or create complex graphic design work, Photoshop is the right choice. The good news is that your Creative Cloud subscription includes both, and the round-trip workflow between Lightroom and Photoshop is seamless.
How to Use Adobe Lightroom: Best Practices for Your Workflow
The difference between a frustrating Lightroom experience and a smooth one almost always comes down to how you set up your import and organization system before you ever touch an editing slider.
Import and Organization
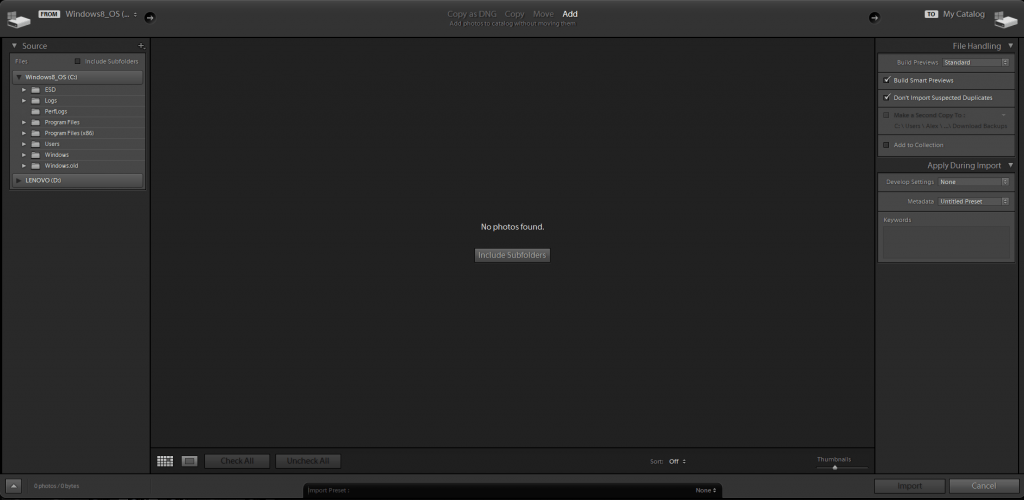
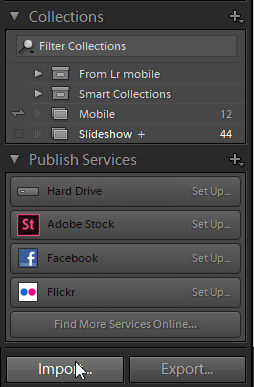
When you connect your memory card, Lightroom presents you with an import dialog that offers several options including Copy, Move, and Add. Always use "Copy" for memory cards so your originals land on your hard drive while the card stays untouched as a backup until you confirm everything transferred correctly. Set up a date-based folder structure — something like Year/Month/Shoot Name — and apply it consistently through the import dialog's destination panel.
Apply keywords and metadata during import rather than after, because you will never go back and tag two thousand images individually — nobody does. Use the import dialog's "Apply During Import" panel to add copyright information, a basic keyword set that describes the shoot location or subject, and even a develop preset if you have a starting point you like.
Culling and Rating Your Shots
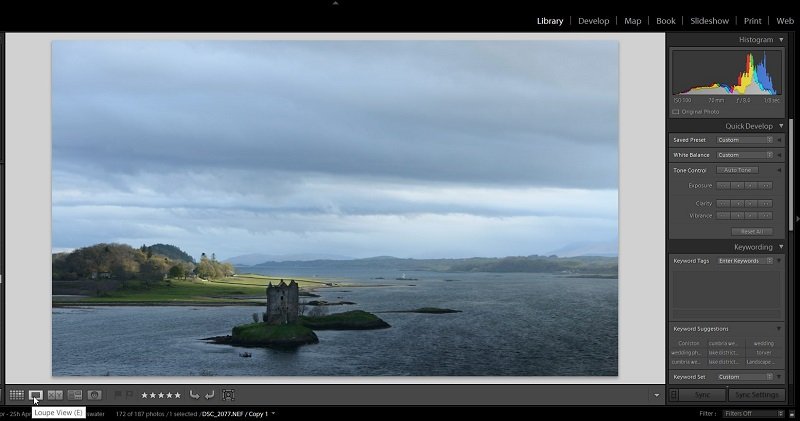
Switch to the Library module's loupe view and use keyboard shortcuts to move quickly through your images. Press P to flag a photo as a Pick, X to reject it, and U to unflag. After your first pass, filter to show only flagged images and apply star ratings for a second round of refinement. This two-pass system means you spend your editing time only on images that deserve the attention.
Pro tip: Reject ruthlessly on the first pass. If an image does not grab you within two seconds, flag it as a reject and move on — your portfolio will thank you for the discipline.
Understanding the Develop Module
The Develop module is where your images truly come to life, and learning how to use Adobe Lightroom's adjustment panels in the right order makes a surprising difference in your final results.
Global Adjustments That Matter Most
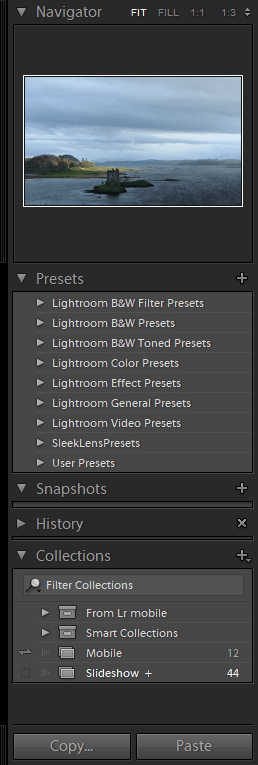
Start every edit with the Basic panel and work your way down. Correct your white balance first because it affects how every other adjustment looks, then set your exposure and contrast. The Highlights and Shadows sliders recover detail in bright skies and dark foregrounds respectively, and they are remarkably powerful when working with RAW files that contain far more data than your camera's LCD preview suggests.
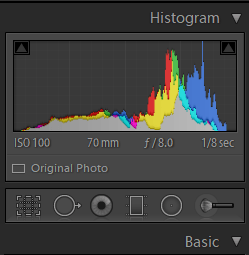
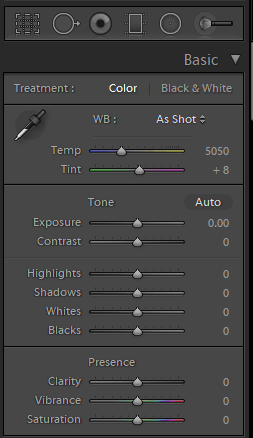
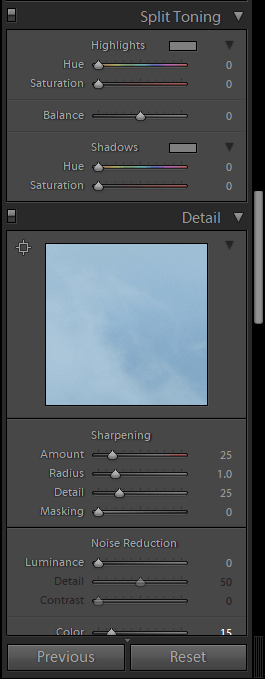
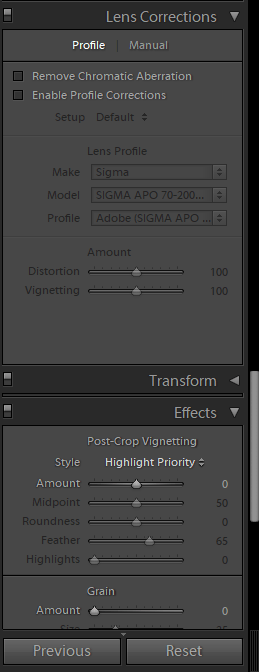
Move next to the Tone Curve for fine-tuned contrast control, then the HSL panel where you can target individual color ranges. Enable lens corrections and chromatic aberration removal on every single image — there is no reason not to, and it fixes distortion and color fringing that you might not even notice until you print or view at full resolution.
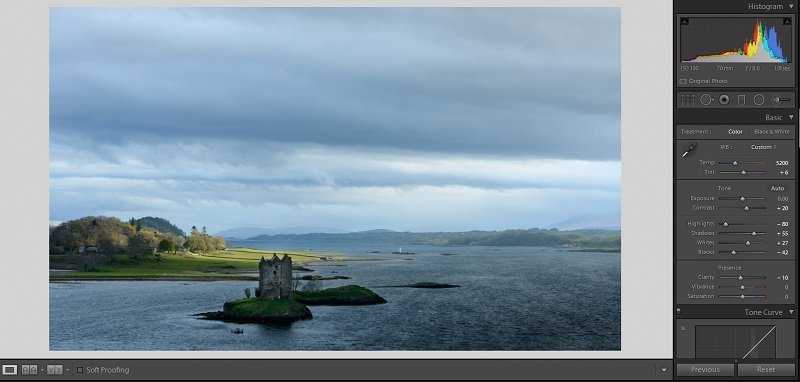
Local Adjustments and Targeted Edits
Once your global adjustments look solid, local adjustment tools let you paint changes onto specific areas of your image. The Adjustment Brush, Graduated Filter, and Radial Filter each serve different purposes, but they all share the same principle: you define a region and then apply any combination of exposure, color, sharpness, or clarity changes to just that area.
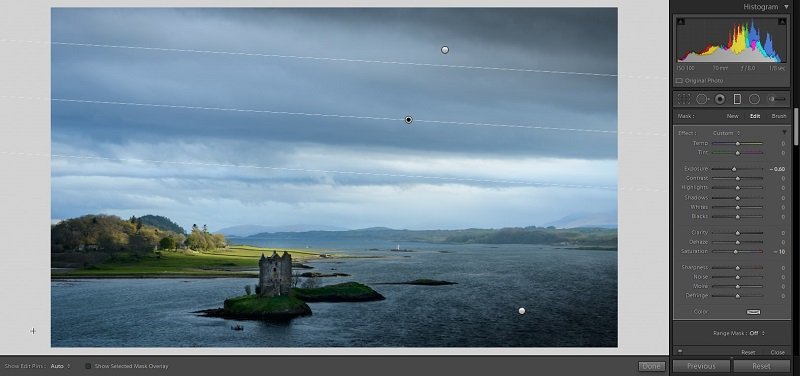
A Graduated Filter dragged down from the top of a landscape shot can darken an overexposed sky while leaving the foreground untouched, which is especially useful when you are working with images from landscape photography sessions where you did not have a physical ND grad filter on your lens. The Radial Filter works brilliantly for adding subtle vignettes or drawing attention to your subject by brightening them relative to the surroundings.
Real-World Editing Workflows
Theory only gets you so far, so here are two concrete workflows that show how to use Adobe Lightroom for different shooting scenarios that you will encounter regularly.
Landscape Photography Workflow
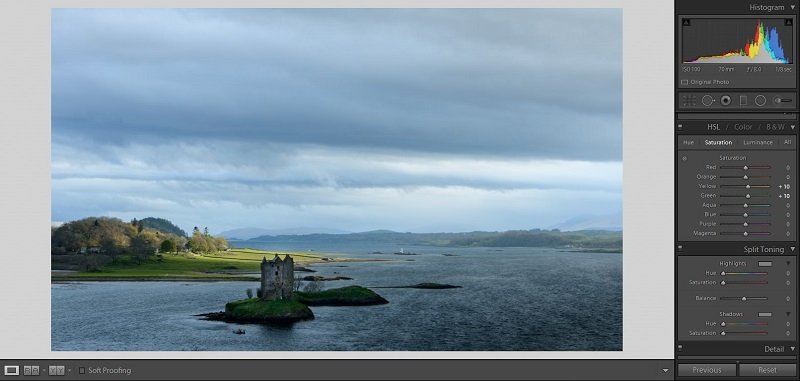
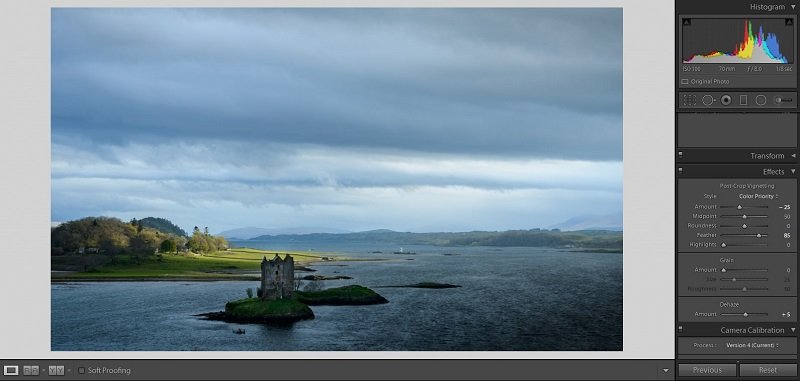
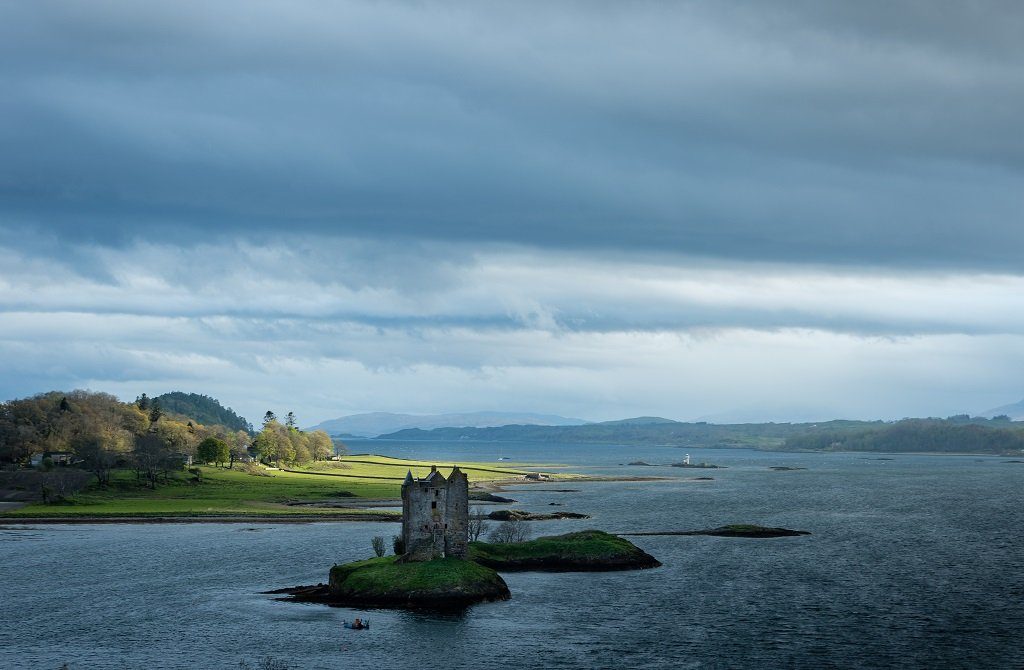
After importing your landscape shots, start by correcting the white balance to match the atmosphere you experienced in the field — Auto white balance often makes golden hour look too neutral. Pull your highlights down to recover sky detail, push shadows up to open foreground texture, and add a touch of clarity to enhance mid-tone contrast in rock faces, foliage, and cloud formations. Use the HSL panel to boost the luminance of blues for deeper skies and saturate greens or oranges depending on the season.
Portrait and Event Workflow
Portrait editing in Lightroom prioritizes skin tones and consistency across a set, and you will want to lean on the Sync and Copy Settings features heavily here. Edit one image from each lighting setup until you are happy with the look, then select all similar images and sync your adjustments across the batch. Use the Adjustment Brush with reduced clarity and increased exposure to soften skin while keeping eyes and hair sharp, and always check your work at one hundred percent zoom to make sure you have not overdone the smoothing.
Beginner vs Advanced Techniques
Your approach to Lightroom should evolve as your eye develops, and knowing where you sit on the learning curve helps you focus on the right skills at the right time.
Beginner Foundations
If you are just starting out, focus on these core skills before anything else: correcting white balance by eye, setting proper exposure without clipping highlights or crushing shadows, and straightening your horizon with the crop tool. Master the Basic panel completely before venturing into the Tone Curve or Color Grading sections, because ninety percent of a good edit happens in those first six sliders. For more foundational skills that complement your editing, explore our ultimate guides collection.
| Skill Level | Focus Areas | Tools to Master | Typical Edit Time |
|---|---|---|---|
| Beginner | Exposure, white balance, cropping | Basic panel, Crop tool | 2–5 min per image |
| Intermediate | Color grading, local adjustments, presets | HSL, Graduated Filter, Sync | 3–8 min per image |
| Advanced | Masking, color science, export profiles | AI Masks, Tone Curve, Soft Proofing | 5–15 min per image |
Advanced Strategies for Experienced Shooters
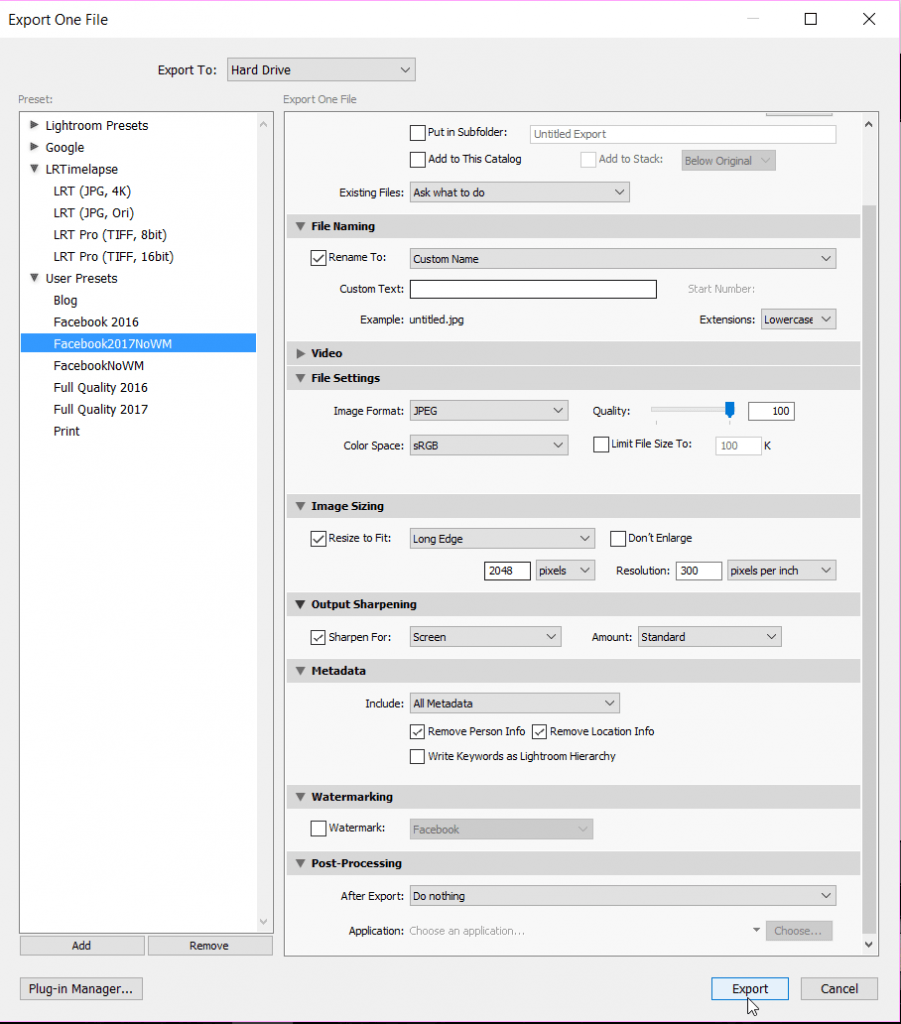
Once the basics feel automatic, Lightroom's newer AI-powered masking tools open up possibilities that used to require Photoshop. Select Subject and Select Sky generate precise masks with a single click, and you can intersect or subtract masks to isolate exactly the region you need. Color grading with the three-way color wheels gives you cinematic control over shadow, midtone, and highlight hues independently, and calibrating your export settings for different outputs — web, social media, fine art print — ensures your careful edits actually survive the compression pipeline.
Frequently Asked Questions
Is Lightroom Classic or Lightroom CC better for beginners?
Lightroom CC (the cloud-based version) has a simpler interface and syncs your photos across devices, which makes it more approachable if you are just starting out. However, Lightroom Classic offers significantly more control over file management, export options, and local storage, so most serious photographers migrate to Classic fairly quickly once they outgrow the streamlined interface.
Can I edit JPEG files in Lightroom or do I need to shoot RAW?
You can absolutely edit JPEGs in Lightroom, but your adjustment range will be noticeably limited compared to RAW files. RAW files contain far more color and exposure data, which means you can recover blown highlights and lift deep shadows without introducing noise or banding — something that falls apart quickly with compressed JPEGs.
How do I speed up Lightroom when it starts running slowly?
Build Smart Previews on import, increase your Camera RAW cache size to at least twenty gigabytes in Preferences, and store your catalog on an SSD rather than a spinning hard drive. If your catalog contains tens of thousands of images, consider splitting it by year or project to keep each catalog lean and responsive.
Key Takeaways
- Build a consistent import and organization system before you worry about editing, because a solid catalog structure saves you hours of searching for files later.
- Work through the Develop module panels from top to bottom — white balance and exposure first, then tone curve, HSL, and local adjustments — for the most efficient and natural-looking results.
- Master the Basic panel completely before exploring advanced features like AI masking and color grading, since those six core sliders handle the vast majority of every edit.
- Use Sync Settings and presets aggressively to maintain consistency across a shoot and cut your per-image editing time dramatically.
 |
 |
 |
 |

About Alex W.
Alex is a landscape, equine, and pet photographer based in the Lake District, UK, with years of experience shooting in one of Britain's most photographically demanding natural environments. His work has been featured in Take a View Landscape Photographer of the Year, Outdoor Photographer of the Year, and Amateur Photographer Magazine — publications that reflect a serious, competitive standard of image-making. At Click and Learn Photography, he shares the camera settings, gear choices, and compositional techniques he has developed through real-world shooting and competition-level work.
You can Get FREE Gifts. Furthermore, Free Items here. Disable Ad Blocker to receive them all.
Once done, hit anything below
|
|
|
|