Last autumn, I stood knee-deep in a freezing Scottish river at 5 AM, waiting for light that never came the way I expected — and yet I walked away with one of my favourite shots of the entire year. That experience taught me something no tutorial ever could: landscape photography shooting on location is where your planning meets reality, and the results depend entirely on how well you adapt. Whether you are returning to a familiar landscape photography spot or exploring somewhere completely new, the fieldwork is where everything comes together or falls apart.
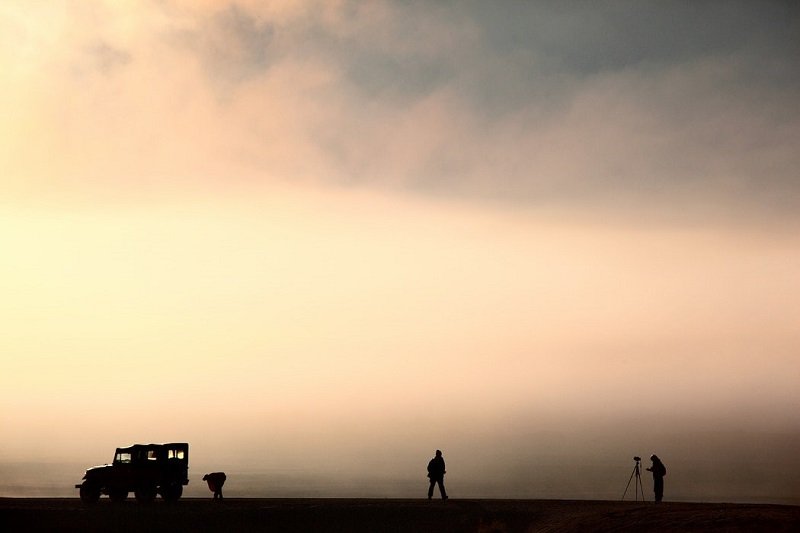
In Part 3 of this series, we covered the research and preparation side of things — scouting apps, weather forecasting, and building a shot list before you leave the house. Now it is time to put all of that groundwork into practice. This guide walks you through exactly what happens once your boots hit the ground, from reading the light and composing your frame to managing your gear and adapting when conditions throw you a curveball.
Your success on location comes down to a handful of core skills that you can practise and refine over time, and the good news is that every single outing teaches you something new regardless of whether you bring home a portfolio-worthy image.
Contents
Why Location Work Changes Everything
Moving Beyond the Plan
You can spend hours studying a location on Google Earth and still be completely surprised when you arrive in person, because no amount of screen time replicates the way light falls across a real landscape. The transition from planning to fieldwork is where your photography instincts develop most rapidly. On location, you are forced to make decisions in real time — adjusting your composition as clouds shift, repositioning your tripod as tides move, and rethinking your entire approach when the conditions change.
Reading Your Environment
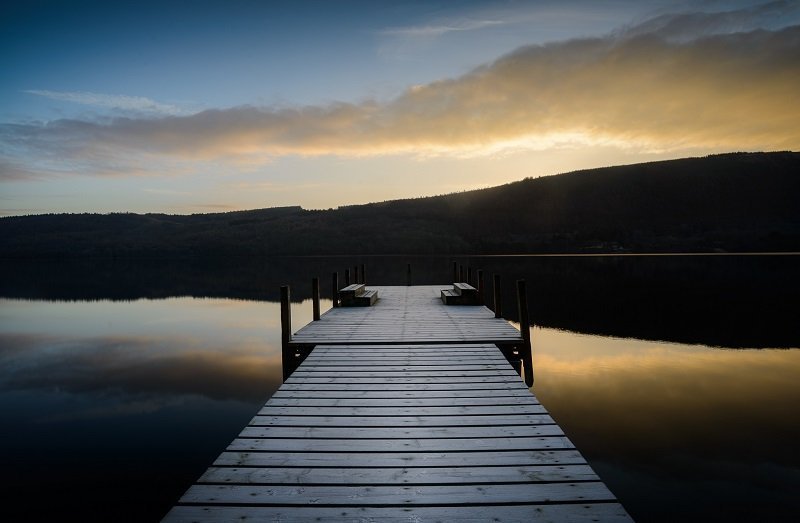
The first thing you should do when you arrive at any location is put your camera down and simply observe for several minutes. Walk around, look at how the light interacts with the terrain, and identify potential foreground elements that could anchor your composition. Pay attention to the direction of shadows, the texture of surfaces, and any natural lines that draw the eye through the scene.
Pro tip: Arrive at least 45 minutes before your target shooting time. The best compositions reveal themselves when you are not rushing to set up.
Lessons from Real Shoots in the Field
Sunrise Sessions That Paid Off
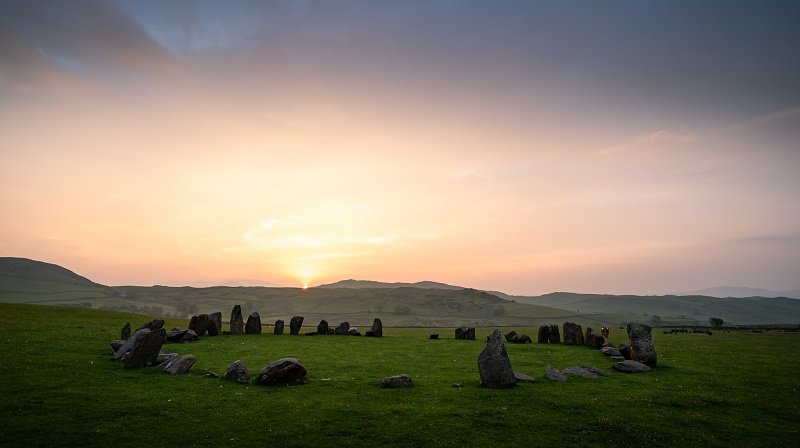
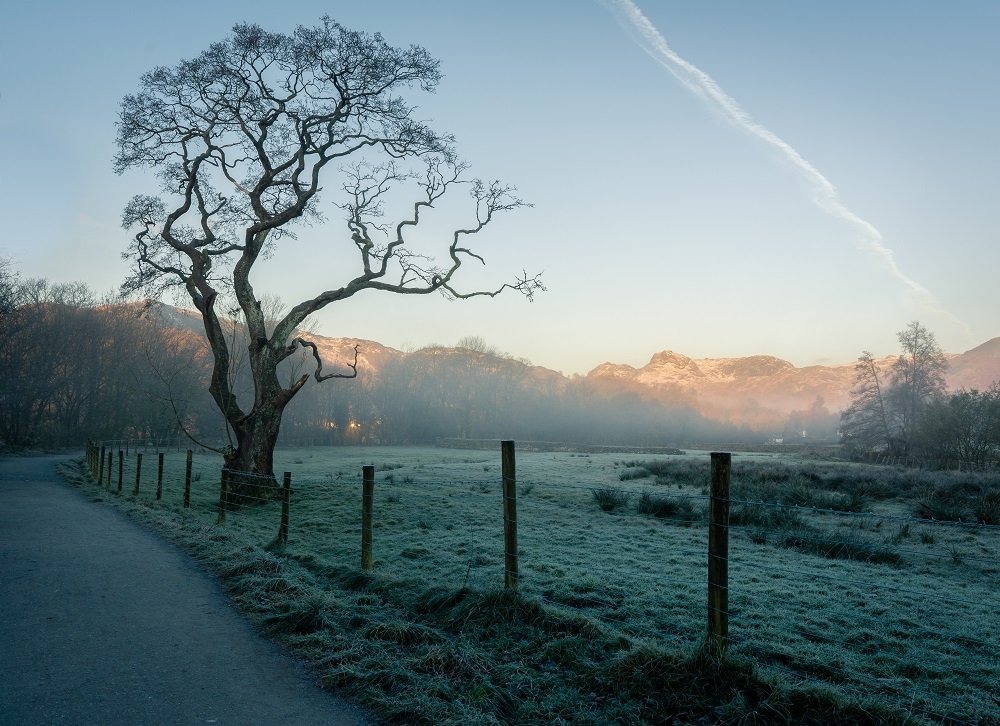
There is a reason so many landscape photographers swear by shooting at sunrise — the light is softer, the colours are warmer, and you often have the entire location to yourself. During the golden hour, the low angle of sunlight creates long shadows that reveal texture and depth in the landscape that simply does not exist at midday.
Adapting to Unexpected Conditions
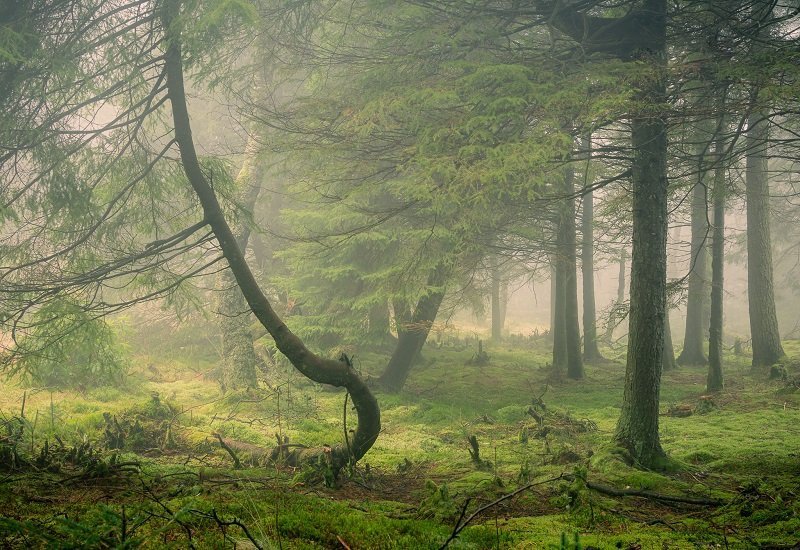
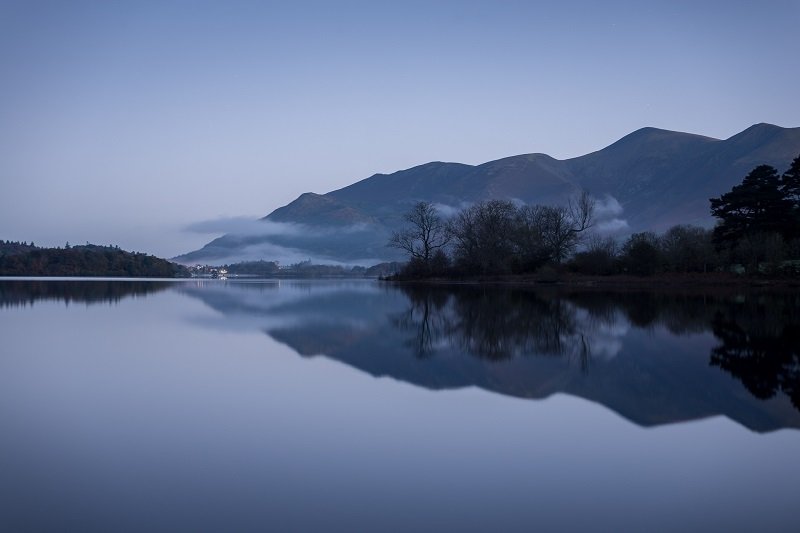
Some of the most compelling landscape images come from conditions that most photographers would consider unfavourable. Overcast skies eliminate harsh shadows and produce even, diffused light that works beautifully for woodland scenes, waterfalls, and intimate landscapes. Rain adds reflections, saturates colours, and creates atmosphere that you simply cannot replicate in post-processing.
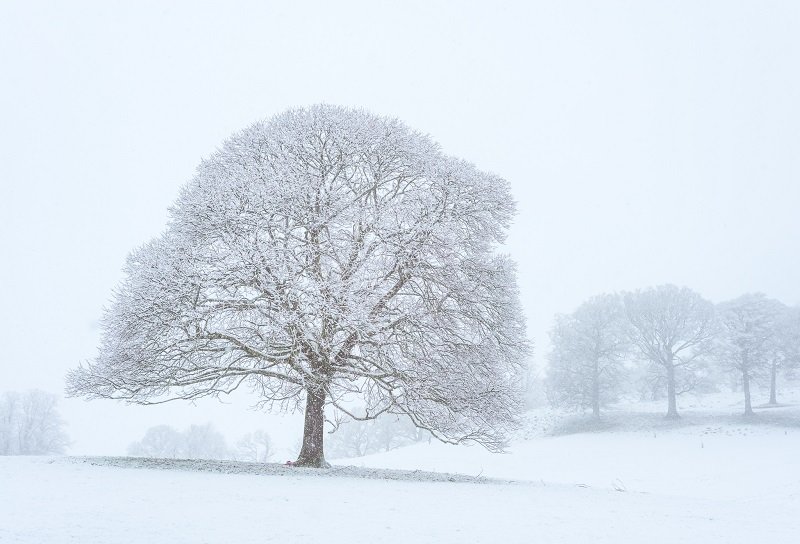
The key is to match your subject matter to the conditions rather than fighting against them. When the sky is featureless and grey, tighten your composition and focus on details, textures, and patterns within the landscape itself.
What Location Shoots Actually Cost You
Essential Gear Budget Breakdown
Landscape photography shooting on location does not require you to spend a fortune, but understanding where your money goes helps you prioritise the gear that actually matters in the field. Below is a realistic breakdown of what a well-equipped landscape photographer carries.
| Item | Budget Option | Mid-Range | Professional |
|---|---|---|---|
| Camera body | $500–$800 | $1,200–$2,000 | $2,500+ |
| Wide-angle lens (14–24mm) | $250–$400 | $700–$1,100 | $1,500+ |
| Telephoto lens (70–200mm) | $300–$500 | $800–$1,300 | $2,000+ |
| Tripod | $80–$150 | $200–$400 | $500+ |
| Filter system (ND + polariser) | $60–$120 | $200–$350 | $400+ |
| Camera bag / backpack | $50–$100 | $150–$250 | $300+ |
| Total estimate | $1,240–$2,070 | $3,250–$5,400 | $7,200+ |
Hidden Costs Most Photographers Overlook
Beyond the gear itself, regular location shooting adds recurring expenses that accumulate quickly over time:
- Fuel and travel — multiple scouting trips plus the actual shoot day add up, especially for remote locations
- Parking fees at national parks and coastal areas, which can range from $5 to $30 per visit
- Weather-appropriate clothing and waterproof boots, because you will be standing in wet grass at dawn
- Memory cards and backup drives to handle large RAW files from extended sessions
- Lens cleaning supplies and microfibre cloths, which you will go through faster than you expect
Field Techniques for Landscape Photography Shooting on Location
Composition from the Ground Up
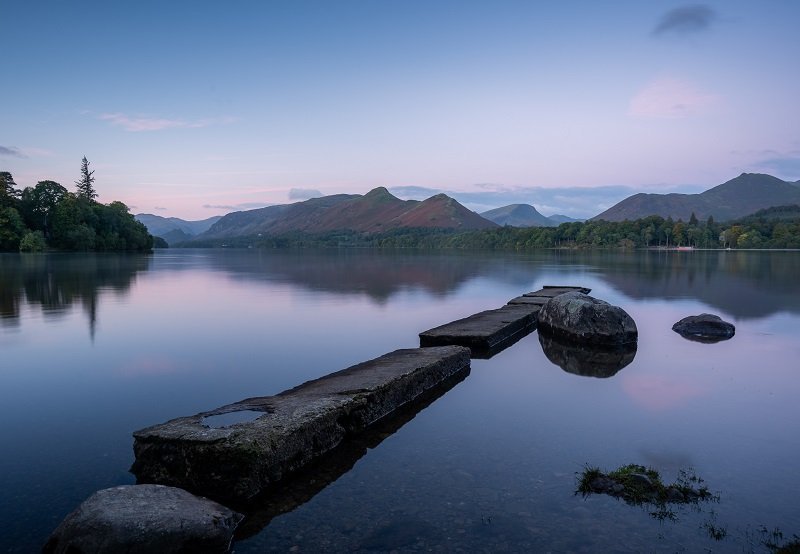
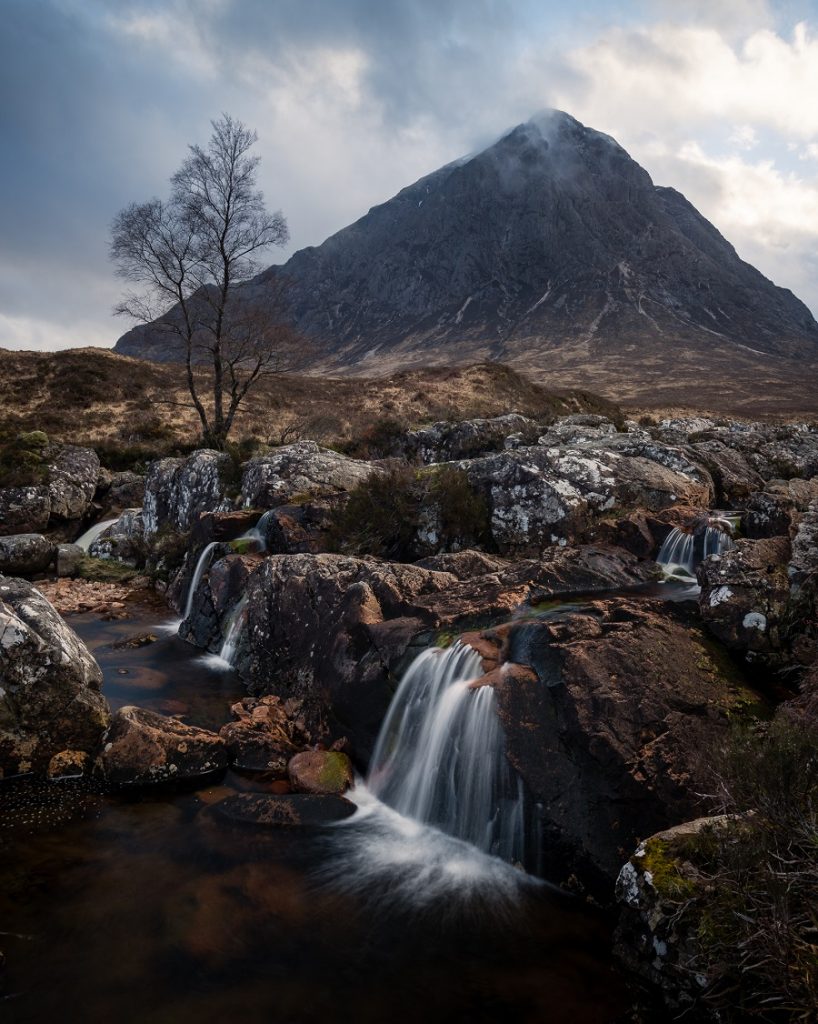
Strong landscape compositions almost always start with a compelling foreground element that draws the viewer into the frame and creates a sense of depth. Look for rocks, leading lines, water channels, or interesting textures within a few metres of your tripod position. Understanding how leading lines work in your compositions is one of the fastest ways to improve your on-location results.
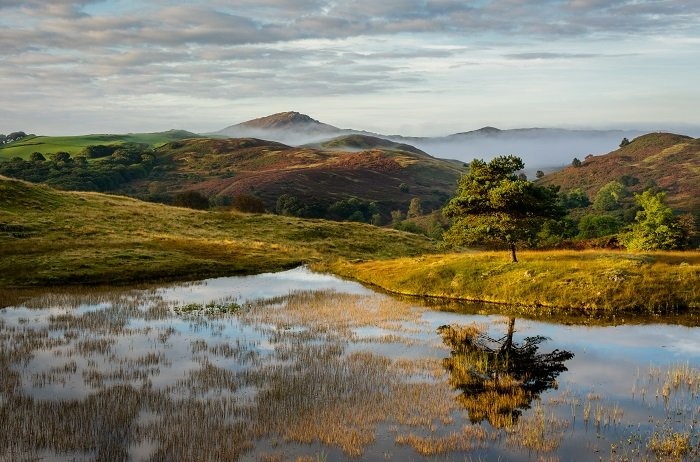
Think about your frame in three layers — foreground, middle ground, and background — and ensure each layer contributes something meaningful to the overall image. A strong foreground anchors the composition, the middle ground provides context and scale, and the background delivers the dramatic payoff that catches the viewer's eye.
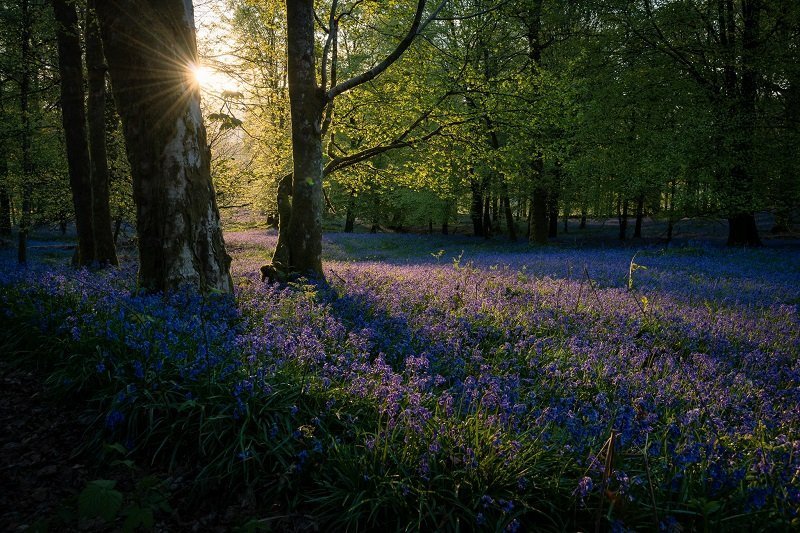
Warning: Resist the urge to include everything you see. The strongest landscape images are often the simplest ones with a clear subject and minimal distractions.
Working with Available Light
Light is the single most important variable you deal with on location, and learning to read it quickly separates experienced photographers from beginners. You need to pay attention to not just the direction of light, but also its quality, colour temperature, and how it interacts with the specific terrain in front of you.
Consider these practical light-reading habits to build into your workflow on location:
- Check the histogram after your first test shot — do not trust the LCD preview in bright or dim conditions
- Use a graduated ND filter to balance exposure between a bright sky and darker foreground rather than relying entirely on bracketing
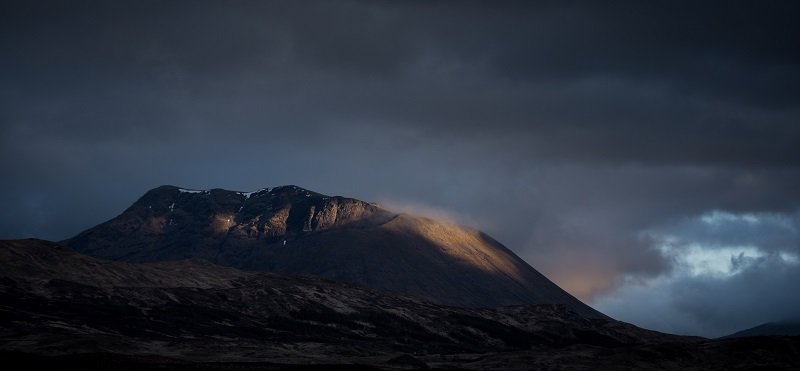
- Watch for light pockets breaking through clouds, which can illuminate a specific part of the scene and create a natural focal point
- Shoot through the transitions between blue hour, golden hour, and full daylight rather than packing up after a single window
Location Mistakes That Ruin Great Shots
Rushing Your Setup
The most common mistake in landscape photography shooting on location is arriving just minutes before the light peaks and scrambling to find a composition under pressure. When you rush, you default to the most obvious viewpoint — the same one every other photographer uses — and you miss the subtler, more creative angles that require exploration.
Other field mistakes that consistently cost photographers their best opportunities include:
- Shooting only at eye level — get low to exaggerate foreground interest, or find an elevated vantage point to reveal patterns in the landscape below
- Forgetting to check your lens for water droplets, dust, or condensation before firing off a sequence of shots
- Leaving your polariser on when it is not needed, which can cost you one to two stops of light and create uneven sky gradients with wide-angle lenses
- Not taking a test shot with your phone first to quickly evaluate a composition before committing to a full tripod setup
- Packing up too early when conditions seem poor, because dramatic light often arrives in unpredictable bursts after a long wait
Ignoring the Edges of Your Frame
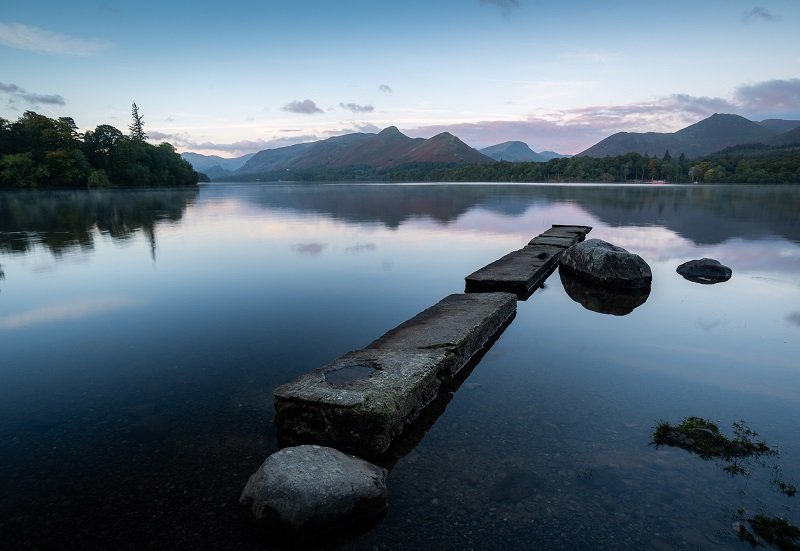
Your eye naturally gravitates toward the centre of the viewfinder, but the edges of the frame are where distracting elements sneak in and weaken your composition. Before you press the shutter, scan every edge systematically for stray branches, bright highlights, or other visual clutter that pulls attention away from your subject.
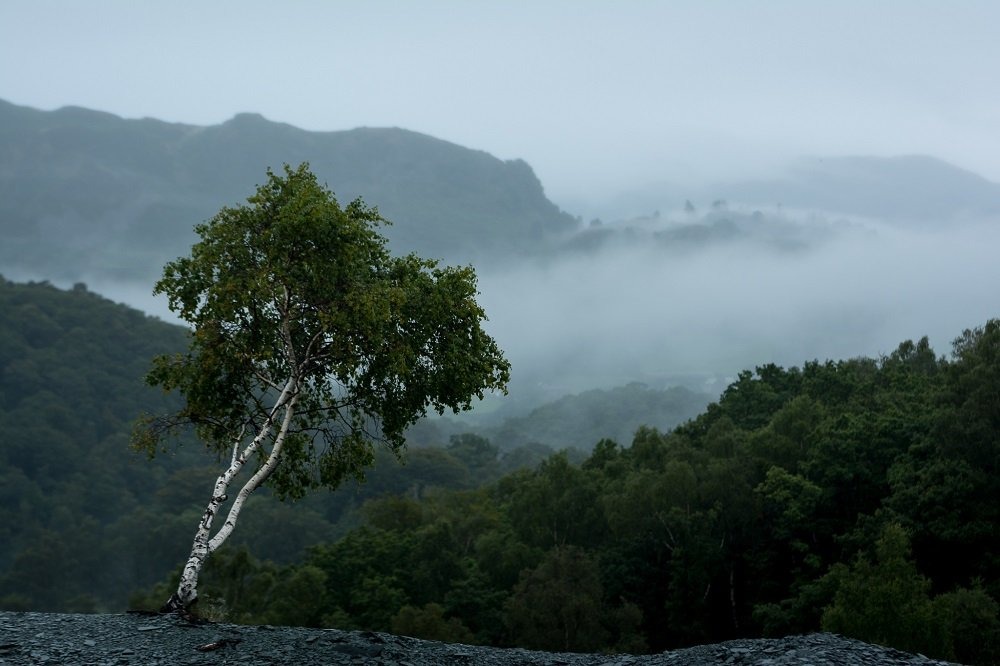
Simplifying your frame is one of the most powerful compositional techniques you can apply in the field. When you find yourself unsure about whether to include an element, the answer is almost always to leave it out and let the core subject breathe.
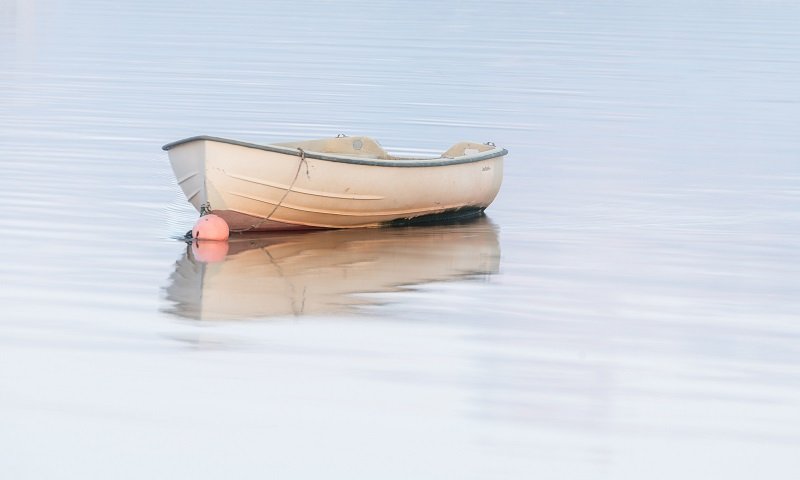
Weighing the Rewards and Challenges
On-Location Pros and Cons
Every location shoot involves trade-offs, and understanding them helps you prepare mentally and logistically for what lies ahead. Here is an honest look at both sides of spending time in the field.
Advantages of shooting on location:
- You develop an intuitive understanding of light, weather, and composition that no amount of YouTube tutorials can replicate
- Each visit to a location deepens your relationship with that landscape, leading to increasingly refined and personal images over time
- The physical experience of being outdoors in nature improves your patience, observation skills, and overall creative mindset
- You build a diverse portfolio that reflects genuine fieldwork rather than heavily processed studio-style edits
Challenges you will face:
- Weather is unpredictable, and you will make many trips that produce no usable images whatsoever — this is completely normal
- Early morning and late evening shoots demand significant commitment, especially during winter when golden hour falls at unsociable times
- Remote locations bring safety considerations including uneven terrain, changing tides, and limited mobile signal coverage
- Gear fatigue from carrying heavy equipment over rough ground takes a physical toll on longer sessions
Pro insight: Consider swapping your heavy zoom for a single prime lens on longer hikes. As Jake Traynor explains, creative constraints often lead to stronger, more intentional images.
Frequently Asked Questions
What camera settings should you use when shooting landscapes on location?
Start with aperture priority mode at f/8 to f/11 for the sharpest results across your frame, keep your ISO as low as possible (typically ISO 100), and use a remote shutter release or a two-second timer to eliminate camera shake. Adjust from there based on conditions — if you need to blur water movement, switch to manual mode and extend your shutter speed with an ND filter.
How do you choose the best foreground element on location?
Look for objects that create a visual pathway into the scene, such as leading rocks, flowing water, textured sand, or patterned vegetation. The foreground should complement your background subject rather than compete with it, and its placement within the lower third of your frame naturally draws the viewer's eye deeper into the image.
Is it worth revisiting the same location multiple times?
Returning to a familiar location is one of the most effective ways to improve your landscape photography because you already understand the terrain and can focus entirely on refining your compositions and timing. Different seasons, weather patterns, and lighting conditions transform the same spot into an entirely different photographic opportunity each time you visit.
Final Thoughts
The best way to internalise everything in this guide is to pick a location within an hour of your home, commit to a sunrise shoot this week, and apply just two or three of the techniques covered here. Do not try to master every concept at once — focus on reading the light, building a layered composition, and staying patient when conditions test you. Your fieldwork is where real growth happens, and every outing brings you one step closer to the images you have been visualising.
 |
 |
 |
 |

About Alex W.
Alex is a landscape, equine, and pet photographer based in the Lake District, UK, with years of experience shooting in one of Britain's most photographically demanding natural environments. His work has been featured in Take a View Landscape Photographer of the Year, Outdoor Photographer of the Year, and Amateur Photographer Magazine — publications that reflect a serious, competitive standard of image-making. At Click and Learn Photography, he shares the camera settings, gear choices, and compositional techniques he has developed through real-world shooting and competition-level work.
You can Get FREE Gifts. Furthermore, Free Items here. Disable Ad Blocker to receive them all.
Once done, hit anything below
|
|
|
|