Natural Light in Photography – The Types of Light and How to Use Them
by Alex W.
Last autumn, our team spent a full morning chasing the light along a coastal trail — no flashes, no reflectors, just the sun doing its thing. The results were some of the most compelling landscape shots we'd captured all year, and it cost us nothing beyond showing up at the right time. Understanding the types of natural light photography is the single biggest lever anyone can pull to improve their images without spending a dime on new gear. Natural light is free, endlessly variable, and — once a photographer learns to read it — more versatile than most studio setups. In this ultimate guide, our team breaks down every major type of natural light, the gear that helps harness it, and the mistakes that trip up even experienced shooters.
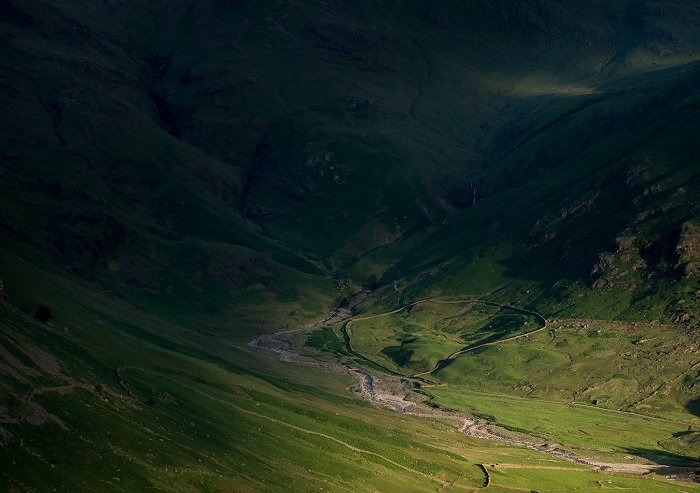
The sun produces dramatically different qualities of light depending on the time of day, weather, and season. Each type — from the warm glow of golden hour to the flat softness of an overcast sky — demands a different approach to exposure, composition, and white balance. Our team has found that photographers who learn the basics of photography with natural light first tend to develop a much stronger instinct for how light shapes a scene.
What follows is everything we've learned across thousands of shoots, distilled into practical advice that works whether someone is shooting portraits in a park or landscapes in the mountains.
Contents
- Essential Gear for Harnessing Natural Light
- Simple Techniques That Instantly Improve Natural Light Shots
- Advantages and Limitations of Shooting with Natural Light
- Types of Natural Light in Real Shooting Scenarios
- Mistakes That Ruin Natural Light Photos
- Building a Natural Light Kit on Any Budget
- Frequently Asked Questions
- Final Thoughts
Essential Gear for Harnessing Natural Light
Natural light photography doesn't require a truck full of equipment, but a few key accessories make a massive difference. Our team keeps a lean kit specifically for ambient-light shoots.
Reflectors and Diffusers
A 5-in-1 reflector is the single most useful natural light accessory. It folds down small and gives five surfaces — white, silver, gold, black, and translucent diffuser. Here's how we use each:
- White — soft, neutral fill for portraits; our default choice
- Silver — punchy fill with more contrast, ideal for overcast days
- Gold — warm fill that mimics late-afternoon sun
- Black — subtracts light to deepen shadows (negative fill)
- Translucent — held overhead as a scrim to soften harsh midday sun
For landscape work, reflectors are impractical, so we rely on timing and positioning instead. A solid tripod becomes essential for low-light situations like blue hour or forest interiors where shutter speeds drop below handheld range.
Lens Selection
Fast primes — f/1.4 or f/1.8 — are the workhorses of natural light shooting. They gather more light, allow faster shutter speeds, and produce beautiful background separation. Our team favors a 35mm and an 85mm as a two-lens natural light kit. For landscape shooters, a wide-angle zoom like a 16-35mm paired with a polarizing filter handles most golden-hour scenarios.
Simple Techniques That Instantly Improve Natural Light Shots
Most people overcomplicate natural light photography. A few adjustments in the field produce immediate, visible improvements — no post-processing required.
Reading Light Direction
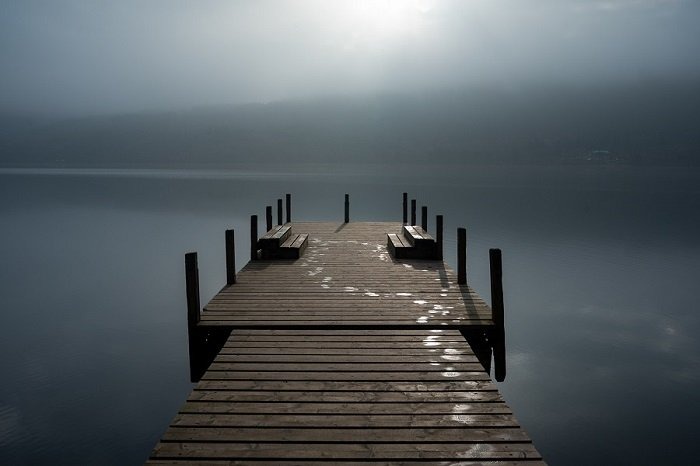
Light direction is everything. The three main directions are:
- Front light — even illumination, minimal shadows, safe but flat
- Side light — reveals texture, depth, and dimension; our favorite for landscapes and portraits
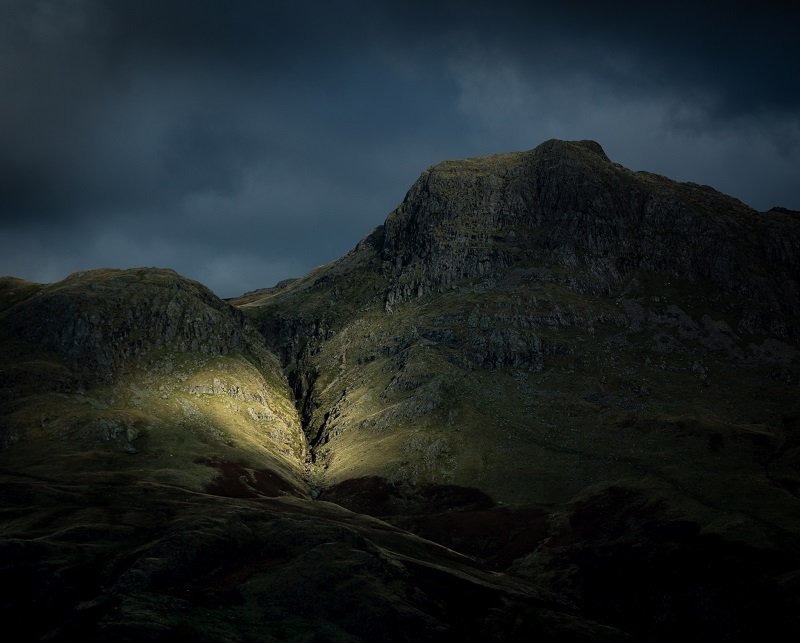
- Backlight — creates rim light, silhouettes, and lens flare; dramatic but tricky to expose
Anyone who hasn't already explored advanced composition techniques should pair those principles with directional light awareness. The combination of strong composition and intentional light direction is what separates average shots from portfolio-worthy images.
Exposure Adjustments
Our team always shoots in manual mode when working with natural light. Matrix metering gets confused by backlit scenes, so we switch to spot metering and expose for the subject's face or the brightest highlight we want to retain. Exposure compensation of +0.7 to +1.0 stops works well for backlit portraits — it lifts the subject without completely blowing out the background.
Bracketing is another fast win for landscape shooters. Three exposures at -1, 0, and +1 stop give plenty of dynamic range to blend later in Lightroom.
Advantages and Limitations of Shooting with Natural Light
Natural light is not inherently better or worse than artificial light — it's a different tool with different trade-offs. Our team uses both, but we lean heavily toward ambient light for most portrait and landscape work.
Where Natural Light Excels
- Zero equipment cost beyond the camera and lens
- Produces organic, believable skin tones
- Works at any scale — from macro to vast landscapes
- No power source needed, making it ideal for remote locations
- Encourages observation and patience, which build stronger photographic instincts
Where It Falls Short
- Unpredictable — weather and time constraints limit shooting windows
- Low-light situations demand high ISO or slow shutter speeds
- Cannot replicate certain flash photography effects like freezing fast action in dim conditions
- Color temperature shifts constantly, requiring frequent white balance adjustments
Types of Natural Light in Real Shooting Scenarios
Understanding the types of natural light photography matters most when applied to real-world situations. Here's how each light type behaves in the field and what our team recommends for each.
Golden Hour and Blue Hour
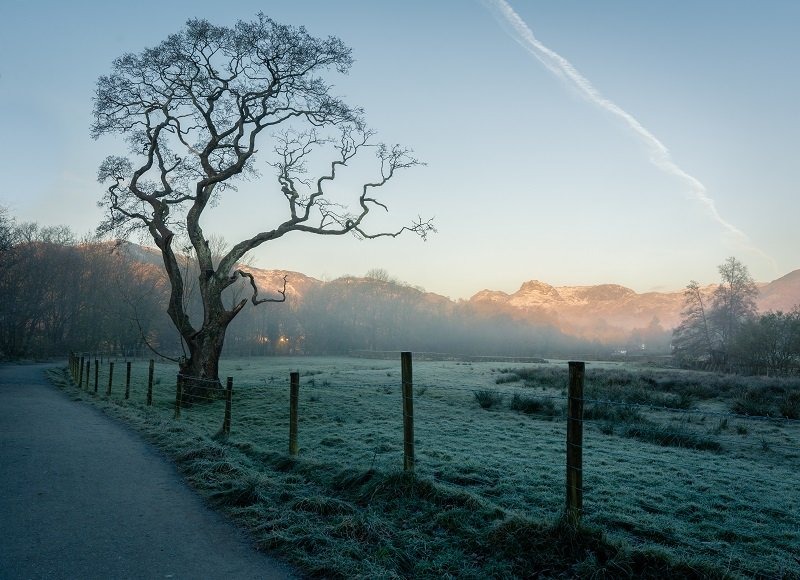
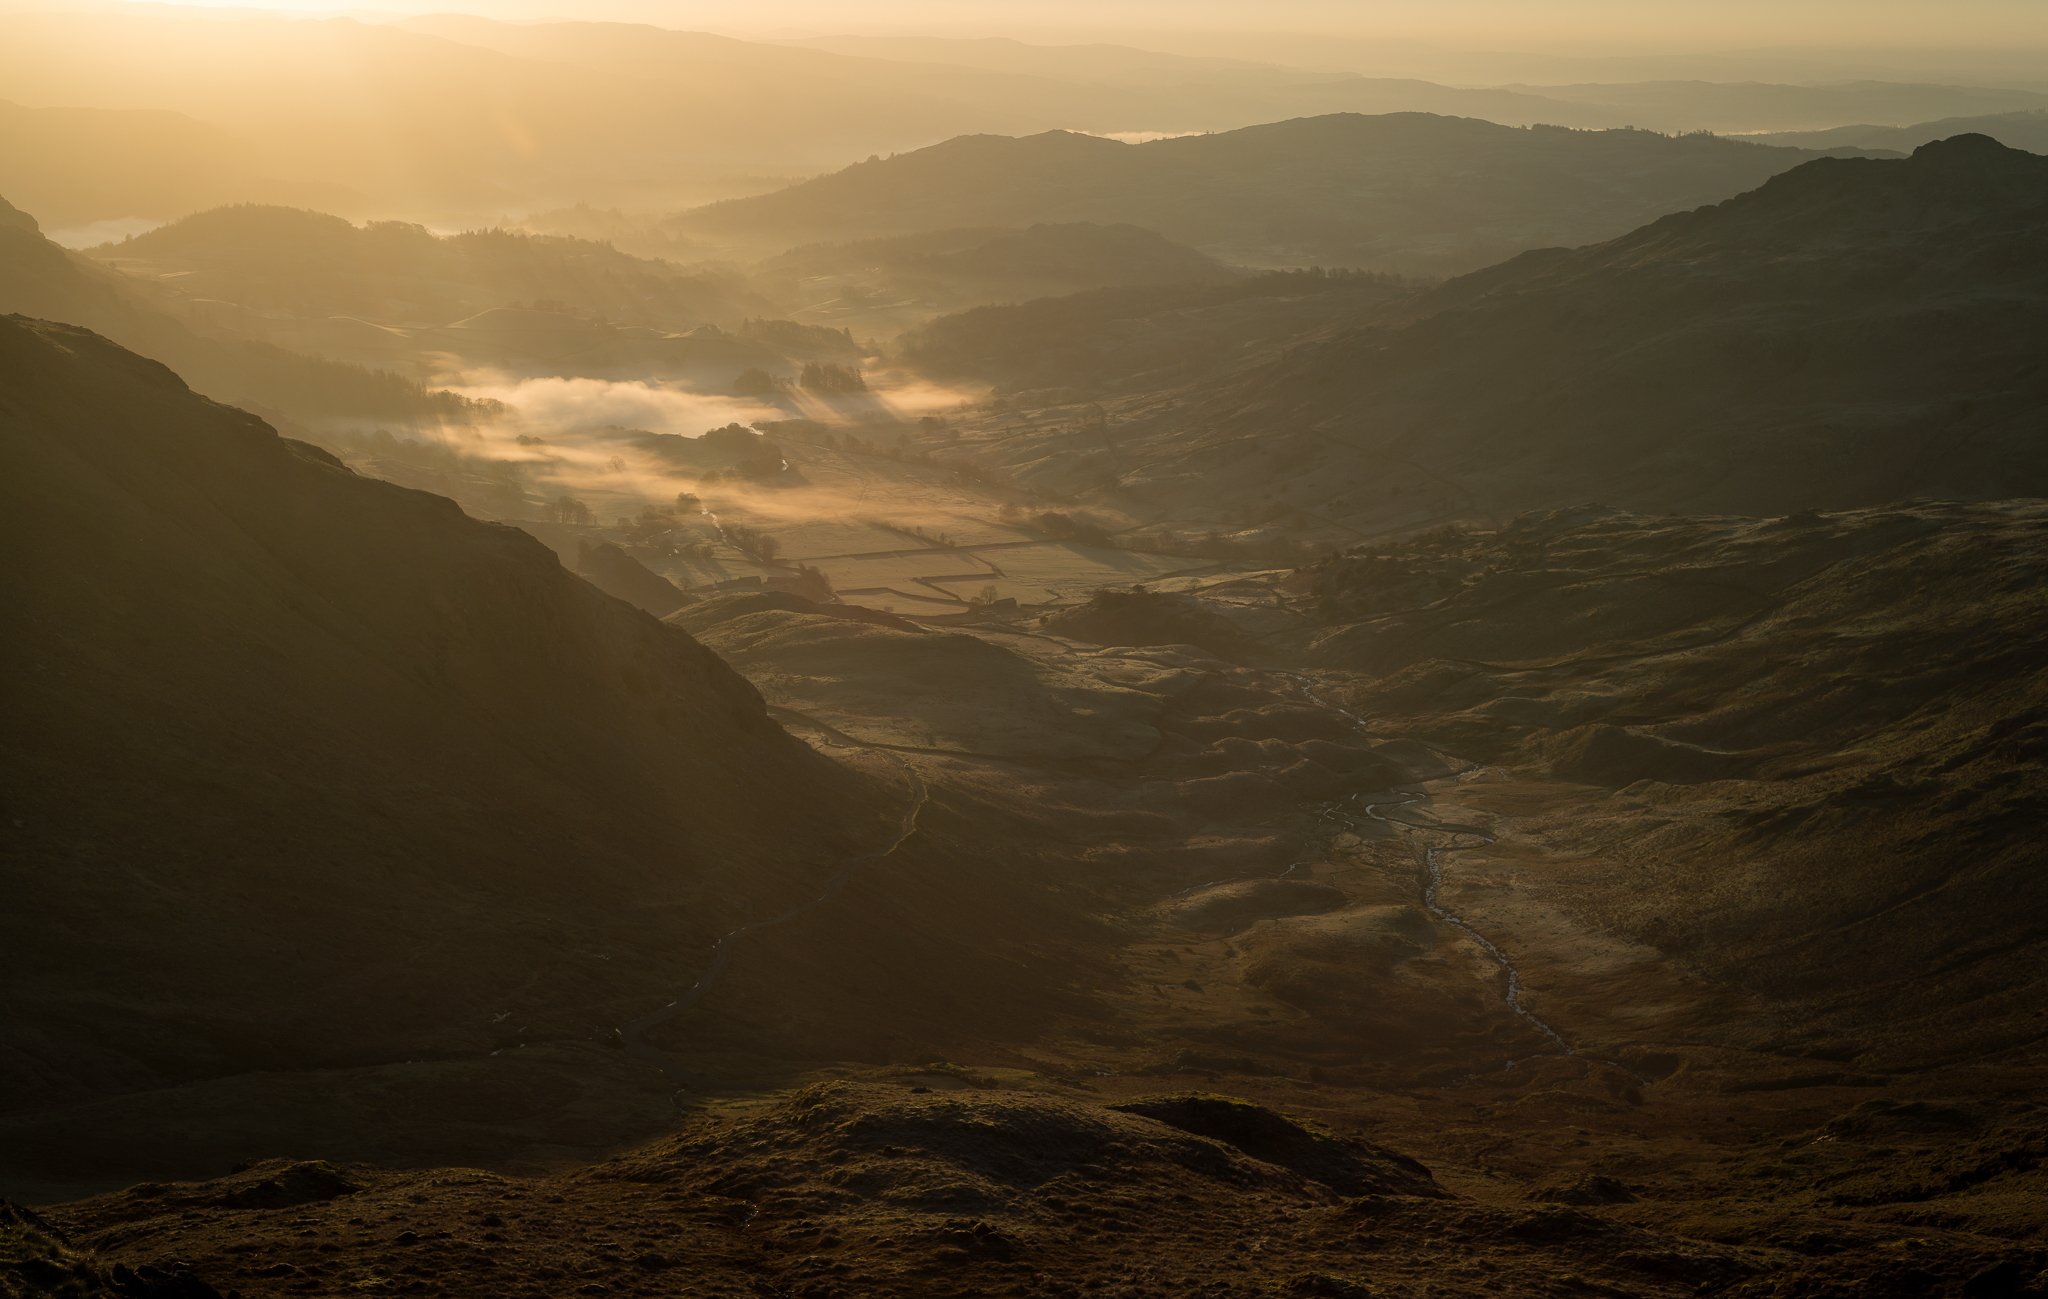
The golden hour — roughly the first hour after sunrise and the last before sunset — produces warm, directional light with long shadows. It's the most sought-after natural light for good reason: it flatters everything. Blue hour follows sunset (or precedes sunrise) and casts a cool, even glow that's stunning for cityscapes and seascapes.
Our team has consistently found that landscape photography during these windows requires almost no post-processing compared to midday shoots. The light does the heavy lifting.
Overcast and Diffused Light
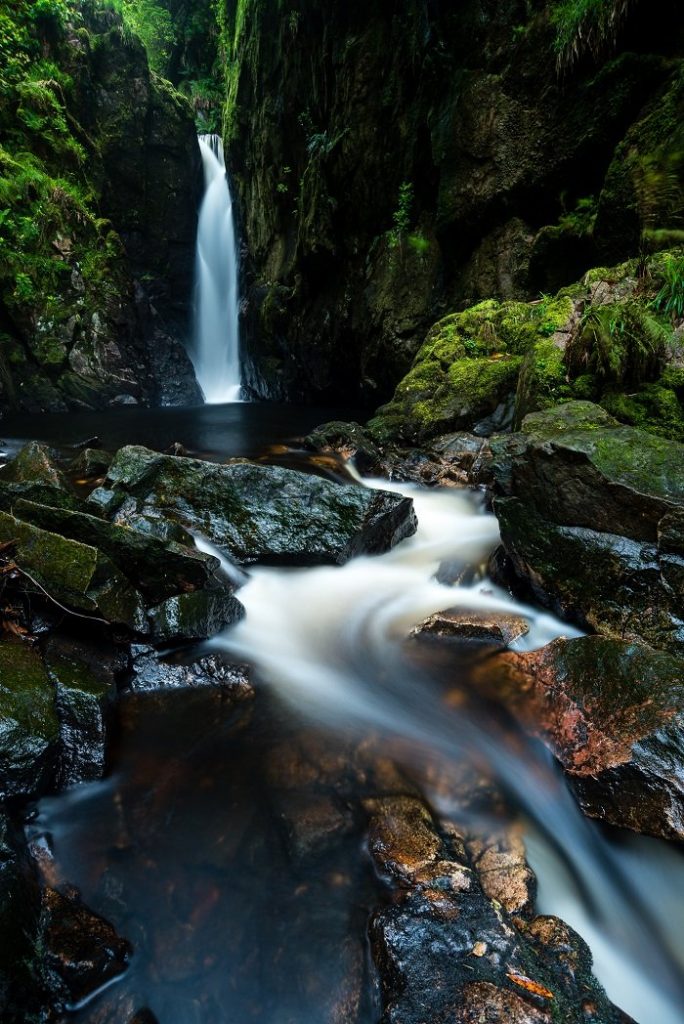
Clouds act as a giant softbox. Overcast days produce even, shadow-free illumination that's perfect for portraits, macro work, and forest photography. Colors appear more saturated because there's no harsh specular glare washing them out.
Anyone shooting on cloudy days should embrace the conditions rather than waiting for sun. Our team actually prefers overcast skies for woodland shoots — the diffused light eliminates the harsh dappled shadows that direct sun creates through canopy gaps.
Harsh Midday Sun
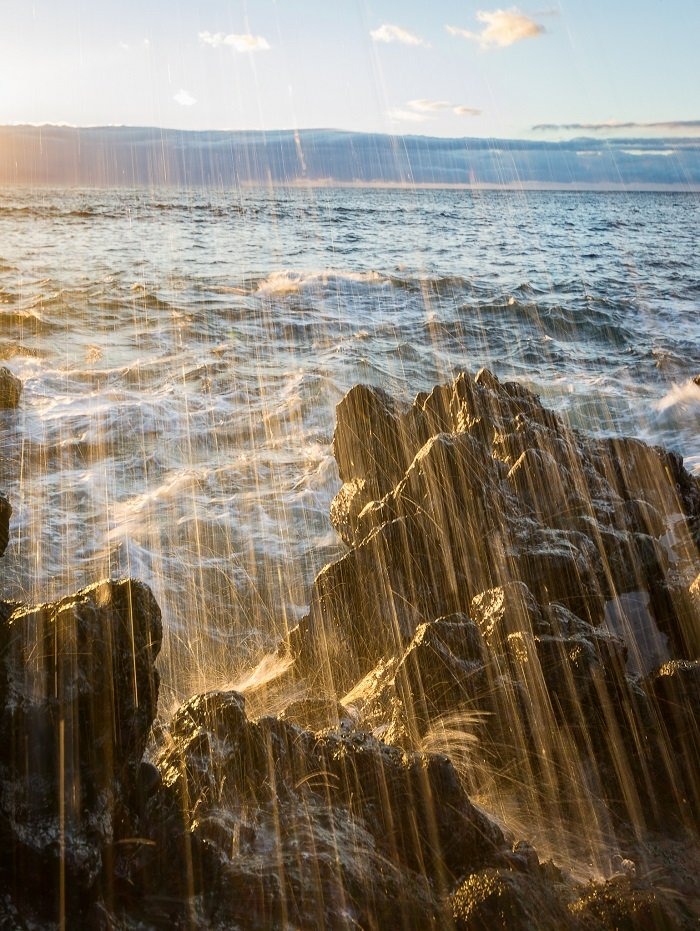
Most photographers avoid midday light, and we understand why — it's contrasty, unflattering for skin, and creates deep eye-socket shadows. But it's not unusable. Harsh light excels for:
- Architectural photography where strong shadows define geometric forms
- Street photography with dramatic light-and-shadow contrasts
- Creative silhouettes shot against bright skies
- Macro subjects where a translucent diffuser tames the intensity
The key is working with the contrast rather than fighting it. Expose for highlights and let the shadows go dark. The results can be striking.
| Light Type | Best For | Color Temp (K) | Difficulty |
|---|---|---|---|
| Golden Hour | Landscapes, Portraits | 3,000–4,000 | Easy |
| Blue Hour | Cityscapes, Seascapes | 9,000–12,000 | Moderate |
| Overcast | Portraits, Macro, Forests | 6,500–7,500 | Easy |
| Open Shade | Portraits, Products | 7,000–8,000 | Easy |
| Harsh Midday | Architecture, Street | 5,200–5,500 | Hard |
| Window Light | Portraits, Still Life | 5,500–6,500 | Easy |
| Dappled Light | Creative Portraits | Variable | Hard |
Mistakes That Ruin Natural Light Photos
After reviewing thousands of student images, our team sees the same errors repeated constantly. These are the ones that matter most.
Metering Errors
The number one mistake is trusting the camera's automatic metering in tricky light. Backlit scenes fool evaluative metering every time — the camera exposes for the bright background and turns the subject into a silhouette. Spot metering on the subject solves this instantly. Anyone still relying on auto exposure should consider switching — becoming a better photographer starts with taking control of exposure.
Other common metering mistakes include:
- Forgetting to reset exposure compensation after a backlit scene
- Using the same white balance preset all day as light conditions change
- Shooting RAW but never adjusting exposure in post — RAW only helps if the data gets processed
Ignoring Background Light
A well-lit subject against a distracting background still produces a weak image. Our team always checks what the light is doing behind the subject. Hot spots, bright patches of sky peeking through trees, and reflective surfaces all pull the viewer's eye away from the focal point. Moving a few feet — or waiting ten minutes for the sun to shift — often eliminates the problem entirely.
Building a Natural Light Kit on Any Budget
One of the best things about natural light photography is that the main light source is free. The supporting gear scales to fit any budget.
Budget Tiers
Under $50: A 5-in-1 reflector ($20–30) and a phone app like PhotoPills or Sun Surveyor ($10) for tracking sun position. That's genuinely all most people need to start producing professional-quality natural light portraits.
$50–200: Add a circular polarizer ($40–80) for landscapes, a fast 50mm f/1.8 ($100–150 used), and a basic tripod. This kit covers golden hour landscapes, overcast portraits, and blue-hour long exposures.
$200–500: Step up to a proper carbon fiber travel tripod, a graduated ND filter set, and a second fast prime (35mm or 85mm). At this level, the kit handles every natural light scenario our team encounters regularly.
The point is clear: mastering types of natural light photography doesn't require expensive gear. It requires understanding how light behaves and showing up when the conditions align. Time and knowledge beat equipment every single time.
Frequently Asked Questions
What are the main types of natural light photography?
The primary types include golden hour (warm, directional), blue hour (cool, even), overcast (soft, diffused), open shade (neutral, shadow-free), harsh midday (high-contrast, direct), window light (directional, controllable indoors), and dappled light (patchy, filtered through foliage). Each type suits different subjects and demands different camera settings.
Is natural light better than artificial light for portraits?
Neither is objectively better — they serve different purposes. Natural light produces organic, believable skin tones with minimal setup. Artificial light offers total control over intensity, direction, and color. Our team uses natural light for most outdoor and lifestyle portraits and switches to flash only when the ambient conditions are too dim or inconsistent.
What camera settings work best for golden hour photography?
Our team typically shoots at ISO 100–400, aperture between f/2.8 and f/8 depending on depth of field goals, and adjusts shutter speed to match. Setting white balance to "Daylight" or around 5,500K preserves the warm tones. Shooting in RAW is essential — it captures the full dynamic range of those rich golden-hour skies.
How do overcast skies affect photo quality?
Overcast skies act as a massive natural diffuser, eliminating harsh shadows and reducing contrast. Colors appear richer and more saturated. The trade-off is less dramatic light and a slightly cooler color temperature. It's ideal for portraits, macro, and forest photography where even illumination matters more than directional drama.
Can good natural light photos be taken at midday?
Absolutely. Midday sun works well for architectural photography, graphic street photography, and creative silhouettes. The trick is working with the hard shadows rather than against them. A simple translucent diffuser held above a portrait subject can also tame midday sun into usable, soft light.
What is the cheapest way to improve natural light photos?
A 5-in-1 reflector costs around $20 and produces an immediate, visible improvement by bouncing fill light into shadow areas. Beyond that, learning to read light direction and shooting during golden hour — both completely free — have the biggest impact on image quality.
How does window light differ from outdoor natural light?
Window light is directional and controllable. The window acts as a frame that shapes the light, while the distance from the window to the subject controls falloff and contrast. Moving the subject closer to the window increases contrast; moving them further away softens it. Sheer curtains serve as an instant diffuser. Our team considers window light one of the most versatile and underused types of natural light photography available.
Final Thoughts
The best way to internalize the types of natural light photography is to pick one — golden hour, overcast, harsh midday — and spend an entire session shooting only in that light. Observe how it wraps around subjects, where it falls off, and how it shifts minute by minute. Our team recommends grabbing a camera, a reflector, and heading out during the next golden hour to put these principles into practice. The light is free, the lessons are permanent, and the results will speak for themselves.
 |
 |
 |
 |

About Alex W.
Alex is a landscape, equine, and pet photographer based in the Lake District, UK, with years of experience shooting in one of Britain's most photographically demanding natural environments. His work has been featured in Take a View Landscape Photographer of the Year, Outdoor Photographer of the Year, and Amateur Photographer Magazine — publications that reflect a serious, competitive standard of image-making. At Click and Learn Photography, he shares the camera settings, gear choices, and compositional techniques he has developed through real-world shooting and competition-level work.
You can Get FREE Gifts. Furthermore, Free Items here. Disable Ad Blocker to receive them all.
Once done, hit anything below
|
|
|
|