Astrophotography – Beginner’s Guide to Improving Your Night Photography
by Alex W.
You don't need expensive gear or years of experience to photograph the night sky — you need the right settings, a sturdy tripod, and a clear night. Astrophotography for beginners comes down to understanding how your camera collects light in darkness, then putting that knowledge into practice one shoot at a time. If you've ever looked up at the Milky Way and wondered how photographers capture those stunning images, this guide walks you through everything from equipment choices to camera settings to post-processing. Consider this your roadmap through our ultimate guides collection, focused entirely on getting you from zero to sharp star photos.

The night sky rewards patience and preparation. Unlike daytime shooting where you can rely on autofocus and auto-exposure, astrophotography demands manual control over every setting. That's what makes it both challenging and deeply satisfying — every successful shot is earned.
Whether you want to capture pinpoint stars, sweeping Milky Way panoramas, or dramatic star trails, the fundamentals stay the same. Master them once, and you'll adapt to any dark-sky scenario you encounter.
Contents
- Why the Night Sky Is Worth Chasing
- Essential Gear for Astrophotography for Beginners
- Camera Settings That Actually Work
- Astrophotography Budget Breakdown
- Mistakes That Ruin Your Night Shots
- DSLR vs. Mirrorless for Night Photography
- Building Your Astrophotography Skills Over Time
- Frequently Asked Questions
- Next Steps
Why the Night Sky Is Worth Chasing
Astrophotography sits at the intersection of science and art. You're literally capturing ancient light — photons that traveled millions of years to reach your sensor. According to Wikipedia's overview of astrophotography, the practice dates back to the mid-1800s, but modern digital sensors have made it accessible to anyone with a camera and a dark location.
Here's why astrophotography for beginners is one of the most rewarding niches to explore:
- Low barrier to entry — your current camera likely handles it if it has manual mode
- Forces you to master exposure fundamentals that improve all your photography
- Produces images that genuinely impress people who've never seen the Milky Way in person
- Gets you outdoors at night in locations with minimal light pollution — remote, beautiful places
- Each session teaches you something new about your equipment's limits
The night sky also changes constantly. Milky Way season, meteor showers, lunar eclipses, and auroral events give you fresh subjects throughout the year. You'll never run out of things to shoot.
Essential Gear for Astrophotography for Beginners
You don't need to spend thousands to start. But you do need specific gear that handles darkness well. Here's what matters — and what doesn't.
Camera Body
Any camera with manual exposure control and interchangeable lenses works. Full-frame sensors perform best because larger photosites gather more light, producing cleaner high-ISO images. But APS-C and Micro Four Thirds cameras absolutely work — noise reduction software has closed the gap significantly.
If you're shopping for your first camera, our guide to the best DSLR cameras for beginners covers models that handle night photography well. For mirrorless options, check our best beginner mirrorless cameras roundup.
Key specs to prioritize:
- Good high-ISO performance (usable images at ISO 3200–6400)
- Bulb mode for exposures beyond 30 seconds
- Live View with digital zoom for manual focusing on stars
- RAW file support (essential for post-processing night sky images)
Lenses
A fast wide-angle lens is your most important astrophotography investment. You want the widest maximum aperture you can afford — f/2.8 or faster. Focal lengths between 14mm and 24mm (full-frame equivalent) capture the most sky.
Budget picks that deliver sharp stars:
- Rokinon/Samyang 14mm f/2.8 — the classic starter lens, manual focus only
- Sigma 16mm f/1.4 (APS-C) — fast and sharp
- Tokina 11-20mm f/2.8 (APS-C) — zoom flexibility at a reasonable price
Browse our best Canon lenses guide if you're in the Canon ecosystem — several wide-angle options there suit night sky work perfectly.
Tripod and Accessories
A sturdy tripod is non-negotiable. Any vibration during a 20-second exposure turns stars into smudges. Avoid ultralight travel tripods unless they're carbon fiber — cheap lightweight tripods wobble in even mild wind.
- Tripod — carbon fiber if budget allows, aluminum otherwise. Look for a hook to hang your bag for added stability.
- Remote shutter release — prevents camera shake from pressing the shutter button. A basic wired remote costs under $15.
- Headlamp with red light mode — preserves your night vision while adjusting settings
- Extra batteries — long exposures and cold nights drain batteries fast. Carry at least two spares.
Our best budget photography accessories roundup includes several items that pull double duty for astrophotography.
Pro tip: Turn off your lens's image stabilization when shooting on a tripod. IS systems can actually introduce micro-vibrations during long exposures, creating softer stars.
Camera Settings That Actually Work
Settings intimidate most beginners, but astrophotography boils down to three variables: shutter speed, aperture, and ISO. Get these right and you'll capture sharp stars on your first night out.
The Rule of 500
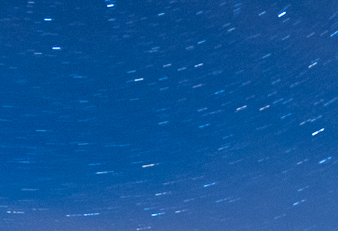
Stars move (or rather, Earth rotates). Expose too long and stars stretch into short lines instead of sharp points. The Rule of 500 gives you the maximum shutter speed before star trailing becomes visible:
500 ÷ focal length = maximum seconds of exposure
For a 24mm lens on a full-frame camera: 500 ÷ 24 = ~20 seconds. For crop sensors, multiply your focal length by the crop factor first (1.5× for APS-C, 2× for Micro Four Thirds).
Our shutter speed chart is a handy reference to keep on your phone for quick calculations in the field.
ISO and Aperture
Open your aperture as wide as it goes. If your lens is f/2.8, shoot at f/2.8. If it's f/1.4, use f/1.8 or f/2.0 — most lenses are slightly sharper one stop down from wide open.
For ISO, start at 3200 and adjust based on your results:
- ISO 1600 — darker image, less noise. Good for cameras with strong sensors.
- ISO 3200 — the sweet spot for most cameras
- ISO 6400 — brighter image, more noise. Use if your sky is truly dark.
For a deeper understanding of how aperture affects your shots, check our f-stop chart and infographic.
Additional settings to lock in before shooting:
- White balance: set manually to ~3800K–4200K (avoids orange cast from auto WB)
- Focus: switch to manual, use Live View zoomed 10× on a bright star, and fine-tune until it's a sharp point
- File format: RAW (always)
- Long exposure noise reduction: OFF (it doubles your exposure time and you can handle noise better in software)
- Mirror lockup (DSLR): ON to reduce vibration
Astrophotography Budget Breakdown
One of the biggest questions in astrophotography for beginners is how much you actually need to spend. Here's a realistic breakdown across three budget tiers.
| Item | Budget Tier | Mid-Range Tier | Advanced Tier |
|---|---|---|---|
| Camera Body | $400–600 (used APS-C) | $800–1,200 (new APS-C/used FF) | $1,500–2,500 (new full-frame) |
| Wide-Angle Lens | $250–350 (Rokinon 14mm) | $400–700 (Sigma Art) | $800–1,400 (native f/1.4) |
| Tripod | $50–80 (aluminum) | $120–200 (carbon fiber) | $250–400 (pro carbon) |
| Remote Release | $10–15 (wired) | $30–50 (wireless) | $80–120 (intervalometer) |
| Headlamp | $15 | $25 | $25 |
| Star Tracker Mount | — | — | $300–500 |
| Total | $725–1,060 | $1,375–2,175 | $2,955–4,945 |
The budget tier delivers legitimate results. You're limited more by light pollution and technique than by gear at this level. Spend your money on the lens first — a fast prime on a mediocre body outperforms a slow zoom on an expensive body every time.
For dedicated astrophotography camera recommendations across all price points, read our best cameras for astrophotography guide.
Mistakes That Ruin Your Night Shots
Every astrophotographer makes these errors early on. Knowing them in advance saves you entire nights of wasted effort.
- Shooting during a bright moon phase. Even a half moon washes out the Milky Way. Plan around the new moon — apps like PhotoPills and Stellarium show you exactly when and where the galactic core rises.
- Not checking focus after setup. Temperature changes cause focus drift on some lenses. Recheck your star focus every 30–45 minutes, especially as the night cools.
- Ignoring light pollution. Shooting from a city park gives you orange, hazy skies. Drive at least 45 minutes from major urban areas. Use a light pollution map (lightpollutionmap.info) to find Bortle Class 4 or darker skies.
- Leaving autofocus on. Your lens hunts endlessly in darkness. Switch to manual focus before you start and tape the focus ring if your lens has no lock switch.
- Skipping test shots. Take a quick 5-second shot at max ISO to check composition and focus before committing to longer exposures. It's faster than waiting 25 seconds to find out you missed the framing.
- Over-processing in post. Aggressive clarity and contrast adjustments create halos around stars and unnatural color banding. Subtle adjustments stack up — let the data speak.
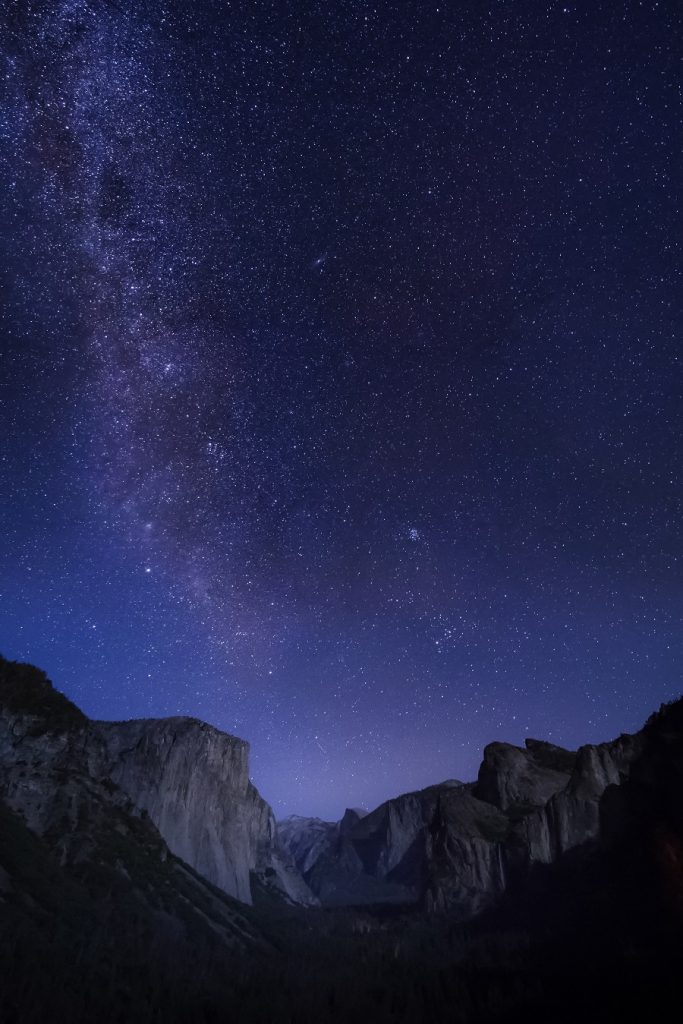
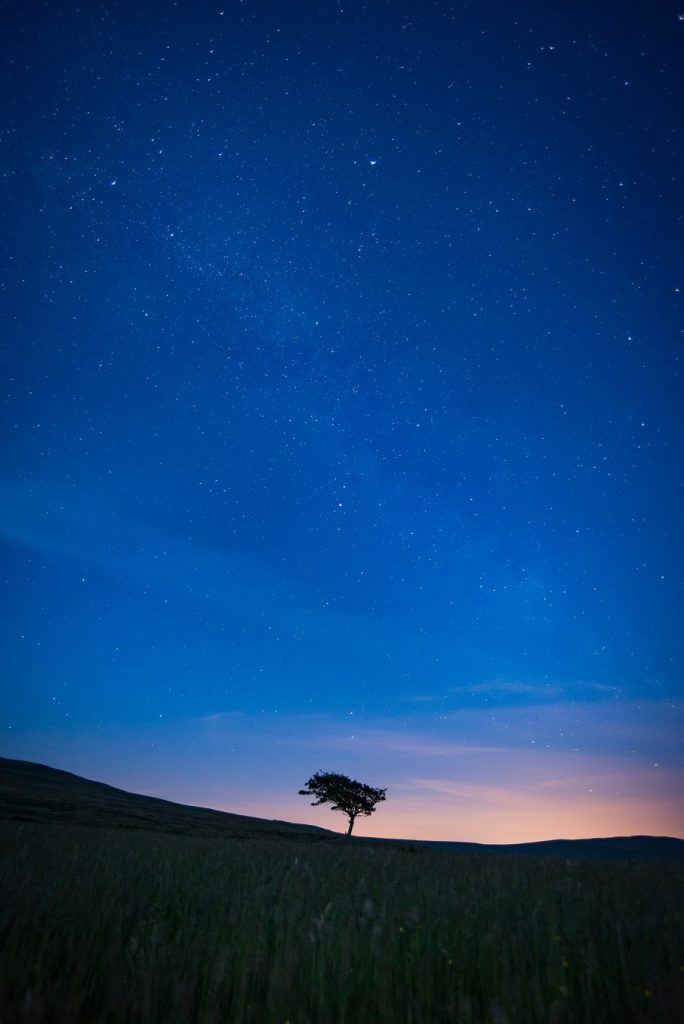
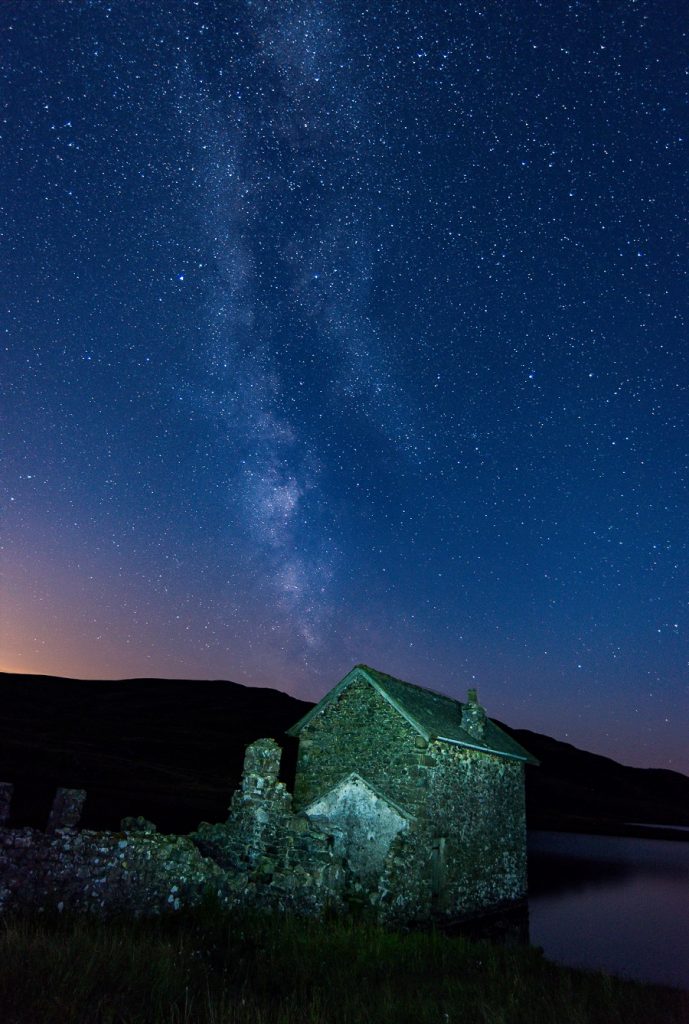
- Forgetting foreground interest. A sky full of stars needs context. Include trees, mountains, buildings, or water to anchor the image and give it depth.
Warning: Never look through your optical viewfinder at the sun during twilight while waiting for darkness. Use Live View instead — your sensor can handle it, but your eyes cannot.
DSLR vs. Mirrorless for Night Photography
This is the most common gear question beginners ask. Both systems capture excellent night sky images, but each has distinct advantages in the field.
Sensor Performance
Modern mirrorless cameras generally edge ahead in high-ISO performance because manufacturers are putting their latest sensor technology into mirrorless bodies. Sony's back-illuminated sensors and Nikon's Z-mount full-frame chips are particularly strong. But high-end DSLRs like the Nikon D850 and Canon 6D Mark II remain extremely capable — sensor generation matters more than mirror vs. mirrorless.
Practical Differences in the Field
- Battery life: DSLRs win decisively. An optical viewfinder draws no power. Mirrorless EVFs and rear screens drain batteries 2–3× faster, which matters on cold nights.
- Live View focusing: Mirrorless cameras offer better digital zoom and focus peaking, making star focusing slightly easier.
- Weight: Mirrorless bodies are lighter, which matters when hiking to remote dark-sky locations.
- Lens selection: DSLRs have decades of compatible glass. Mirrorless native wide-angle options are growing fast but adapted lenses work perfectly for manual-focus astro work.
- Viewfinder in darkness: An EVF shows you a live preview of your exposure — helpful for composition. An OVF shows you almost nothing in true darkness.
Bottom line: buy whichever system fits your budget and overall photography needs. Both deliver sharp stars.
Building Your Astrophotography Skills Over Time
Astrophotography for beginners doesn't end after your first Milky Way shot. The skill ceiling is enormous, and your progression path determines how fast you improve.
A Realistic Progression Path
- Phase 1 — Single exposures. Master the basics: sharp focus, correct exposure, compelling foreground. Shoot wide-field Milky Way and star trail images. This phase takes 3–6 outings.
- Phase 2 — Image stacking. Learn to stack multiple exposures using free software like Sequator (Windows) or Starry Landscape Stacker (Mac). Stacking 10–15 identical exposures dramatically reduces noise without adding star trails.
- Phase 3 — Tracked exposures. Invest in a star tracker mount ($300–500). This motorized platform rotates your camera with the sky, allowing 2–4 minute exposures at low ISO. The jump in detail is dramatic.
- Phase 4 — Deep-sky imaging. Attach your camera to a telescope. Photograph nebulae, galaxies, and star clusters. This is a separate discipline with its own learning curve and equipment requirements.
Post-Processing Fundamentals
Your RAW files straight out of camera look dark, flat, and noisy. That's normal. Post-processing is where astrophotography images come to life.
A basic editing workflow:
- Import your RAW file into Lightroom or a similar editor
- Increase exposure by 0.5–1.5 stops
- Set white balance to taste (cooler tones emphasize the blue sky, warmer tones bring out the Milky Way's golden core)
- Boost contrast and clarity gently (+15 to +30 each)
- Reduce luminance noise — push the slider until grain disappears but stars stay sharp
- Increase vibrance slightly to bring out nebula colors
- Apply a graduated filter to darken or brighten the foreground separately from the sky
If you're new to Lightroom, our introduction to Adobe Lightroom guide covers the interface and core editing tools you'll need. For handling the large RAW files astrophotography generates, a capable editing machine makes a real difference — see our best laptops for photographers picks.
Frequently Asked Questions
Can you do astrophotography with a smartphone?
Technically yes — flagship phones now offer night modes that stack multiple exposures. But the tiny sensors limit dynamic range and detail significantly. You'll capture recognizable star fields, not the detailed Milky Way shots you see online. A dedicated camera with manual controls gives you far more creative control and image quality.
What's the best time of year for Milky Way photography?
In the Northern Hemisphere, the Milky Way's galactic core is visible from roughly late March through early October, with the best window between May and August when it rises highest in the sky. In the Southern Hemisphere, you get excellent views from February through October. Plan around the new moon for darkest skies.
Do I need a full-frame camera for astrophotography?
No. Full-frame sensors collect more light and handle high ISO better, but modern APS-C cameras like the Fujifilm X-T5 or Sony a6700 produce excellent night sky images. Crop-sensor cameras also make telephoto targets (moon, planets) easier to reach with shorter focal lengths. Start with what you have.
How do I focus on stars in complete darkness?
Switch to manual focus, activate Live View, and digitally zoom 5–10× on the brightest star or planet you can find. Slowly rotate the focus ring until the star becomes the smallest, sharpest point possible. Some photographers use bright tape to mark infinity focus on their lens barrel once they've nailed it.
What causes star trails in my photos?
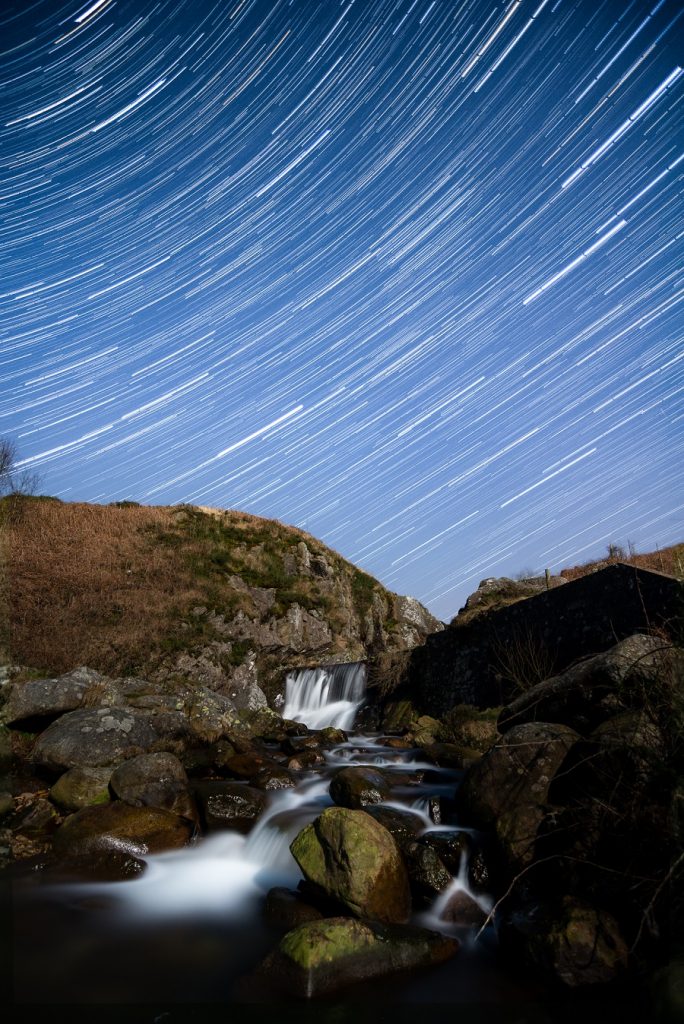
Earth's rotation makes stars appear to move across the sky. If your shutter speed is too long for your focal length, stars streak into short lines. Use the Rule of 500 (500 ÷ focal length = max seconds) to find the longest exposure that keeps stars as sharp points. A star tracker mount eliminates this problem entirely by rotating your camera to match Earth's movement.
Next Steps
- Scout a dark-sky location this week. Check lightpollutionmap.info, find a Bortle Class 4 or darker site within driving distance, and save it. Time your first outing around the next new moon.
- Practice manual focus indoors tonight. Set your camera to manual focus and Live View, point it at a distant light source across the room, zoom in digitally, and practice nailing pinpoint focus. Muscle memory matters in the dark.
- Shoot your first test frames. Set your camera to f/2.8 (or your widest aperture), ISO 3200, and use the Rule of 500 for shutter speed. Take 10 identical frames of the same composition — you'll stack these later to see how noise reduction through stacking compares to a single exposure.
- Process one image start to finish. Import a RAW file into Lightroom or a free alternative like RawTherapee. Follow the editing workflow above. Getting comfortable with post-processing is half the battle in astrophotography.
- Join a community. Subreddits like r/astrophotography, Cloudy Nights forums, and local astronomy clubs offer critique, location tips, and gear advice from people who've already solved the problems you'll encounter.
 |
 |
 |
 |

About Alex W.
Alex is a landscape, equine, and pet photographer based in the Lake District, UK, with years of experience shooting in one of Britain's most photographically demanding natural environments. His work has been featured in Take a View Landscape Photographer of the Year, Outdoor Photographer of the Year, and Amateur Photographer Magazine — publications that reflect a serious, competitive standard of image-making. At Click and Learn Photography, he shares the camera settings, gear choices, and compositional techniques he has developed through real-world shooting and competition-level work.
You can Get FREE Gifts. Furthermore, Free Items here. Disable Ad Blocker to receive them all.
Once done, hit anything below
|
|
|
|