Ultimate Guide to Waterfall Photography
by Alex W.
Waterfalls – We love them.
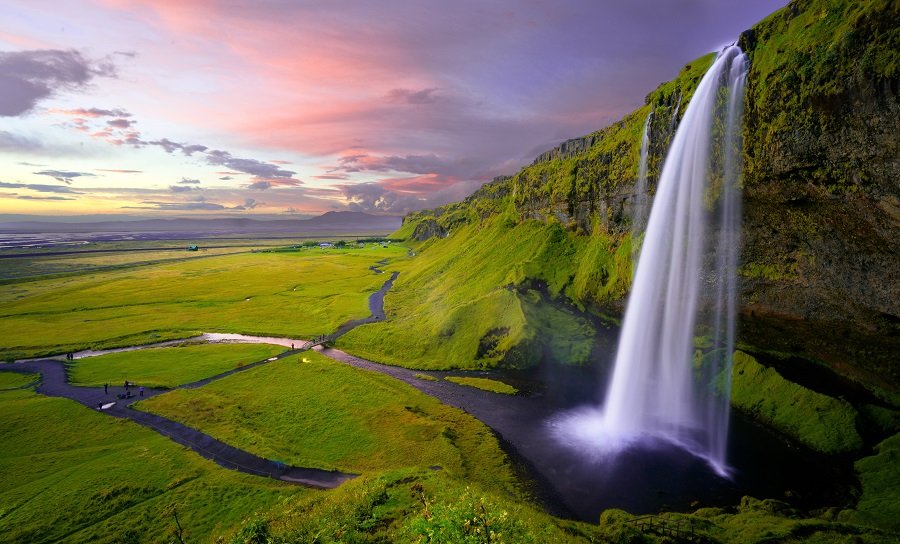
There’s a certain feeling you get when standing in front of a waterfall that can only be vaguely described, and it’s one that changes depending on the type of waterfall you’re in the vicinity of.
There’s the immense, epic falls that elicit a sense of awe, fear, and power at the same time, with the deafening roar of that cascading torrent making you feel impossibly small. Then there’s the gentler waterfalls that give off a sense of peace and longevity, knowing that the gentle flow of the water has slowly eroded the bedrock away to create a little slice of paradise.
Anyway, I digress. Whatever the scale of the waterfall you’re standing in front of, generally speaking it will make for an excellent photography subject. But approaching waterfall photography in a haphazard fashion will almost always result in a mediocre and rather boring image.
Contents
It’s much like any other type of photography in that sense, so here in our Ultimate Guide to Waterfall Photography we’ll take you from start to finish, covering everything from the gear you might want to the best ways to approach composition in waterfall photography.
You Might Like… Ultimate Guide to Landscape Photography
Waterfall Photography Gear Guide
As always, the photography gear you possess is nowhere near as important as the person behind the camera. However, with waterfall photography there are a few pieces of equipment that can go a long way to improving your images once you’ve got the composition side down.
I’m going to assume you already have an interchangeable lens camera such as a DSLR or Mirrorless system, and we’re not going to delve too deep into the best lenses for the job either. You can definitely take excellent waterfall images with just the kit lens at your disposal, but a wide-angle and a telephoto lens can open up more opportunities for you.
Tripod
Generally speaking (we’ll go deeper into this later) we want to at least have the ability to experiment with our shutter speed when photographing waterfalls, and for that a tripod is essential. We’ve already covered why a tripod can improve your photography, but when shooting waterfalls it’s almost a necessity.
Polarising Filter
One thing I very rarely leave behind on a shoot is my polarising filter. It has so many uses, but the most beneficial in waterfall photography is the ability to reduce glare. That distracting bright spot on the water’s surface can be eliminated with a polariser, and it increases the depth of colour on wet vegetation if your waterfall happens to be in a forest environment.
-
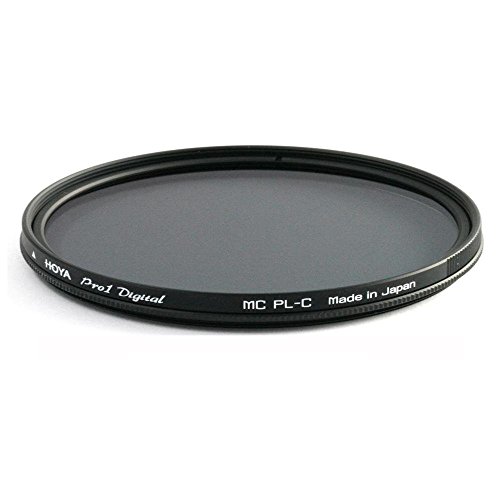
Hoya 67mm Pro1 Digital DMC Circular Polarizer Filter
- HOYA DIGITAL PRO1 67MM CIRCULAR POLARIZER FILTER
Rating:

Neutral Density Filters
Sticking on the filter front, a neutral density filter opens up a world of possibilities when photographing moving water. It’s how those gorgeous, silky smooth waterfall images are created. We’ve covered everything about filters here, including the best quality filters for each budget.
Remote Shutter Release
The remote shutter release is one of my most used photography accessories, and it’s even more useful when capturing long exposures. Simply put, it allows you to release the shutter on your camera without physically touching the camera, reducing the chance of camera shake ruining your image.
Rain Cover
Anybody that’s spent any time observing a powerful waterfall will realise why a rain cover is needed. The spray that’s thrown up from these epic waterfalls is monumental, and I’ve come back from shoots completely drenched before now. If you want to get into the thick of the action you better have protection for your camera though, and fortunately these rain covers are very cheap and very portable.
-
 Rating:
Wellington Boots
Or rubber boots, depending on which side of the Atlantic you’re on. You don’t want to be stuck on the sidelines when there’s a better shot a few feet into the water, do taking something to keep your feet dry is a very good idea. Most photographers don’t think of doing this either, which could mean that you come away with a very unique take on an otherwise well-photographed waterfall.
Waterfall Photography Planning
Just like with any other form of photography, good planning can often yield a better image in waterfall photography. It doesn’t take too much effort, but it’s well worth your time to avoid showing up to what you thought was a raging torrent of water only to find a dried up trickle. Follow these tips and you should be fine though:
Google is Your Friend
If you want to shoot a waterfall but don’t know of any nearby, simply Google it. Any well known (or even little known) waterfalls in your area will be there in all their glory!
Google is Still Your Friend
Okay then, say you already have a waterfall in mind to shoot. Again, Google it. You can find images of it so you know what to expect, nearby parking areas, and detailed information on how to get to the cascades. Google is always your friend. You can also check out sites like 500px and Flickr to see what other photographers have captured there, although sometimes heading there with fresh eyes is actually better.
Think About Rainfall
Imagine how disappointed you would be if you spent all this time preparing to go and photograph a waterfall, only to get there and it be nothing more than a trickle.
I don’t have to imagine it – It happened to me. I returned to a waterfall I’d previously taken some images of after months of searching (It wasn’t a recognised waterfall and was well off the beaten path) only to find that it had dried up completely. I’m pleased I managed to get some photos of it before it disappeared, but it was a wasted journey to be honest.

All you need to do to avoid a situation like this is to think about the recent weather? Has it been a prolonged period of dry weather? If so many of the smaller waterfalls could have significantly reduced flow. On the other hand, a recent storm could transform these into raging torrents once again.
You Might Like… Photography in the Rain – Making the Most of a Rainy Day
Get Off the Beaten Track and Explore
The chances are that if you go to a well known waterfall it will have been photographed to death. There’s nothing wrong with capturing these more iconic falls, of course, but if you want a unique shot it might be wise to don your explorers hat.
Get a map out and search for telltale clues of a waterfall. Obviously you’ll need a river of some sort, but then you can look for things like closely stacked contour lines on either side of the river. This points towards a steep sided gorge, and could signal a waterfall. Equally, look for significant and sudden changes in gradient and/or altitude that intersect the river’s course.
Exploring locations that others might ignore is the best way to original images.
Photographing a Waterfall
And finally, after all that, we get to the meat of the subject. By now you should be well prepared to shoot that waterfall, but the most important aspect is still to come. How you compose and craft the image in the field will make or break all your planning, so here are some guidelines to help you along:
Experiment with Exposure
Most photographers are instantly drawn to recreate the silky smooth water created by an ultra-long exposure when photographing a waterfall, but it’s important not to get bogged down by this approach.
Those ultra-long exposures with a 10-stop ND filter certainly have their place in waterfall photography, but they’re far from the only way to shoot a set of falls.
In certain conditions, everything from completely freezing the action to leaving the shutter open for minutes at a time can work, so experiment with your shutter speed and find that sweet spot!
It’s all a case of switching to Manual mode and fine tuning your exposure using the Exposure Triangle. I tend to start off trying to get a shutter speed of around half a second, either by reducing the ISO or closing down the aperture. We’ll worry about depth of field and noise later.
After that first shot I’ll start to increase my shutter speed in gradual increments, remembering to change the other points of the Exposure Triangle to keep the exposure correct. This may involve adding neutral density filters too. Once I’ve taken a decent amount of images I can review them and find which shutter speed I prefer in terms of detail and smoothness in the flowing water.
Now that I’ve found the perfect shutter speed I can see whether I can get to that figure without the addition of a ND filter just by playing with the aperture and ISO. If not, I’ll add an ND filter and go from there.
It’s all about experimentation here. Don’t just default to the ultra-long exposure and risk losing important detail within the water.
Remember Composition
I tend to avoid harping on about the Rule of Thirds and such, but they are undoubtedly useful tools. This is true in waterfall photography too, but one ‘rule’ in particular is very handy.
You Might Like… Tearing up the Rulebook – 12 Photography Rules and When to Break Them
Using leading lines can lead the viewer straight to your main subject – The waterfall itself. Leading lines can be manufactured out of many aspects of the landscape around a waterfall. It can be the shoreline of the plunge pool, or the course of the river, or a pathway leading to the falls.
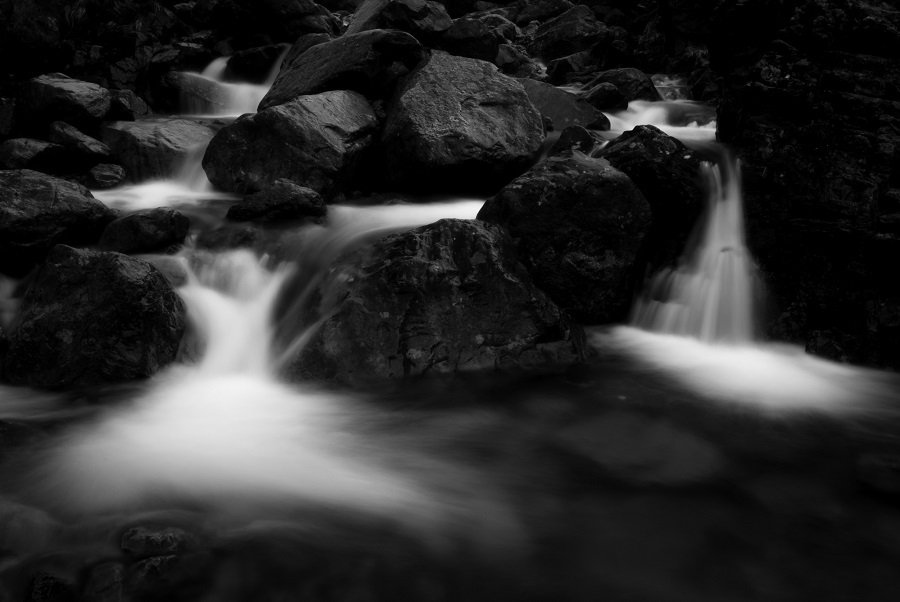
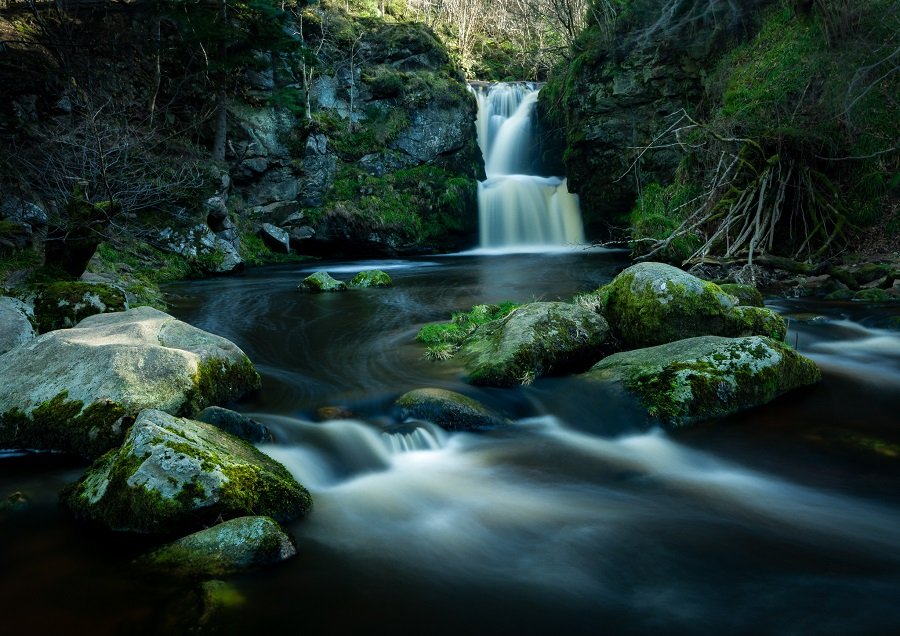
My personal favourite is to get down to the water’s edge and use a fast flowing section of water to create a leading line. This works particularly well if you can position the river flowing out of the corner of your frame, with a strip of turbulent water leading the eye back to the waterfall. Below is a prime example.
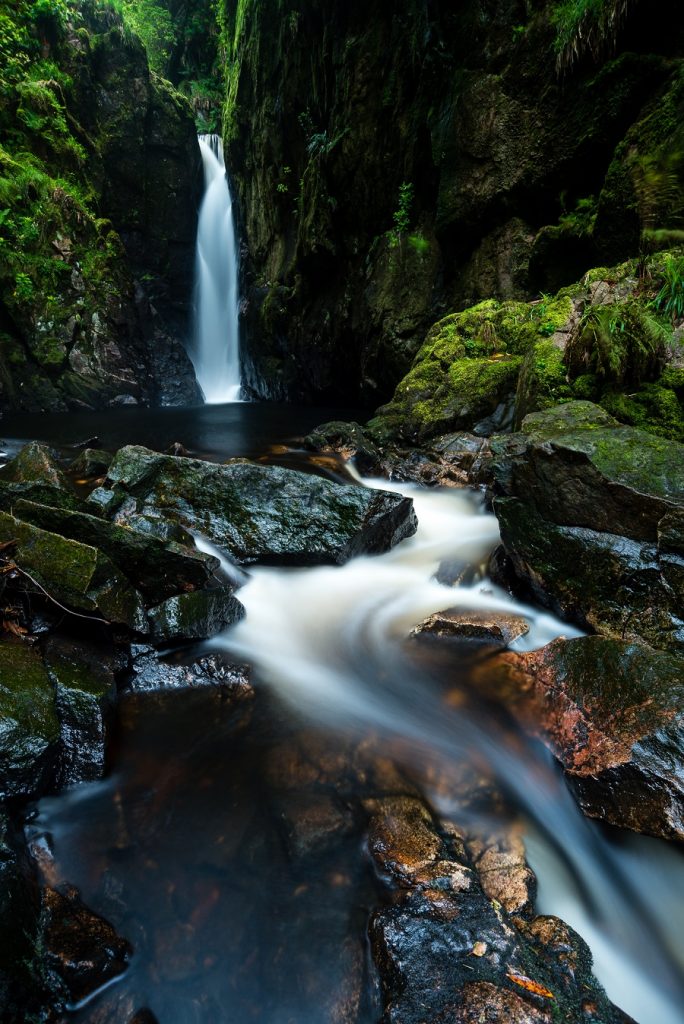
Look for Patterns
Following on from the previous tip, try to observe the water surrounding the waterfall more closely. At first glance it can look like just a strip of flowing water, but on closer inspection all sorts of compositional possibilities can reveal themselves to you.
Wherever there is a difference in friction or depth of the river bed the water will be disturbed from it’s preferred course. This can often create beautiful, swirling patterns of foam at the surface, and they are perfect for utilising in your composition.
The same goes for objects under the water. If you’re using a polarising filter the reduction in glare can reveal all sorts lurking under the surface of the river. Coloured rocks and stuck branches are just a couple of the objects you can utilise in your shot.
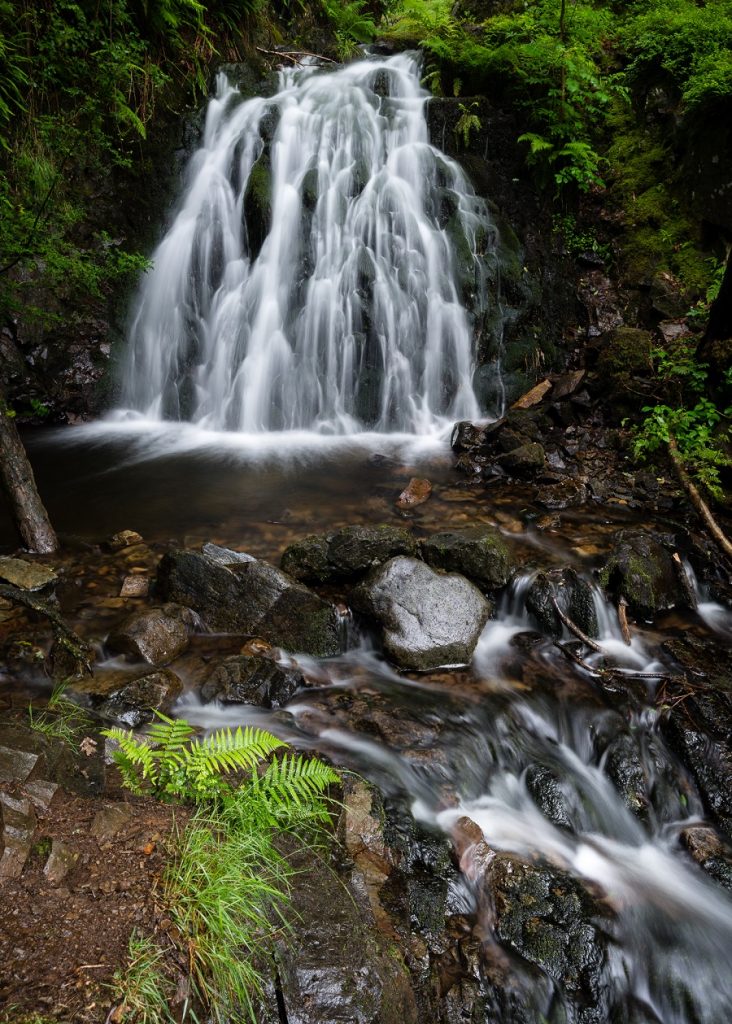
Diffused Light is Perfect
As landscape photographers, we’re almost trained to only head out at either end of the day in order to make the most of the soft, golden light. This is by no means a necessity in waterfall photography though.
In fact, those days where photography seems hopeless can be your best friend when shooting waterfalls.
We want soft, diffused lighting a lot of the time. It reduces the glare on the water’s surface and gives the whole scene a nice, even light. Rainy days are perfect, as are overcast days.
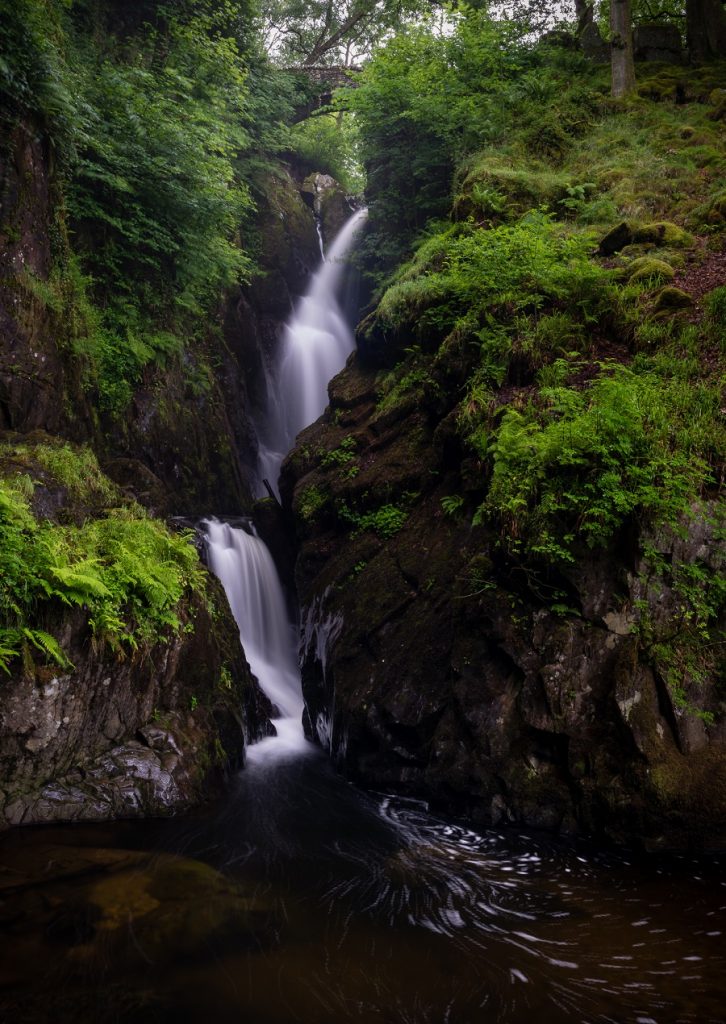
This is especially true when the waterfall you’re seeking is in a forest, where the dappled light from bright sunshine breaking through the canopy can often ruin an image because of the distractions they create.
In fact, if you’re shooting a waterfall in the forest the best thing you can do is wait until it’s raining. The wet vegetation will turn beautifully deep when combined with a polariser, and the rain can often add an ethereal sort of atmosphere to the scene.
One of the main benefits of waterfall photography is that it doesn’t rely on the perfect light at sunrise and sunset.
You Might Like… Ultimate Guide to Forest Photography
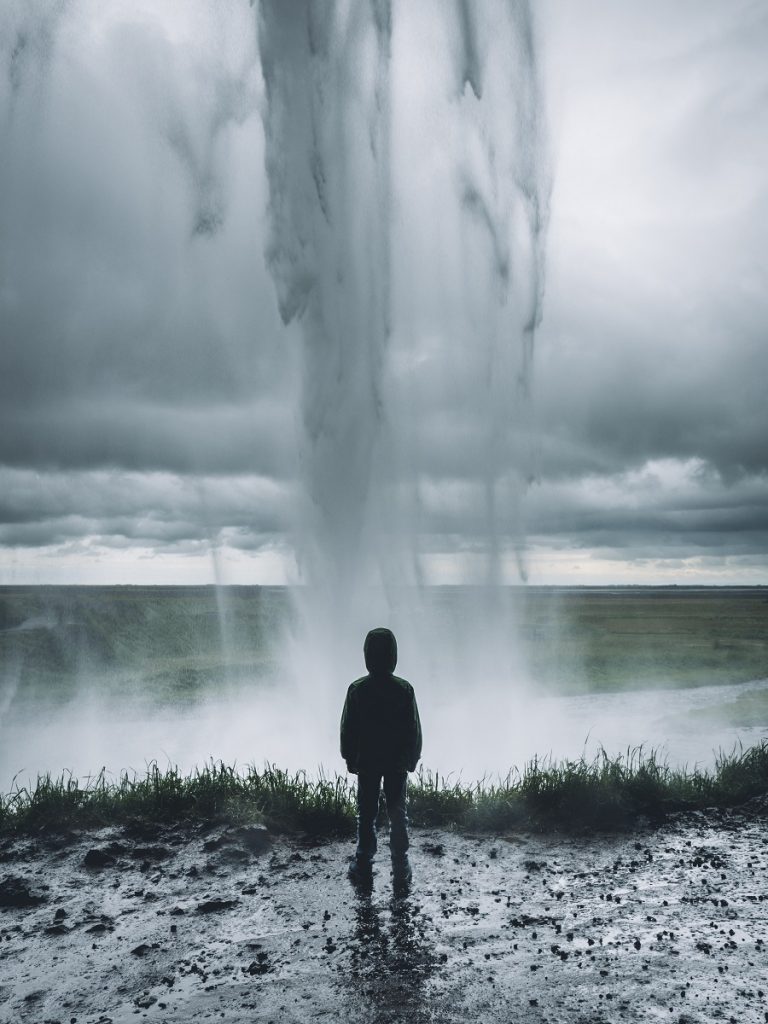
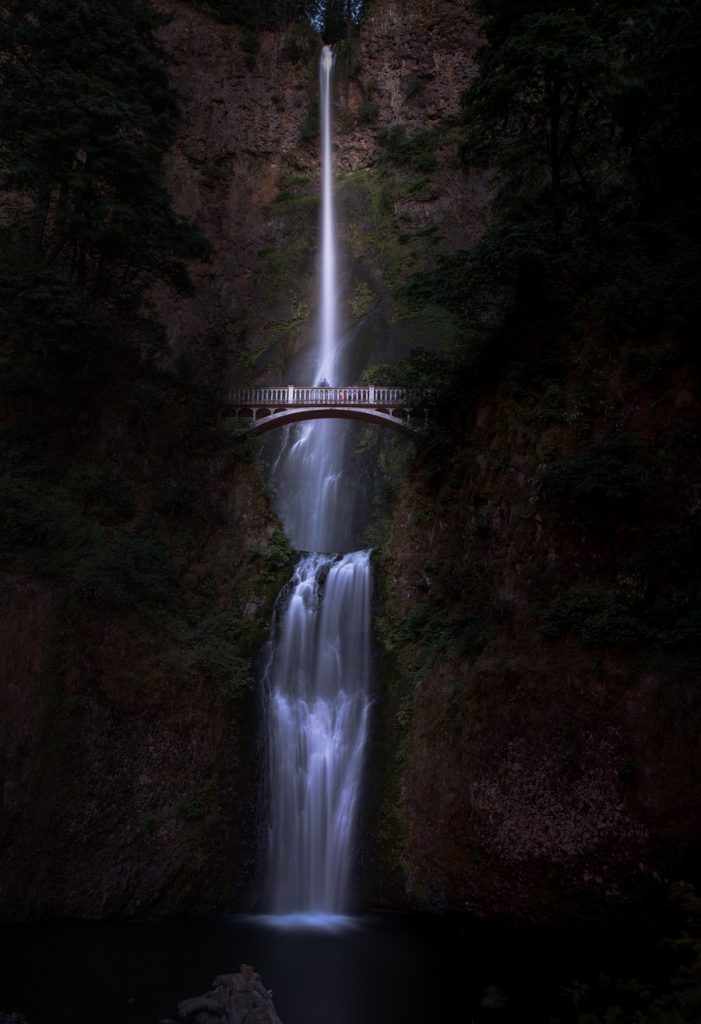
Add a Sense of Mystery
You don’t have to include all of the landscape all of the time.
It’s hard to resist the urge to include everything all of the time in landscape photography. When you’re witnessing a scene that is so spectacular it’s hard to imagine purposefully excluding parts of it, but that’s exactly what we should do sometimes.
The same goes for waterfalls – Yes we know that the falls are majestic and beautiful, but we don’t actually need to see the entire cascade sometimes. In fact, by excluding part of the falls it can actually add to the overall image.
Obviously that sounds a bit counter-intuitive, but it’s true. If you include the full waterfall in the composition there’s rarely anything else for the viewer to think about. However, if you exclude a section then the viewer doesn’t actually know where the falls end. It removes the sense of scale, and in doing so injects a healthy dose of mystery into the image.

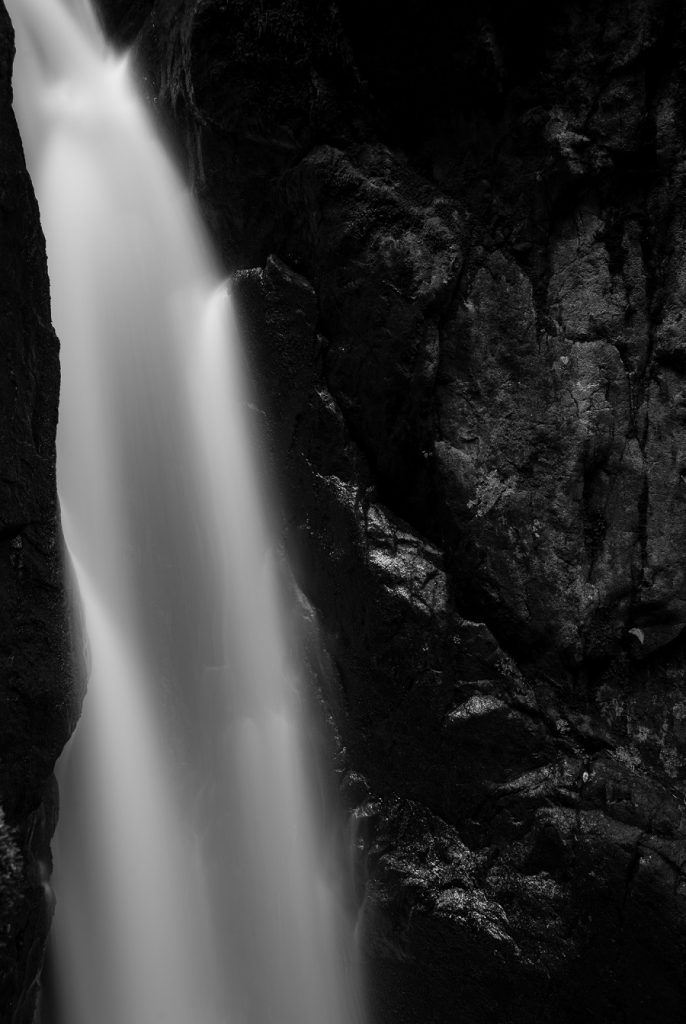
Try honing in on certain sections of the waterfall, or simply cutting out the top or bottom of the falls. It’s not a technique that should be used all the time (like everything in this list) but it’s certainly worth considering if you want to create more unique and original waterfall photos.
Closing Thoughts
There’s no one correct way to approach waterfall photography, so use this Ultimate Guide as a starting point and find out what works for you. A stunning waterfall is rarely enough to make an engaging photograph on it’s own, so always pay attention to your overall composition and the conditions you’re shooting in.
Above all, please stay safe! Waterfalls can be dangerous, with slippy rocks, deep pools, and fast flowing water all posing a threat. Don’t take any unnecessary risks just to get a shot.
Read More…
Ultimate Guide to Spring Photography
How to Create the Orton Effect in Photoshop
Best Cameras for Landscape Photography
NiSi V5 Pro Filter System Review
 |
 |
 |
 |

About Alex W.
Alex is the owner and lead writer for Click and Learn Photography. An avid landscape, equine, and pet photographer living and working in the beautiful Lake District, UK, Alex has had his work featured in a number of high profile publications, including the Take a View Landscape Photographer of the Year, Outdoor Photographer of the Year, and Amateur Photographer Magazine.
Thoughts on "Ultimate Guide to Waterfall Photography"
|
|
|
|
You can Get FREE Gifts. Furthermore, Free Items here. Disable Ad Blocker to receive them all.
Once done, hit anything below
|
|
|
|