Smartphone Photography Tips: How to Get the Most from Your Phone Camera
by Alex W.
What separates a forgettable phone snap from an image that genuinely stops someone mid-scroll? The answer is rarely the phone itself — it's a handful of deliberate choices made before and during the shot. Our team has spent years testing smartphone photography tips across every major device, and we've distilled everything into the techniques that actually move the needle. Whether someone is capturing ultimate guides-worthy landscapes or quick candid moments, these methods apply universally. The best part is that most of them take seconds to learn and a lifetime to master.

Our experience consistently shows that people blame their hardware when the real culprit is technique. A flagship phone from three generations ago, handled well, will outperform the latest model on auto mode every single time. This guide covers the full range — from immediate wins that improve shots tonight to deeper habits that build lasting skill.
We've organized everything into practical sections so anyone can jump straight to what matters most. From fixing common frustrations to keeping a phone camera performing at its peak, every tip here has been field-tested by our team across hundreds of real-world shoots.
Contents
Instant Improvements That Take Five Minutes or Less
Not every smartphone photography tip requires study. Some deliver visible results the moment someone tries them. Our team always starts workshops with these because they build confidence fast and demonstrate that better images come from intention, not equipment upgrades.
Clean the Lens First
It sounds almost insultingly simple, but a smudged lens is the single most common reason phone photos look hazy. Phones live in pockets, bags, and hands — all of which deposit oils and dust on that tiny glass element. A quick wipe with a microfiber cloth before any important shot eliminates the soft glow that ruins contrast and sharpness. Our team keeps a small lens cloth attached to every camera bag, and we'd argue it's the most cost-effective photography accessory that exists.
Lock Focus and Exposure Separately
Most people tap to focus and never think about it again. But tapping and holding on most phones activates AE/AF lock, which pins both focus distance and exposure. From there, swiping up or down adjusts exposure compensation independently. This is critical for high-contrast scenes — a sunset silhouette, a backlit portrait, or any scene where the camera's automatic metering gets confused. Anyone who has tried to photograph a friend standing in front of a bright window understands the frustration. Locking exposure on the subject's face solves it instantly. For more foundational techniques like this, our piece on learning the basics of photography covers the underlying principles.
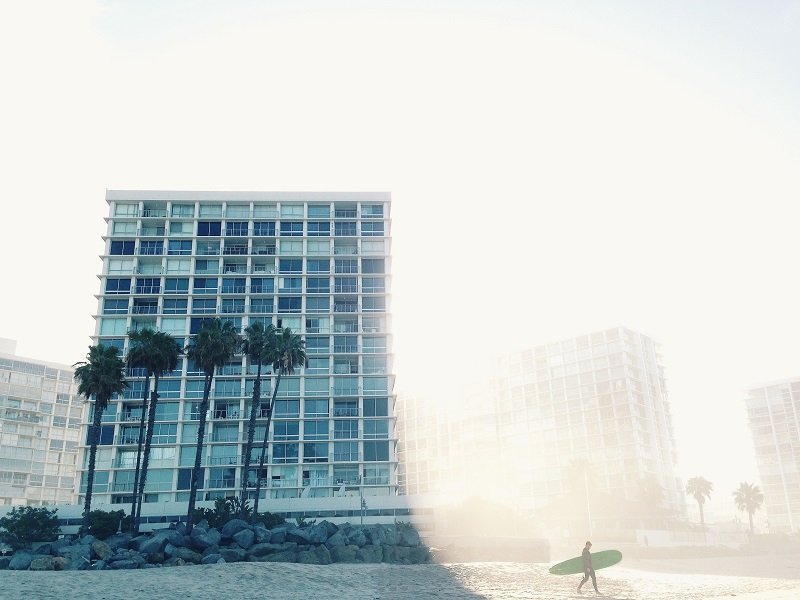
The grid overlay isn't training wheels — it's the same compositional framework professional photographers use on cameras costing thousands. Turn it on and leave it on permanently.
How to Shoot in Pro Mode: A Step-by-Step Walkthrough
Every modern Android phone includes a pro or manual mode, and iPhone users can access equivalent controls through apps like Halide or ProCamera. Our team strongly recommends learning manual controls — the same reasoning behind shooting in manual mode on a dedicated camera applies here. Automatic mode makes educated guesses. Manual mode lets the photographer make deliberate creative choices.
Understanding ISO on a Phone Sensor
Phone sensors are small, which means high ISO values introduce noise much faster than on full-frame cameras. Our general rule: keep ISO at 100-400 whenever possible. Anything above 800 will show visible grain, especially in shadows. The trade-off is always between brightness and noise, and on a phone, it's better to slightly underexpose and brighten in editing than to crank ISO and fight grain later. Night mode on modern phones essentially automates this by stacking multiple lower-ISO frames — understanding that process helps anyone decide when to trust it and when to override it. For more on night photography settings, our dedicated guide goes deeper.
Shutter Speed and White Balance Controls
Shutter speed on a phone works identically to a traditional camera. Faster speeds freeze action; slower speeds introduce motion blur. The practical floor for handheld phone shots is around 1/30s — anything slower needs stabilization. A mini tripod or even propping the phone against a solid surface works. White balance is the other underrated control. Auto white balance handles most daylight scenes well, but mixed lighting — tungsten lamps plus window light, for example — confuses it badly. Setting white balance manually to match the dominant light source eliminates the color casts that make indoor photos look amateurish. Anyone interested in creative motion effects should check our guide on how to use motion blur in photography.
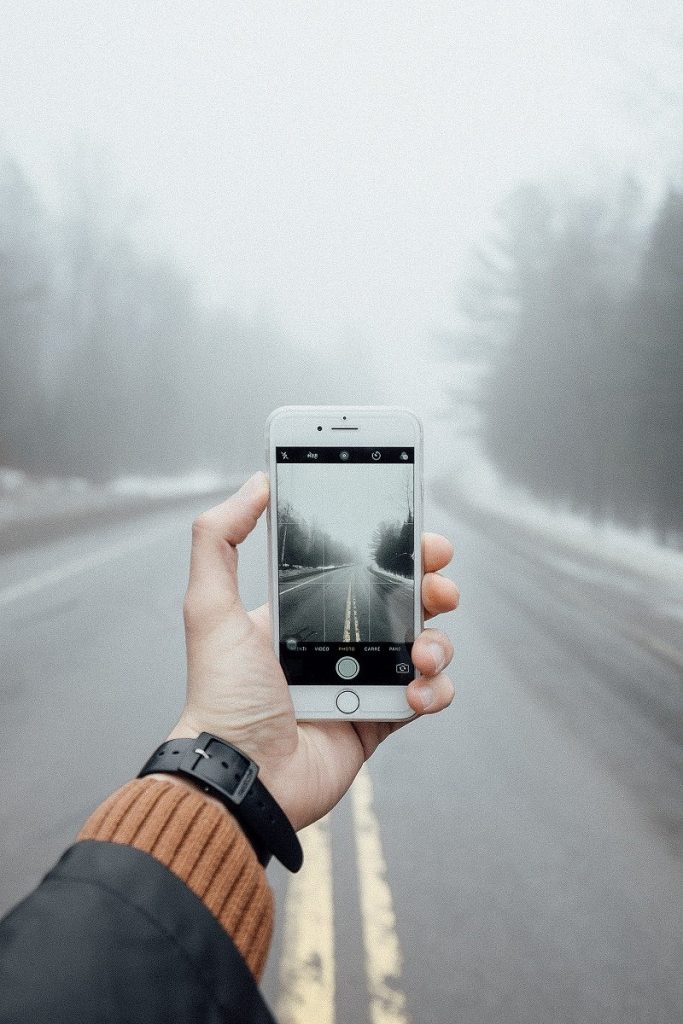
Phone Camera vs. Dedicated Camera: An Honest Comparison
Our team gets asked this constantly, and the honest answer is nuanced. Phones have genuine advantages in specific scenarios, but they also have hard physical limitations that no amount of computational photography can fully overcome. The table below reflects our real-world testing across dozens of shooting situations.
| Criteria | Smartphone Camera | Dedicated Camera (Mirrorless/DSLR) |
|---|---|---|
| Portability | Always in a pocket — zero extra weight | Requires a bag, planning, and commitment |
| Low Light (ISO 1600+) | Noticeable noise; computational stacking helps | Clean images with larger sensor headroom |
| Depth of Field Control | Software portrait mode; sometimes artificial | True optical bokeh with fast lenses |
| Dynamic Range | HDR processing is excellent; single-frame limited | Wider native range, especially in RAW |
| Zoom Quality | Optical limited to 3-5x; digital degrades fast | Interchangeable lenses with no quality loss |
| Video Stabilization | Excellent OIS + EIS built-in | Varies; often requires gimbal or IBIS body |
| Speed to First Shot | Under 2 seconds from pocket to shutter | Power on, lens cap off, settings check — 10+ seconds |
| Editing Workflow | Edit and share instantly on device | Import to computer, process in Lightroom/Capture One |
Where Phones Win
Spontaneity is the phone's superpower. Street photography, candid travel moments, quick documentation — these genres reward the camera that's actually present. The best camera is the one that's with someone at the decisive moment, and phones win that contest every time. Computational photography has also closed the gap in HDR processing. Modern phones merge multiple exposures so seamlessly that the resulting dynamic range rivals what a dedicated camera produces in a single RAW file. For travel scenarios specifically, our travel photography guide explores how to maximize phone shots on the road.
Where Phones Fall Short
Physics doesn't bend for marketing. Small sensors mean less light gathered per pixel, which means more noise in challenging conditions. Optical zoom beyond 5x is nonexistent on most phones, making wildlife and sports photography impractical. And while portrait mode has improved dramatically, it still produces edge artifacts around hair and complex subjects that any photographer will notice. For those specific genres, a dedicated body — even a compact mirrorless — remains the right tool.

Fixing Common Smartphone Photography Problems
Even experienced photographers run into recurring issues on phones. The good news is that most problems have straightforward fixes once the root cause is understood. Our team has diagnosed these same issues hundreds of times during workshops and one-on-one coaching sessions.
Dealing with Blurry or Soft Images
Blurry phone photos come from three sources: camera shake, subject movement, or missed focus. Camera shake is the most common. Despite optical image stabilization, phones are lightweight and held at arm's length — a fundamentally unstable position. Tucking elbows against the body, bracing against a wall, or using a quality tripod solves this mechanically. For subject movement, burst mode is essential. Holding the shutter button fires continuous frames, and selecting the sharpest one afterwards is far more reliable than trying to time a single perfect shot. Missed focus usually happens because the phone locked onto the wrong element — tapping directly on the subject before shooting prevents this.
Recovering Blown-Out Skies
Phone cameras have a tendency to expose for the foreground, which sends bright skies straight to pure white. Once those highlights are clipped, no amount of editing brings them back. The fix is proactive: tap on the sky to meter for the highlights, then use HDR mode to recover shadow detail in the foreground. Alternatively, shooting in RAW format (available in pro mode or third-party apps) preserves far more highlight data than standard JPEG processing. Anyone who frequently shoots landscapes with prominent skies should also explore our tips on transforming landscape photography, as the same exposure principles apply regardless of camera type.
Keeping the Phone Camera in Peak Condition
A phone camera degrades so gradually that most people never notice until they compare recent shots to ones taken when the device was new. Maintenance is minimal but important. According to Wikipedia's overview of camera phone technology, modern phone cameras pack increasingly complex multi-lens systems into incredibly tight spaces, making physical care more important than ever.
Physical Care and Storage
Lens scratches are permanent and devastating to image quality. A case with a raised camera bump protector is non-negotiable. Our team has seen too many phones with hairline scratches across the main lens element — scratches invisible to the naked eye but responsible for flare, haze, and reduced contrast in every single image. Keeping the phone face-down on rough surfaces is another habit worth breaking. A dedicated lens cleaning pen designed for camera optics works better than shirt fabric, which can embed fine grit into the lens coating over time.

Software Habits That Matter
Storage management directly affects camera performance. When internal storage drops below 10-15%, many phones throttle camera processing to conserve resources. This manifests as slower shot-to-shot times, failed burst captures, and even degraded computational photography processing. Our team recommends offloading photos to cloud storage or a computer regularly — not just for backup safety, but for maintaining camera responsiveness. Keeping the camera app updated is equally important, as manufacturers frequently push image processing improvements through software updates that meaningfully improve output quality without any hardware changes.
When to Reach for the Phone — and When Not To
Smartphone photography tips only matter if the phone is the right tool for the situation. Our team has a clear framework for deciding when the phone stays in the pocket and when the dedicated gear comes out.
Ideal Scenarios for Phone Cameras
Street photography thrives on the phone's discretion — a phone pointed at a scene attracts zero attention compared to a DSLR with a long lens. Food photography benefits from the phone's close minimum focus distance and computational depth effects. Social media content almost always looks better shot and edited natively on a phone because the output matches the viewing medium perfectly. Travel documentation — the quick establishing shot of a hotel room, a restaurant menu, a street sign — is phone territory without question. Our piece on advanced composition tips applies beautifully to phone work, since composition is entirely independent of the camera body.
When to Leave It in the Pocket
- Fast-moving wildlife or sports where telephoto reach and continuous autofocus tracking are essential
- Professional client work where RAW flexibility, flash sync, and tethered shooting are expected deliverables
- Astrophotography beyond basic moon shots — sensor size and long-exposure noise handling simply cannot compete
- Large-format printing above 20x30 inches, where phone sensor resolution and detail limits become visible
The line between phone and dedicated camera territory shifts with each hardware generation, but understanding the current limits prevents frustration and wasted effort. Knowing when the phone is the wrong tool is itself one of the most valuable smartphone photography tips anyone can internalize.
Frequently Asked Questions
Do smartphone photography tips apply equally to iPhone and Android?
The core principles — composition, lighting, exposure control — are universal. Interface details differ slightly, but every major tip in this guide works on both platforms. Android users have native pro mode access, while iPhone users achieve the same through third-party apps like Halide.
Is it worth shooting in RAW on a phone?
Absolutely, for any shot that matters. RAW files preserve highlight and shadow data that JPEG processing discards permanently. The files are larger, but the editing flexibility is dramatic — especially for recovering blown highlights or correcting white balance after the fact.
How much does a phone case affect image quality?
Cases rarely affect the main camera, but cheap cases with poorly aligned cutouts can cause vignetting on ultrawide lenses. Our team recommends cases designed specifically for each phone model, with generous camera cutouts and raised protective edges.
Can phone photos be printed at large sizes?
Modern flagship phones produce files suitable for prints up to about 16x20 inches at standard viewing distance. Beyond that, detail falls off noticeably compared to dedicated cameras. For social media and standard prints up to 11x14, phone images are indistinguishable from DSLR output.
What is the single most impactful smartphone photography tip?
Our team consistently points to mastering light. Understanding the direction, quality, and color of natural light transforms phone photos more than any setting, app, or accessory. Shooting during golden hour or in open shade produces results that look professional regardless of the device.
Are third-party camera apps worth the investment?
For anyone serious about phone photography, yes. Apps like Halide, ProCamera, or Moment provide manual controls, RAW capture, and histogram displays that the stock camera app often lacks. The cost is minimal compared to the control gained.
The phone in a pocket right now is capable of extraordinary images — the only missing ingredient is the intention to use it deliberately.
 |
 |
 |
 |

About Alex W.
Alex is a landscape, equine, and pet photographer based in the Lake District, UK, with years of experience shooting in one of Britain's most photographically demanding natural environments. His work has been featured in Take a View Landscape Photographer of the Year, Outdoor Photographer of the Year, and Amateur Photographer Magazine — publications that reflect a serious, competitive standard of image-making. At Click and Learn Photography, he shares the camera settings, gear choices, and compositional techniques he has developed through real-world shooting and competition-level work.
You can Get FREE Gifts. Furthermore, Free Items here. Disable Ad Blocker to receive them all.
Once done, hit anything below
|
|
|
|