Last month, our team spent an entire weekend sorting through hundreds of bookmarked articles, video breakdowns, and forum threads — all in search of the resources that actually move the needle for working photographers. That deep dive reminded us why curating quality photography tutorials and reviews matters so much in an era of content overload. Whether someone is refining composition fundamentals or comparing the latest mirrorless bodies, the right resources save hours of trial and error. We pulled together the most valuable insights from our research into this comprehensive guide, covering techniques, gear comparisons, real-world shooting lessons, practical applications, and the pitfalls that trip up even experienced shooters.
Our approach here isn't a simple link dump. We've distilled the best photography tutorials and reviews into actionable sections that mirror a real learning path — from foundational techniques through gear decisions, field experience, creative applications, and the common mistakes that stall progress. Each section draws on our team's collective shooting experience alongside the strongest external resources we've found.
For anyone following the latest developments in the photography world, our photography news section stays current with gear announcements, industry shifts, and emerging trends worth watching.
Contents
Essential Techniques That Elevate Any Photo
Great photography tutorials and reviews consistently circle back to the same fundamentals. Gear matters, but technique is the multiplier. Our team has watched photographers with entry-level cameras outshoot people carrying $5,000 bodies — simply because they understood light, exposure, and framing at a deeper level.
Mastering Exposure Controls
The exposure triangle — shutter speed, aperture, and ISO — remains the single most important concept for anyone serious about photography. Here's how our team thinks about each element:
- Shutter speed controls motion. Anything below 1/125s demands a tripod or stabilized lens for sharp handheld results.
- Aperture shapes depth of field. Portraits typically shine between f/1.8 and f/2.8, while landscapes benefit from f/8 to f/11 for edge-to-edge sharpness.
- ISO is the last resort. Modern sensors handle ISO 3200 cleanly, but lower is always better for dynamic range and color fidelity.
Shooting in manual mode forces deliberate decisions about each variable. It's uncomfortable at first, but after a few hundred frames, those adjustments become instinctive. Our recommendation: spend one full week shooting manual-only. The learning curve is steep but short.

Composition Beyond the Rule of Thirds
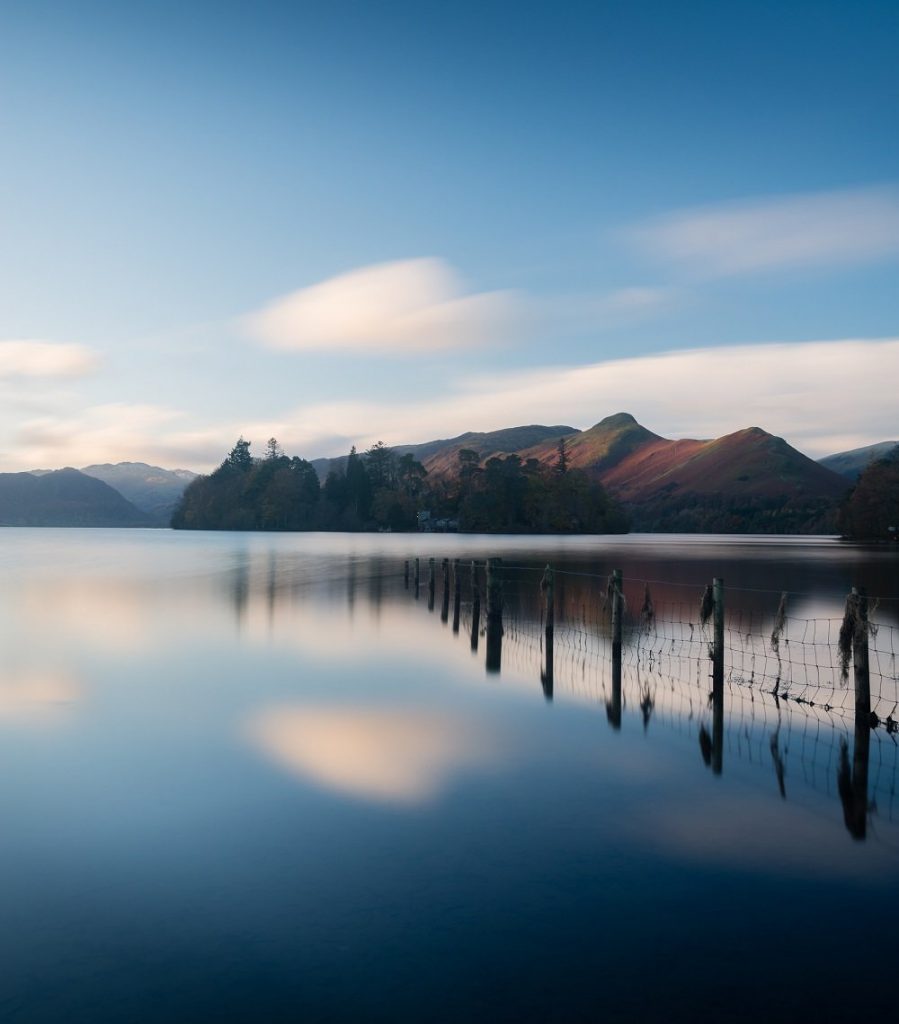
The rule of thirds is a solid starting point, but it's just one tool in the composition toolkit. Leading lines, negative space, frame-within-a-frame, and color contrast all contribute to compelling images. Our team often relies on diagonal leading lines in landscape work — they pull the viewer's eye through the frame and create a sense of depth that centered compositions can't match.
Pro tip: Before pressing the shutter, take one second to scan the edges of the frame. Most unwanted distractions — stray branches, bright spots, cropped limbs — live at the borders.
Studying the work of established photographers accelerates composition instincts. Interviews like our conversations with Anton Gorlin reveal how experienced shooters pre-visualize the final image before they even raise the camera.
Camera Gear Face-Off: Mirrorless vs DSLR
The mirrorless vs DSLR debate has mostly settled, but the nuances still matter depending on shooting style and budget. Our team has worked extensively with both systems, and the best photography tutorials and reviews are honest about the trade-offs rather than declaring a universal winner.
Key Specifications at a Glance
| Feature | Mirrorless | DSLR |
|---|---|---|
| Autofocus Speed | Excellent (eye/subject tracking) | Good (phase-detect, center-weighted) |
| Body Weight | 350–650g typical | 500–1000g typical |
| Battery Life | 300–500 shots per charge | 800–1200 shots per charge |
| Viewfinder | Electronic (WYSIWYG exposure) | Optical (no lag, no battery drain) |
| Video Capability | 4K standard, 6K/8K on pro bodies | 4K on select models, limited features |
| Lens Selection | Growing rapidly (native + adapted) | Massive legacy catalog |
| Used Market Price | Higher (newer tech) | Excellent bargains available |
For most people entering photography today, mirrorless is the forward-looking choice. Manufacturers like Sony and Tamron are investing heavily in mirrorless lens development, and DSLR production is winding down. That said, a used DSLR with a quality prime lens remains one of the best value propositions in photography.
Lens Ecosystem Considerations
Lenses outlast camera bodies by a decade or more, so the lens ecosystem matters as much as the body itself. Our team's go-to recommendations by category:
- Portraits: 85mm f/1.8 — affordable, sharp, beautiful bokeh
- Landscapes: 16-35mm f/4 — versatile wide-angle without excessive weight
- Wildlife/Sports: A solid budget telephoto in the 70-300mm range covers most needs
- Everyday: 35mm f/1.8 prime — light, fast, and forces creative framing
Anyone exploring the Micro Four Thirds system gets smaller, lighter lenses at the cost of some low-light performance. For travel photographers carrying gear all day, that trade-off is often worthwhile.
Worth noting: A mediocre lens on a great body produces mediocre images. A great lens on a mediocre body still produces impressive results. Always prioritize glass over sensor upgrades.
Lessons from the Field: Real Shoots That Shaped Our Approach
Reading photography tutorials and reviews builds knowledge, but nothing replaces the lessons learned from actual shoots — especially the ones that don't go as planned. Our team has logged thousands of hours in the field, and the biggest breakthroughs came from failure, not textbook perfection.
Landscape Photography Breakthroughs
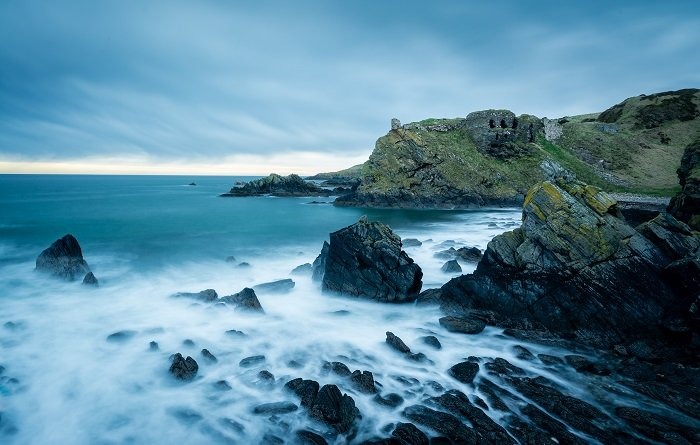
One of our most memorable shoots was a dawn session at a mountain overlook where everything went wrong — fog rolled in thick, the planned composition was invisible, and the tripod sank into muddy ground. Instead of packing up, we dropped lower, found a foreground of wildflowers catching the diffused light, and shot at f/2.8 to isolate them against the fog. Those images became some of our strongest portfolio pieces. Our mountain photography guide covers more of these adaptive strategies.
Key lessons from landscape work that no tutorial fully prepares anyone for:
- Arriving 45 minutes before golden hour isn't early enough — an hour gives time to scout, adjust, and handle surprises.
- The best light often lasts under three minutes. Having camera settings dialed in before it arrives is non-negotiable.
- Foreground interest separates good landscape photos from great ones. A rock, a reflection, a leading line — anything to anchor the bottom third of the frame.
Portrait and Street Insights
Street photography teaches speed and observation in a way that controlled studio work never does. Our team found that switching to a fixed 35mm lens and shooting from the hip — literally, with the camera at waist height — produced more authentic candid moments than any carefully posed approach. The slight upward angle also adds a subtle sense of presence to subjects.
For portrait work, the single biggest improvement most people can make is controlling background separation. Shooting wide open at f/1.8 or f/2 with distance between the subject and background transforms snapshots into professional-looking images. It's the technique behind every "how did they get that look?" question.
Where Photography Skills Pay Off Most
Photography knowledge compounds. The composition and lighting skills learned in one genre transfer directly to others, and having a broad foundation makes specialization faster. Here's where our team sees the strongest returns on invested learning time.
Travel and Documentary Work
Travel photography demands versatility. A single day might include architecture at dawn, street food at midday, and landscapes at sunset — each requiring different settings, lenses, and compositional approaches. Our team has learned to pack light and think in stories rather than single frames. A set of 10 cohesive images tells a stronger story than 200 disconnected snapshots.
According to the history of photography on Wikipedia, the medium has always been tied to exploration and documentation. That connection between travel and visual storytelling remains one of photography's most rewarding applications.
Practical travel photography considerations:
- One zoom lens (24-70mm or 24-105mm) handles 80% of travel situations
- Shooting in RAW format provides critical flexibility when post-processing under varied lighting conditions
- A compact tripod or GorillaPod opens up long-exposure night photography without significant pack weight
- Backing up to two separate cards or devices each night prevents catastrophic data loss
Creative and Niche Genres
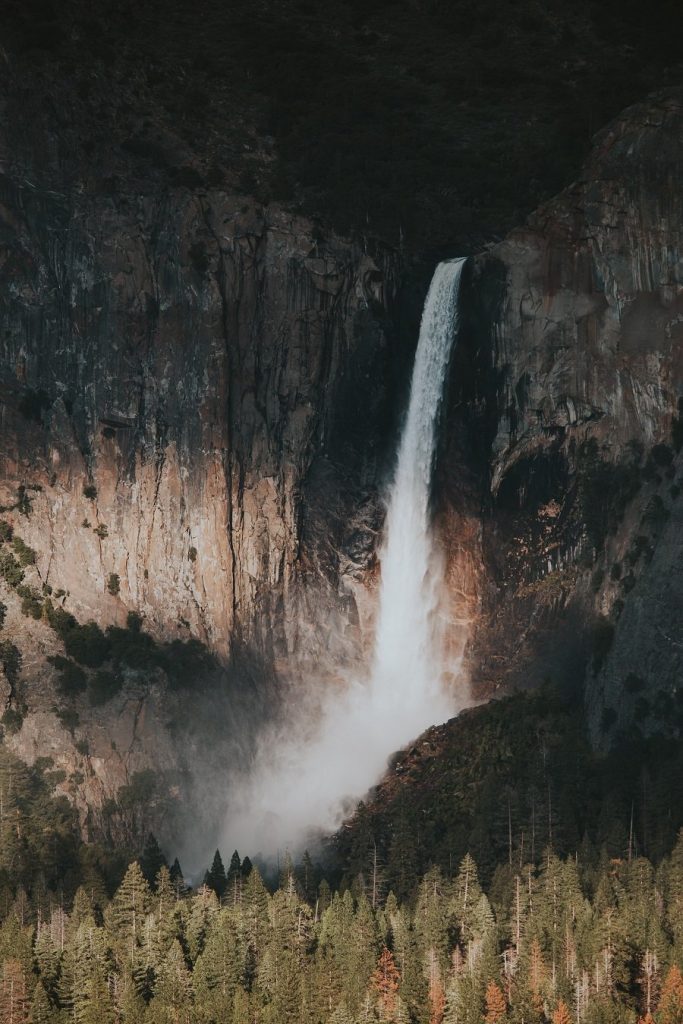
Some of the most engaging photography happens in niche genres that most people overlook. Macro photography reveals an invisible world — the texture of a butterfly wing, the geometry of a snowflake, the tension in a water droplet. The barrier to entry is low: even a set of extension tubes on a standard lens opens up the macro realm.
Creative genres where focused practice pays off quickly:
- Astrophotography — requires patience and specific techniques (500 rule for star trails, stacking for noise reduction) but produces genuinely awe-inspiring images
- Food photography — increasingly valuable as a commercial skill, with restaurants and brands willing to pay well for quality content
- Black and white — strips away color distraction and forces attention to light, shadow, and form. Our black and white landscape guide covers the conversion process in detail
Reality check: Specializing in a niche genre doesn't mean ignoring fundamentals. The best astrophotographers are also strong landscape shooters. The best food photographers understand portrait lighting. Foundations first, specialization second.
Mistakes That Hold Most Photographers Back
After years of reviewing photography tutorials and reviews — and making plenty of our own errors — our team has identified the patterns that stall progress most consistently. These aren't beginner-only problems; even experienced photographers fall into these traps.
Technical Oversights
The most damaging technical mistakes aren't dramatic. They're the small, repeated habits that silently degrade image quality:
- Dirty lens glass. A fingerprint smudge reduces contrast and sharpness more than most people realize. A microfiber cloth costs almost nothing and should live in every camera bag.
- Auto white balance in mixed lighting. AWB handles daylight well but struggles under fluorescent, tungsten, or mixed sources. Setting a custom white balance or shooting RAW solves this entirely.
- Ignoring the histogram. The LCD preview is unreliable — it changes with ambient light and screen brightness. The histogram is the only accurate exposure reference in the field.
- Over-relying on autofocus. Modern AF is remarkable, but it hunts in low contrast scenes. Learning to switch to manual focus for macro, astrophotography, and certain landscape situations prevents missed shots.
One often-overlooked technical detail: most lenses perform best stopped down two stops from wide open. An f/1.8 lens hits peak sharpness around f/3.5 to f/4. Knowing each lens's sweet spot — and shooting there when maximum aperture isn't needed — is free image quality.
Workflow and Post-Processing Traps
Post-processing mistakes account for a surprising number of otherwise strong images falling flat. The biggest offender our team sees is over-processing — cranking clarity, saturation, and sharpening to levels that look dramatic on a calibrated monitor but appear garish on phone screens and in print.
A disciplined editing workflow prevents these issues:
- Cull ruthlessly first. Edit only the strongest 10-15% of a session's output.
- Start with exposure and white balance corrections before touching creative adjustments.
- Apply lens corrections (distortion, vignetting, chromatic aberration) as a default first step.
- Step away for 24 hours before finalizing edits. Fresh eyes catch heavy-handed adjustments immediately.
Another workflow trap is skipping file organization. Without a consistent folder structure and naming convention, finding specific images six months later becomes a nightmare. Lightroom catalogs, date-based folders, and keyword tagging aren't glamorous — but they're what separates working photographers from hobbyists drowning in unsorted files.
Frequently Asked Questions
What's the single best way to improve photography skills quickly?
Deliberate practice with constraints produces the fastest improvement. Our team recommends picking one technique — such as manual exposure or a single compositional rule — and shooting 100 frames focused exclusively on that skill. This focused repetition builds muscle memory far faster than casual shooting across multiple techniques at once.
Is expensive camera gear necessary for professional-quality photos?
No. Light, composition, and timing matter far more than sensor specs. Our team has produced publication-worthy images on crop-sensor bodies with kit lenses. That said, premium glass (lenses) makes a meaningful difference — it's the one area where spending more reliably improves results. Camera bodies depreciate; quality lenses hold their value and performance for decades.
How often should photographers calibrate their monitors for editing?
Our team calibrates editing monitors every four to six weeks. LCD panels drift over time, and uncalibrated screens lead to inconsistent color and exposure across different viewing devices. A hardware calibrator like a Datacolor Spyder or X-Rite i1Display costs around $150 and pays for itself by preventing re-edit sessions.
What file format is best for archiving photos long-term?
RAW files should be archived alongside DNG conversions for maximum future compatibility. JPEG is fine for sharing but loses data with every re-save. Our team stores original RAW files on redundant drives and exports final edits as full-resolution TIFF or PNG for print-quality archival copies.
How many lenses does a photographer actually need?
Three lenses cover the vast majority of shooting situations: a wide-angle zoom (16-35mm), a standard zoom (24-70mm), and a fast prime (50mm or 85mm). Many professionals work with even fewer. Our team finds that carrying less gear encourages more creative problem-solving and reduces decision fatigue in the field.
Are online photography tutorials as effective as in-person workshops?
Both have distinct strengths. Online tutorials offer flexibility and breadth — anyone can revisit lessons repeatedly. In-person workshops provide hands-on feedback and real-time correction that accelerates learning in ways self-study cannot. Our team recommends combining both: use online resources to build theoretical knowledge, then attend a workshop or photo walk to apply those concepts with guided feedback.
Key Takeaways
- Mastering exposure fundamentals and composition principles delivers more impact than any gear upgrade — invest in technique before equipment.
- Mirrorless cameras represent the future of the industry, but quality lenses matter more than the body they're mounted on, regardless of system.
- Real-world shooting experience — especially the sessions that go wrong — teaches lessons that no tutorial can replicate, so consistent field practice is essential.
- A disciplined post-processing workflow (ruthless culling, restrained edits, proper file organization) separates polished work from amateur output.
 |
 |
 |
 |

About Alex W.
Alex is a landscape, equine, and pet photographer based in the Lake District, UK, with years of experience shooting in one of Britain's most photographically demanding natural environments. His work has been featured in Take a View Landscape Photographer of the Year, Outdoor Photographer of the Year, and Amateur Photographer Magazine — publications that reflect a serious, competitive standard of image-making. At Click and Learn Photography, he shares the camera settings, gear choices, and compositional techniques he has developed through real-world shooting and competition-level work.
You can Get FREE Gifts. Furthermore, Free Items here. Disable Ad Blocker to receive them all.
Once done, hit anything below
|
|
|
|