The best photography ideas to practice at home require nothing more than a camera, a few household items, and a willingness to experiment. Our team has spent years refining indoor shooting techniques, and we can confidently say that some of the most creative growth happens without ever leaving the house. Whether it's mastering light painting, building miniature scenes, or perfecting food styling, home photography builds skills that translate directly to professional work. For anyone looking to level up, our ultimate guides collection covers the foundational techniques that make these projects shine.
The beauty of home photography is the constraint itself. Limited space forces creative problem-solving. A kitchen counter becomes a product studio. A bathroom mirror becomes a portal for abstract self-portraits. Our experience shows that photographers who regularly practice indoors develop a sharper eye for composition and light — two fundamentals that matter far more than exotic locations.
This guide breaks down six proven photography ideas to practice at home, covers the gear and budget considerations, and walks through common problems along with their fixes. Everything here has been tested by our team and refined based on real results.
Contents
- Step-by-Step Guide to Six Home Photography Projects
- Comparing Home Photography Styles at a Glance
- What Each Project Actually Costs
- The Honest Trade-Offs of Shooting Indoors
- Techniques That Make the Biggest Difference
- When Each Technique Works Best
- Fixing the Most Common Indoor Shooting Problems
- Frequently Asked Questions
- Next Steps
Step-by-Step Guide to Six Home Photography Projects
Each of these projects targets a different skill set. Our recommendation is to try all six over the course of a few weeks, then double down on whichever resonates most. The order below moves from easiest setup to most technically demanding.
Light Painting and Long Exposures
Light painting is one of the most rewarding photography ideas to practice at home because the results look dramatic with minimal effort. Here's the process our team follows:
- Set the camera on a tripod in a dark room — total darkness works best
- Switch to manual mode: ISO 100, f/8, shutter speed between 10–30 seconds
- Use a small LED flashlight, phone screen, or even a sparkler as the light source
- Press the shutter and move the light source through the frame
- Review and adjust — longer exposures capture more movement, shorter ones keep lines tighter
Steel wool spinning (done safely in a controlled space) creates spectacular results, but even a simple flashlight dragged across the frame produces compelling abstract images. Anyone interested in long-exposure work should also explore our guide on how to photograph lightning — the camera settings overlap significantly.
Miniature and Toy Photography
Toy photography has exploded in popularity, and for good reason. A handful of action figures or LEGO sets combined with creative lighting can produce images that rival big-budget production stills.
Key steps for miniature photography:
- Use a wide aperture (f/2.8–f/4) to create shallow depth of field that sells the "real" illusion
- Build simple sets with flour, baking soda, or sand for ground cover
- Side lighting from a desk lamp adds dramatic shadows
- Shoot at the figure's eye level — never from above
- A prime lens with a close minimum focus distance is ideal here
Food and Flat Lay Styling
Food photography is a legitimate career path, and the kitchen table is the perfect training ground. Our team's approach focuses on natural window light as the primary source — it's flattering, free, and consistent during midday hours.
- Place the subject near a large window with indirect light
- Use a white foam board as a reflector on the shadow side
- Shoot overhead for flat lays, 45 degrees for plated dishes
- Keep backgrounds simple — wooden cutting boards, linen napkins, raw ingredients
- Garnish strategically and leave some negative space
Anyone serious about this niche should read our detailed walkthrough on food photography tips for beginners — it covers composition rules and styling tricks that apply directly to home practice.
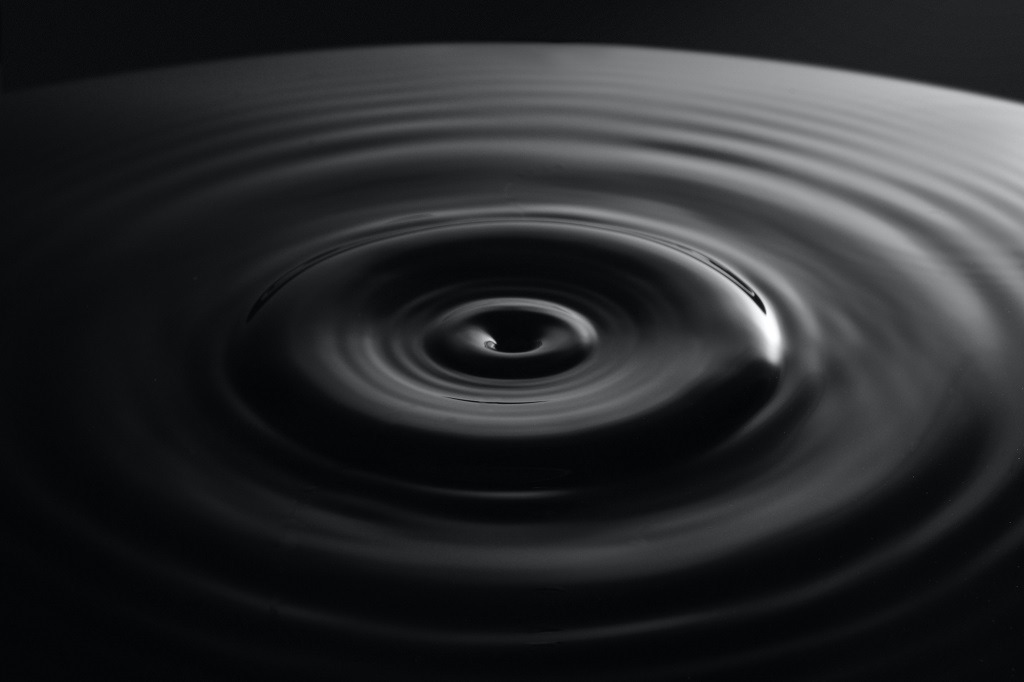
Water Drop and Splash Photography
This one requires patience but delivers stunning freeze-frame results. The basic setup:
- Fill a shallow dish with water and place it on a colored background
- Suspend a bag of water with a tiny hole above the dish (or use an eyedropper)
- Set the camera to manual: ISO 200, f/8, shutter speed 1/200 or faster
- Use an external flash for true freeze-frame sharpness
- Fire in burst mode and time the drops — expect 50+ attempts per keeper
Adding food coloring to the water or milk creates vivid color contrasts. The technique is essentially high-speed photography on a kitchen counter.
Pro tip: A wireless flash trigger makes water drop photography dramatically easier. Manual flash at 1/16 power gives a burst duration around 1/10,000th of a second — far faster than any mechanical shutter.
Macro Textures and Abstract Close-Ups
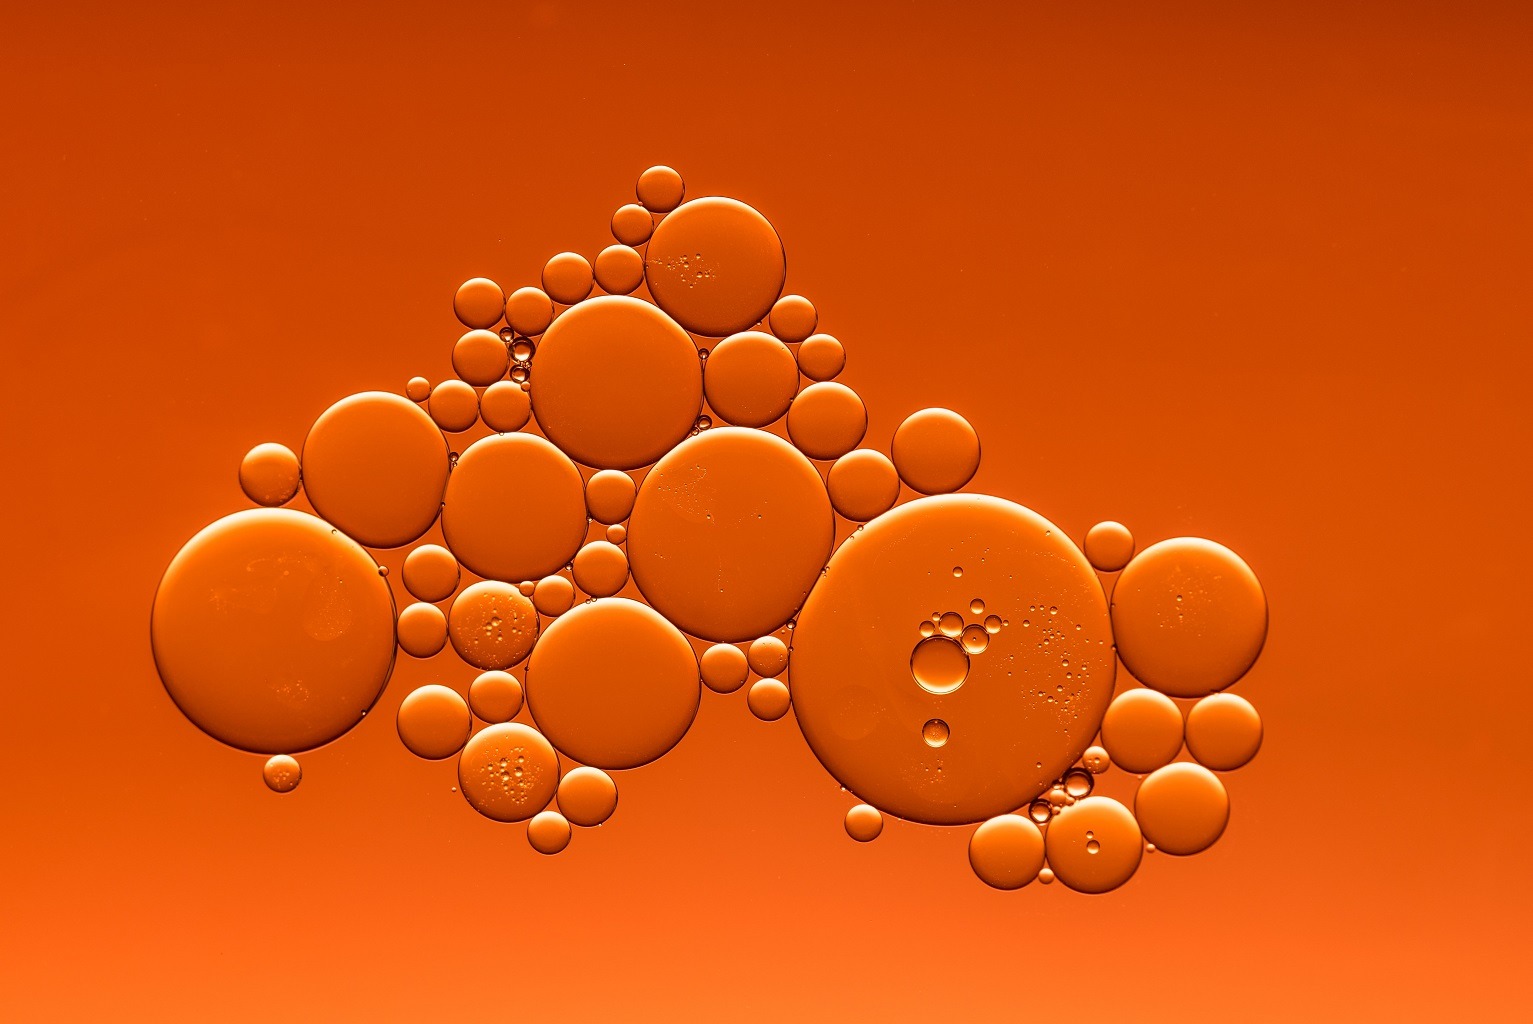
Every home is packed with macro subjects hiding in plain sight. Fabric weaves, fruit skin, ice crystals on a freezer shelf, bubbles in cooking oil — these all become abstract art at close range.
- Extension tubes are a cheap alternative to dedicated macro lenses
- Use f/11 or narrower for maximum sharpness across the subject
- A tripod is non-negotiable — even breathing causes blur at this magnification
- Backlighting thin subjects (leaves, petals) reveals hidden internal structure
Creative Self-Portraits
Self-portraiture isn't vanity — it's one of the fastest ways to learn lighting, posing, and directing a subject. A camera timer or remote shutter release is all that's needed.
- Set a 10-second timer or use a smartphone as a wireless remote
- Experiment with mirrors, window reflections, and shadows on walls
- Try intentional motion blur at slow shutter speeds (1/15–1/4 second)
- Use household items as props — umbrellas, scarves, books, plants
Processing self-portraits in post is a skill in itself. Our guide on the Orton Effect in Photoshop demonstrates one technique that adds a dreamlike quality that works particularly well with portrait work.
Comparing Home Photography Styles at a Glance
Not every home project suits every photographer. Here's an honest comparison of all six ideas based on our team's experience:
| Project | Difficulty | Setup Time | Gear Needed | Skill Developed | Portfolio Value |
|---|---|---|---|---|---|
| Light Painting | Easy | 5 min | Tripod + flashlight | Long exposure, timing | High |
| Miniature/Toy | Medium | 15–30 min | Any lens + props | Composition, storytelling | Medium |
| Food & Flat Lay | Medium | 20–40 min | Reflector + window | Styling, natural light | Very High |
| Water Drops | Hard | 30+ min | Flash + macro lens | Timing, flash control | High |
| Macro Textures | Easy–Medium | 5 min | Extension tubes or macro | Focus precision, patience | Medium |
| Self-Portraits | Medium | 10 min | Timer/remote + tripod | Lighting, posing, directing | High |
Food photography and light painting score highest for portfolio impact because they translate directly to commercial work. Miniature photography is the most purely fun, in our opinion.
What Each Project Actually Costs
One of the best things about photography ideas to practice at home is the low financial barrier. Most people already own a camera and a lens — the rest is household stuff. Here's a realistic cost breakdown beyond the camera body:
- Light painting: $0–$15. A phone flashlight works. Colored gels cost a few dollars. A basic tripod is the only real investment, and most photographers already have one.
- Miniature scenes: $10–$30. LEGO minifigures, baking soda for snow, scraps of fabric for backdrops. Existing toy collections count.
- Food styling: $5–$20. Foam board reflectors, parchment paper backgrounds, and whatever is already in the fridge. The food itself serves double duty as dinner.
- Water drops: $20–$80. An external flash is strongly recommended ($40+ used). Eyedroppers, food coloring, and dishes are kitchen staples.
- Macro textures: $15–$50. Extension tubes run about $15–$30 for manual sets. A dedicated macro lens is ideal but not required for practice.
- Self-portraits: $0–$25. A phone as remote is free. Wireless shutter remotes cost under $15. A solid tripod is the biggest upgrade here.
Total investment to try all six projects: roughly $50–$120 beyond existing camera gear. That's less than a single photography workshop.
The Honest Trade-Offs of Shooting Indoors
Home photography has genuine advantages, but it's not without limitations. Our team believes in being upfront about both sides.
What Works Well
- Zero travel time or cost — practice any night of the week
- Complete control over lighting, temperature, and environment
- Freedom to fail without an audience — experimentation thrives in private
- Develops technical precision that outdoor shooting often lets people skip
- Weather-independent — no cancelled shoots due to rain or harsh sun
Where It Falls Short
- Limited space restricts focal lengths — wide-angle and telephoto work is impractical
- Natural light is restricted to window direction and time of day
- Backgrounds get repetitive without dedicated backdrops
- No substitute for learning to handle unpredictable outdoor conditions
- Isolation can stall motivation — community feedback matters
The solution isn't choosing one or the other. Indoor practice sharpens fundamentals; outdoor shoots apply them. When the weather cooperates, pairing home-honed skills with outdoor subjects — like the techniques in our spring photography guide — produces noticeably stronger results.
Our recommendation: Dedicate at least one session per week to an indoor project, even when outdoor shooting is available. The controlled environment forces deliberate practice in a way that field work often doesn't.
Techniques That Make the Biggest Difference
After testing dozens of home photography setups, these are the techniques our team considers non-negotiable for strong results:
Lighting Control
- One light source beats three. Complexity doesn't equal quality.
- Diffuse harsh light with a white bedsheet taped over a window or lamp
- Use black cardboard to subtract light (flag unwanted spill) — just as important as adding light
- Backlighting creates separation between subject and background
Background Management
- A $3 poster board from a dollar store works as a seamless white background
- Crumpled then smoothed aluminum foil creates interesting bokeh reflections behind subjects
- Distance between subject and background controls how blurred the background appears — more distance equals more blur
Camera Settings That Matter Most
- Shoot RAW. Always. The latitude for correction in post is dramatic.
- Manual white balance eliminates color casts from mixed indoor lighting
- Use the camera's self-timer (even 2-second delay) to eliminate shutter-press vibration on a tripod
- Mirror lock-up or electronic first curtain shutter removes additional vibration for macro work
When Each Technique Works Best
Knowing which home photography project to pick depends on the skill gap someone is trying to close. Here's our team's direct guidance:
For Beginners Learning Exposure
Start with light painting. It makes the relationship between shutter speed and captured light immediately visible. There's no faster way to internalize the exposure triangle than watching a 15-second exposure build in real time.
For Intermediate Shooters Building a Portfolio
Food photography and self-portraits offer the most commercially transferable results. Both translate directly into freelance work — restaurants and personal brands always need content. These photography ideas to practice at home pull double duty as portfolio builders.
For Advanced Photographers Staying Sharp
Water drop and macro work challenge technical precision in ways that keep experienced photographers engaged. The margin for error is razor-thin, which is exactly the point. Flash timing, focus stacking, and manual fine-tuning keep skills from atrophying between paid shoots.
For Creative Ruts
Miniature photography. Full stop. The playfulness of building tiny scenes and storytelling with toys breaks the seriousness that sometimes suffocates creativity. Our team returns to this whenever the work starts feeling like a grind.
Fixing the Most Common Indoor Shooting Problems
Every indoor photographer hits the same walls. Here are the fixes our team relies on:
Problem: Images Are Soft or Blurry
- Cause: Camera shake at slow shutter speeds, even on a tripod
- Fix: Use a 2-second timer or remote trigger. Enable mirror lock-up. Ensure the tripod is on a solid surface (not carpet)
- If shooting handheld, the minimum shutter speed should be 1/(focal length × 1.5) for crop sensors
Problem: Colors Look Wrong or Muddy
- Cause: Mixed lighting — daylight from a window combined with tungsten overhead bulbs
- Fix: Turn off all artificial lights and rely on a single source. Set a custom white balance using a gray card or white paper
Problem: Backgrounds Are Distracting
- Cause: Cluttered rooms, visible furniture, uneven surfaces
- Fix: Increase subject-to-background distance and shoot wide open (f/2.8 or wider) to blur backgrounds. Alternatively, hang a bedsheet or use a large poster board
Problem: Flash Creates Harsh Shadows
- Cause: Direct on-camera flash with no modification
- Fix: Bounce flash off the ceiling or a nearby white wall. If using a speedlight, attach a small softbox or even tape a piece of tissue paper over the flash head
Problem: Running Out of Ideas After a Few Sessions
- Cause: Repeating the same subjects and setups
- Fix: Assign themed challenges — one color, one texture, one emotion per session. Browse hashtags like #StillLifePhotography or #AtHomePhotography for inspiration. Revisit old projects with a new technique (same subject, different lighting)
Frequently Asked Questions
What camera gear is essential for photography ideas to practice at home?
A camera body (even a smartphone with manual controls), a tripod, and a single light source are all that's truly essential. A 50mm prime lens is the most versatile option for indoor work due to its wide aperture and sharp optics. Extension tubes, reflectors, and an external flash are valuable additions but not requirements for getting started.
Can home photography actually improve outdoor shooting skills?
Absolutely. Indoor practice forces deliberate attention to lighting direction, exposure settings, and composition — skills that transfer directly to any outdoor scenario. Our team has consistently found that photographers who practice indoors weekly show faster improvement in field work than those who only shoot outdoors.
How long should each home photography practice session last?
Most people see the best results from focused 45–90 minute sessions. Shorter sessions don't allow enough time for iteration, while longer ones lead to fatigue and diminishing returns. Our team recommends setting a specific goal for each session — such as mastering one lighting angle or capturing ten keeper shots — rather than shooting aimlessly.
Is it possible to build a professional portfolio from home photography?
Yes, particularly in food photography, product photography, and creative portraiture. Many commercial photographers shoot exclusively in home studios. The key is consistency in quality and a cohesive visual style. Five outstanding home-shot images outperform fifty mediocre outdoor shots in any portfolio review.
What's the single best home photography project for a complete beginner?
Light painting. It requires minimal gear, produces visually striking results immediately, and teaches the fundamental relationship between shutter speed and light exposure. The feedback loop is instant — each shot clearly shows what worked and what didn't — which accelerates learning faster than almost any other technique.
Next Steps
- Pick one project from the six above and commit to a single 60-minute session this week. Light painting is the fastest to set up, but any choice works. The only wrong move is not starting.
- Gather the household materials needed before the session. A flashlight, a white foam board reflector, a tripod, and a clean background surface cover most of the projects listed here. Preparation eliminates the friction that kills momentum.
- Shoot a minimum of 30 frames per session and review them critically afterward. Identify what worked, what didn't, and what to change next time. Keep a simple notes file or journal alongside the image files.
- Share the three strongest images from each session in a photography community for feedback. Outside perspective reveals blind spots that self-review misses. Reddit's r/photocritique or local camera club forums both work well.
- Rotate to a different project each week for six weeks. After completing the full cycle, most people will have a clear sense of which technique resonates most — that's the one worth mastering long-term.
 |
 |
 |
 |

About Alex W.
Alex is a landscape, equine, and pet photographer based in the Lake District, UK, with years of experience shooting in one of Britain's most photographically demanding natural environments. His work has been featured in Take a View Landscape Photographer of the Year, Outdoor Photographer of the Year, and Amateur Photographer Magazine — publications that reflect a serious, competitive standard of image-making. At Click and Learn Photography, he shares the camera settings, gear choices, and compositional techniques he has developed through real-world shooting and competition-level work.
You can Get FREE Gifts. Furthermore, Free Items here. Disable Ad Blocker to receive them all.
Once done, hit anything below
|
|
|
|