Food Photography Tips for Beginners – How to Nail Your First Food Photoshoot
by Alex W.
The best food photography tips for beginners come down to three fundamentals: use natural light, simplify your backgrounds, and shoot from the right angle for each dish. Master those three things and your food photos will instantly look more professional — even if you're shooting with a smartphone. Whether you're building a food blog, growing your Instagram, or just want your home-cooked meals to look as good as they taste, food photography is one of the most accessible and rewarding genres you can explore. If you're looking for more foundational guidance across different photography styles, check out our ultimate guides section for deeper dives into every skill level.
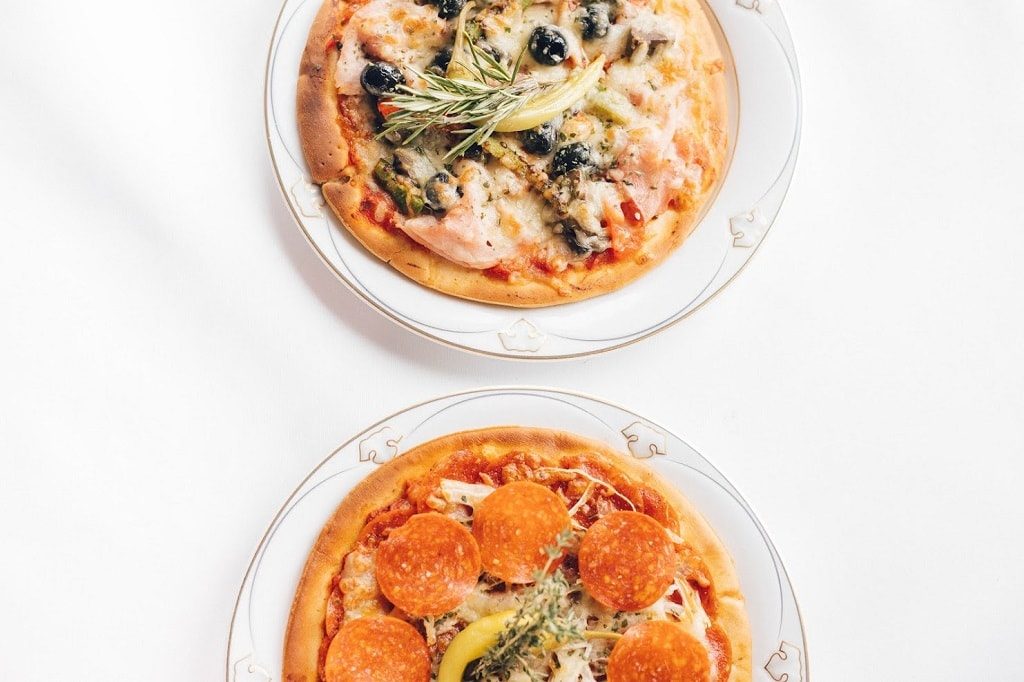
The good news is you don't need expensive gear to get started. A basic camera body — or even your phone — a window, and a few props from your kitchen are enough to produce stunning results. The real challenge isn't equipment. It's learning to see light, compose deliberately, and style your scene with intention.
This guide walks you through everything from your first setup to troubleshooting the most common mistakes. By the end, you'll have a repeatable workflow you can use for every food shoot going forward.
Contents
Your Step-by-Step First Food Photoshoot
Setting Up Your Shooting Space
You don't need a studio. Find the largest window in your home that gets indirect sunlight — north-facing windows are ideal because the light stays consistent throughout the day. Place a table or flat surface next to the window so the light hits your subject from the side. Side lighting creates the shadows and dimension that make food look three-dimensional and appetizing.
Hang a white bedsheet or tape a piece of white foam board on the opposite side of your dish from the window. This acts as a bounce reflector that fills in harsh shadows without adding a second light source. If the sunlight is too strong and creating hard shadows, tape a sheet of parchment paper or a thin white curtain over the window to diffuse it. That's your entire lighting setup — free and effective.
For your background, use a clean wooden cutting board, a piece of marble tile from a hardware store, or even a large sheet of textured craft paper. Keep it simple. The background should complement the food, not compete with it.
Camera Settings That Work
If you're using a DSLR or mirrorless camera, shoot in aperture priority mode (A or Av). Set your aperture between f/2.8 and f/5.6 for that creamy background blur that draws the eye to the food. Keep your ISO as low as possible — 100 to 400 — to avoid grain. If you're just getting into camera gear, our guide to the best DSLR cameras for beginners covers affordable bodies that handle food photography beautifully.
Always shoot in RAW format. RAW files give you dramatically more flexibility in post-processing, especially when adjusting white balance — and accurate color is everything in food photography. Use a 50mm prime lens if you have one. Prime lenses produce sharper images with better background separation, and there are compelling reasons to use primes beyond just food work.
Styling the Scene
Start by plating your dish on a clean, simple plate — white or neutral tones work best for beginners. Add layers to the scene with complementary props: a linen napkin, a wooden spoon, scattered ingredients, or a glass of wine. The key is to tell a story about the meal without cluttering the frame.
Garnish the food right before shooting. Fresh herbs wilt. Ice cream melts. Sauces dry out. Professional food stylists work in minutes, and so should you. Have everything staged and your camera settings dialed in before the food hits the plate.
Food Photography Best Practices That Separate Good from Great
Lighting Techniques for Every Situation
Natural light is your best friend, but you need to understand the different qualities of light and when to use each. Backlight — where the light source is behind the food — works beautifully for drinks, soups, and anything with translucent or glossy surfaces. It creates a luminous glow that makes liquids sparkle. Side light is the most versatile and works for nearly every dish because it reveals texture in bread crusts, grill marks, and layered desserts.
The one direction you should almost always avoid is front light — light coming from directly behind you. It flattens the food and eliminates the shadows that give your image depth. This is exactly why on-camera flash produces such unflattering food photos.
If you're shooting in the evening or in a room with limited natural light, consider a simple LED panel with adjustable color temperature. Position it exactly where your window would be, and use the same diffusion and bounce techniques.
Composition Rules Worth Following
Use the rule of thirds as your starting framework. Place your main dish at one of the intersection points rather than dead center. Then experiment with these three angles, which cover virtually every food scenario:
| Camera Angle | Best For | Why It Works |
|---|---|---|
| Overhead (90°) | Flat dishes, pizza, salads, charcuterie boards | Shows patterns, arrangement, and color contrast from above |
| 45-degree | Most dishes — the default starting point | Mimics how you naturally see food at a table; shows both top and sides |
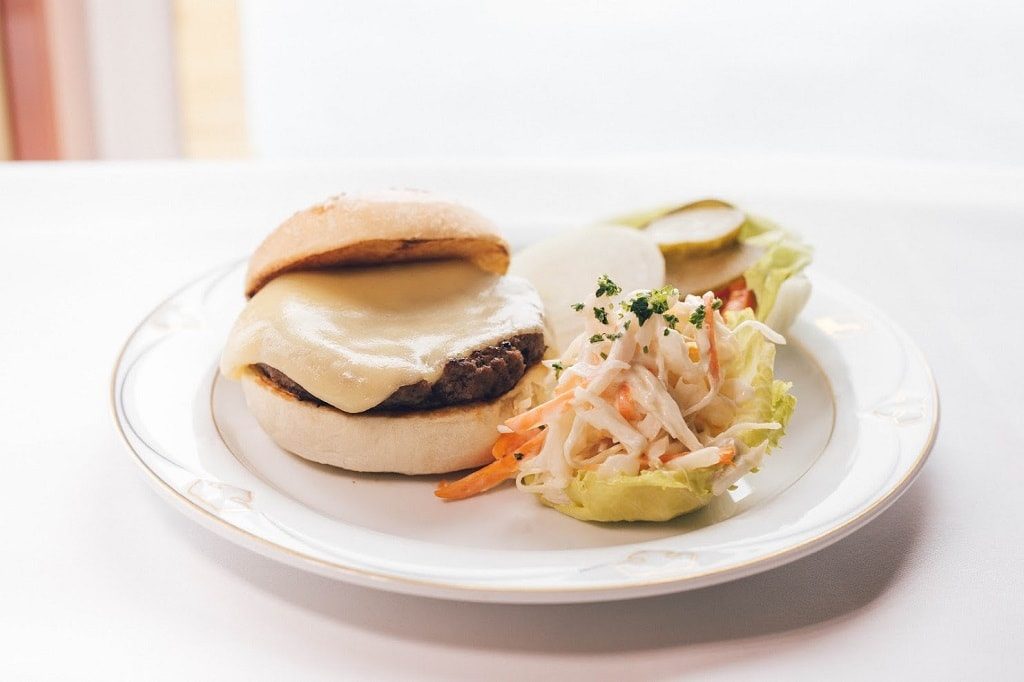
| Straight-on (0°) | Layered foods, burgers, stacked pancakes, drinks | Emphasizes height, layers, and drips |
Leave negative space in your composition. Empty areas in the frame let the viewer's eye rest and draw more attention to the food itself. If your shot feels cluttered, remove elements until it doesn't. A sturdy tripod helps immensely for consistent framing — see our Vanguard Veo 2 tripod review for a solid budget option.
Beginner vs Advanced Techniques: Know Where You Stand
What to Focus on First
As a beginner, resist the urge to complicate things. Your priorities should be mastering natural light, learning one or two reliable angles, and developing a basic editing workflow. Stick to simple scenes with one hero dish and two to three supporting props. Shoot the same dish from multiple angles and distances to train your compositional eye.
Post-processing should be minimal at this stage. Adjust white balance so the colors look true to life, boost clarity slightly to enhance texture, and make sure your whites are actually white. Editing software like Photoshop can do wonders, but even free tools like Snapseed on your phone will handle these basics. For deeper color accuracy guidance, the Wikipedia article on color temperature explains the science behind white balance settings.
When to Level Up Your Approach
Once you're consistently producing well-lit, clean compositions, it's time to push further. Advanced food photography introduces artificial lighting setups with multiple strobes, focus stacking for maximum sharpness across the entire dish, and more complex scenes with motion elements like pouring honey or sprinkling powdered sugar.
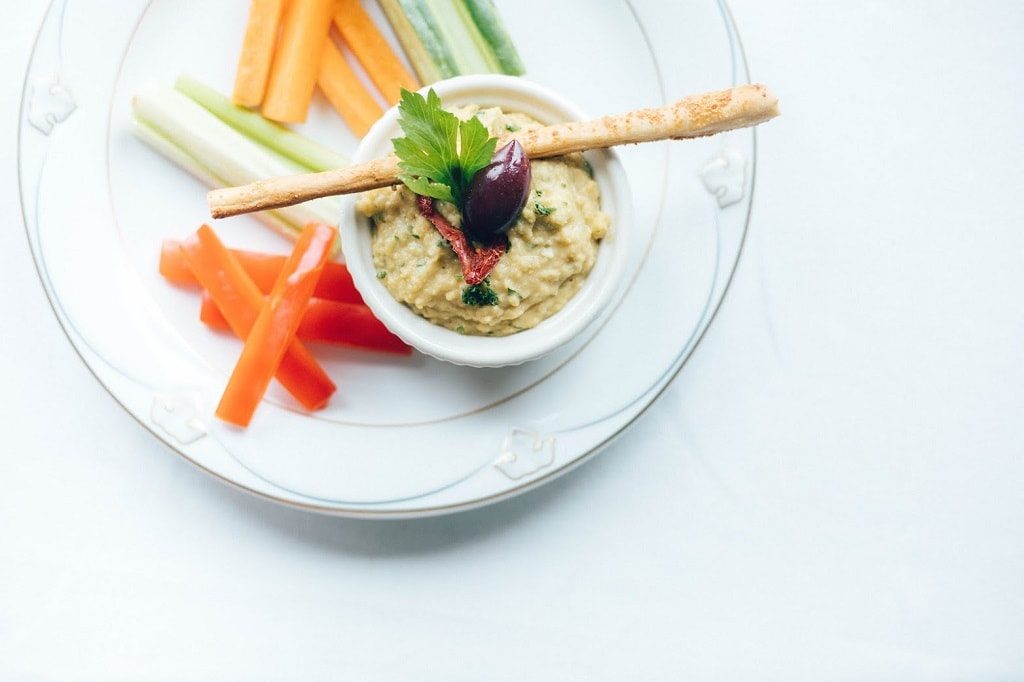
You'll also start thinking about color theory — using complementary colors to make dishes pop, and building mood boards before each shoot. Advanced photographers often invest in dedicated macro lenses for extreme close-ups of texture details, and they learn tethered shooting to review images on a laptop screen in real time. When you get to that stage, having the right budget photography accessories makes the transition smoother.
Common Food Photography Mistakes and How to Fix Them
Lighting and Color Issues
The number one mistake beginners make is using overhead kitchen lights or mixed light sources. Your kitchen's warm-toned ceiling light combined with cool daylight from a window creates a color cast that's nearly impossible to correct in editing. The fix is simple: turn off every artificial light in the room and rely solely on window light. This single change will transform your images overnight.
Another common issue is underexposure. Food looks best when it's bright and airy — slightly overexposed images tend to look more appetizing than dark, moody ones, especially for beginners. If your images consistently look too dark, use exposure compensation (+0.3 to +1.0 EV) or adjust in post. Just be careful not to blow out the whites on the plate.
Composition and Styling Pitfalls
Over-styling is just as problematic as under-styling. If you've added more than five props to the scene and it still doesn't look right, the answer is almost always to remove elements, not add more. Every item in the frame should serve a purpose — it either supports the story, adds a complementary color, or creates leading lines toward the hero dish.
Shooting from only one angle is another trap. Always work through at least the three core angles for every setup. You'll be surprised how often the overhead shot of a dish you assumed would look best at 45 degrees turns out to be the winner. This kind of experimentation is the same mindset you'd bring to travel photography — flexibility and curiosity produce the best results.
Finally, don't ignore your backgrounds. A cluttered kitchen counter, visible electrical outlets, or a stained tablecloth will ruin an otherwise excellent shot. Keep a collection of clean background surfaces ready to go: a few tiles, wooden boards, and fabric pieces in neutral tones cover most scenarios.
Frequently Asked Questions
What camera settings are best for food photography?
Shoot in aperture priority mode with an aperture between f/2.8 and f/5.6, ISO 100-400, and RAW format. Use a 50mm or 35mm prime lens for the sharpest results. Set your white balance manually or shoot RAW so you can correct it in post-processing without any quality loss.
Can you take good food photos with a smartphone?
Absolutely. Modern smartphones have excellent cameras with portrait modes that simulate shallow depth of field. The same principles apply — use natural side light, clean backgrounds, and thoughtful composition. The difference between phone and camera food photos is much smaller than most people think, especially for social media.
What is the best angle for shooting food?
The 45-degree angle works for the widest range of dishes and is the safest starting point. Use overhead for flat presentations like pizza or salads, and straight-on for tall layered dishes like burgers or stacked pancakes. Always shoot from multiple angles and choose the best one in editing.
How do you make food look fresh in photos?
Work quickly — plate and shoot within minutes. Use a spray bottle with water to add fresh-looking droplets to produce and glasses. Brush a thin layer of oil on meats and vegetables to create an appetizing sheen. Keep backup ingredients ready in case your hero garnish wilts before you get the shot.
Do you need expensive equipment for food photography?
No. A camera body (or smartphone), a window for natural light, a white foam board reflector, and a simple background surface are enough to produce professional-quality food images. As you progress, a tripod and a 50mm prime lens are the two most impactful upgrades you can make. Check our guide to the best cameras under $500 for affordable options that deliver outstanding image quality.
Final Thoughts
You now have everything you need to nail your first food photoshoot — find a window, set up a simple background, plate your dish, and start shooting from multiple angles. The fastest way to improve is to commit to photographing one meal per week with deliberate attention to light and composition. Grab your camera, cook something you love, and put these food photography tips for beginners into practice today. Your portfolio starts with one great shot.
 |
 |
 |
 |

About Alex W.
Alex is a landscape, equine, and pet photographer based in the Lake District, UK, with years of experience shooting in one of Britain's most photographically demanding natural environments. His work has been featured in Take a View Landscape Photographer of the Year, Outdoor Photographer of the Year, and Amateur Photographer Magazine — publications that reflect a serious, competitive standard of image-making. At Click and Learn Photography, he shares the camera settings, gear choices, and compositional techniques he has developed through real-world shooting and competition-level work.
You can Get FREE Gifts. Furthermore, Free Items here. Disable Ad Blocker to receive them all.
Once done, hit anything below
|
|
|
|