10 Tips to Take Your Pet Photography to the Next Level
by Alex W.
Never work with children or animals - That's a saying photographers rarely take notice of, and for good reason! Children and animals, whilst unpredictable and difficult, make for some of the best photography subjects because of how entertaining and cute they are.
Pet photography, provided you have a pet or know somebody with one, is one of the most easily accessible types of photography out there, but as with every genre of photography there's a lot more to it than meets the eye.
Everyone and their dog (excuse the pun) takes photos of their beloved pets, but standing out from the crowd in this area is very simple when you apply a few tricks of the trade!
Contents
Pet Photography Tips

1. Get to Know Your Model
After doing photography for a short while you'll come to realise that the majority of your time isn't spent taking photos, but instead preparing to take a photo. Whether that's lining up wedding guests, waiting for the light in a landscape, or trying to entertain your children. Pet photography is no different, so the first thing we must do is prepare.
Animals are extremely perceptive and sensitive to their environment, so if you introduce a loud, frantic photographer telling them what to do all it's likely to do is scare them. Not many people want photographs of their dog cowering in a corner do they?
So, instead of diving straight in with both feet, get to know your model. Stroke it, play with it, and earn it's trust before even getting the camera out of the bag. For some animals this can take a very short time, but others are less trustworthy of strangers and require a bit more time and effort.
There are ways to speed the process up though….
2. Find Their Price (And Pay Up)
There's a saying - Everyone has a price. This goes for animals as well, and paying that price can speed up the trust gaining process a lot and generally make your model a lot more cooperative throughout the shoot!
This can be anything from tasty treats to toys for them to play with. It's a very simple tip but it works wonders, especially with well trained pets. For example, both of my dogs will do absolutely anything for a dog treat!
Of course, always consult the owner of the pet before handing out any food.
3. Tidy Up and De-Clutter the Environment
Beautiful pet portraits aren't quite the same when there's a telegraph pole protruding from their head.
We're still in the preparation phase here, but make no mistake the time you spend before getting behind the lens will be well worth it in the end.
There's very few things that ruin a pet portrait as much as a lamppost sticking out of a dog's head, or a wheelie bin in the background. Take some time to notice potential distractions in your environment and remove anything you can. If that means moving tables then do it. It's a lot easier to move a table before your shoot than try to Photoshop it out in post processing.
Ideally we want nice, clean background that don't contain any distracting elements that would draw a viewers attention away from the pet. This is similar to the idea of Border Patrol in our Beginner's Guide to Composition.
4. Use the Light
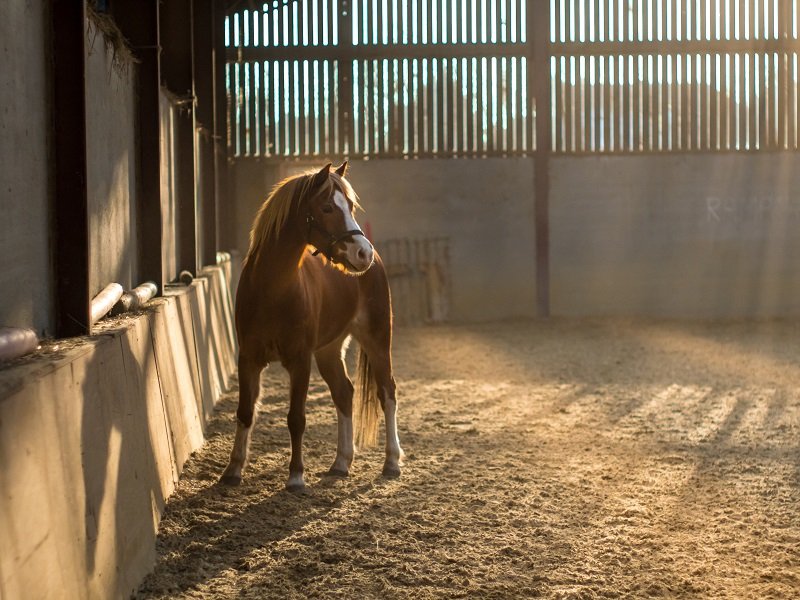
Light is the key component to all photography, and beautiful light can elevate a photograph from a decent shot to absolutely stunning.
Light is the most important aspect in any photography genre, so this tip applies across the board. One of the first things you must do is look for the light, whether artificial or natural, and plan your shots accordingly. Simply moving to the other side of a room or putting the pet next to a window can make or break a photograph, so it certainly pays to notice what the light is doing as soon as possible.
For pet photography, ideally, we want a bright but diffused light. Indoors, this would mean placing your model next to a window or bouncing your flash if indoors, or shooting on a slightly overcast day when outdoors. This will allow us to use nice, flat light for the overall portrait but also serves to create those beautiful catchlights in the pet's eyes.
Obviously this isn't always possible, but we can take some steps to improve our chances. Never photograph in the middle of a sunny day for instance, and if possible try to use a location that has a shaded area nearby so we can retreat to there if the light is too harsh.
Indoors, we can use bounced flash in any situation, and providing the light isn't coming directly through the window we can use that to create some beautiful directional light that isn't too harsh. We can also utilise reflectors to balance to light on either side of the animal's face.
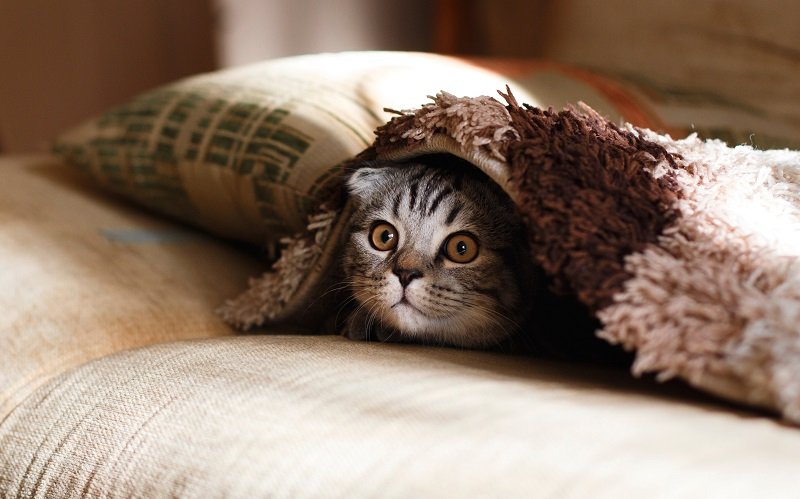
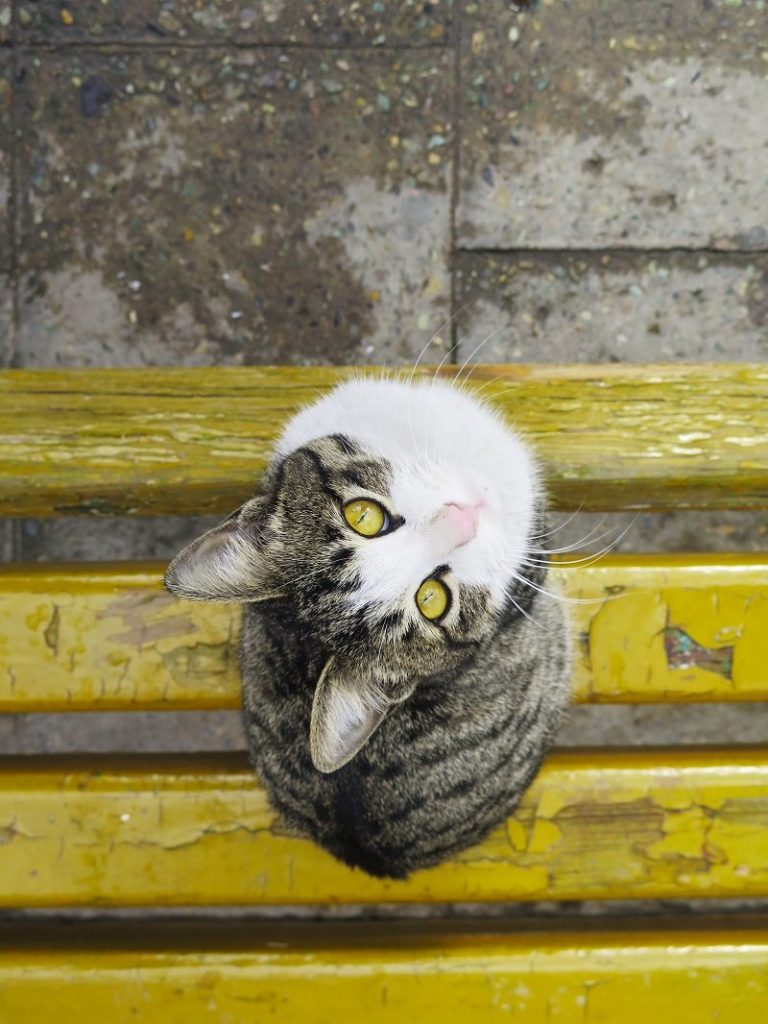
5. Focus on the Eyes

The eyes are the windows to the soul, and having them sharp is more important than anything else in pet photography.
It doesn't matter if the nose and ears are out of focus, because the eyes draw all the attention. They can express playfulness, trust, love, fear, and every emotion in between, and this makes them the number one focal point of any good pet portrait. This can work against us though, because if you miss focus on the eyes you may as well instantly discard the shot (unless it was intentional of course.)
Getting the eyes in focus is easier said than done with an unpredictable animal bouncing around, but we can improve our chances with a few carefully selected camera settings and a lot of practise.
I'd suggest changing your autofocus points to single point focusing so we can place the focus dot directly on the eye. If we use multi-point focusing the camera can often choose to focus on the end of a dog's nose for instance, and when using wide apertures this can be a shot killer. Also, make sure you're using continuous autofocus (AI Servo AF on Canon, AF-C on Nikon) if your subject is moving around a lot (chances are it will be) so you can track the focus on their eyes.
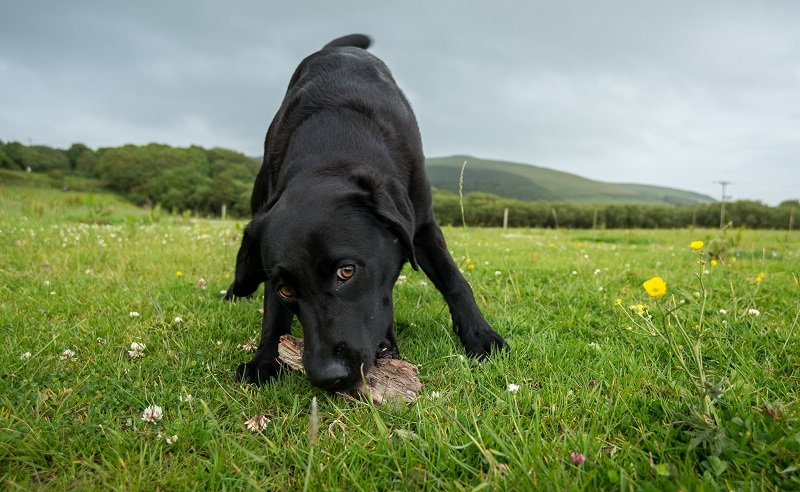
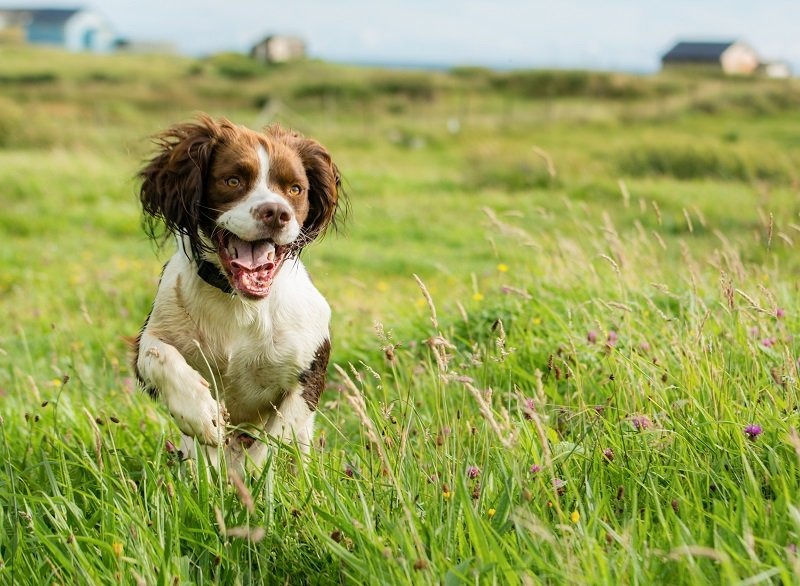
6. Get Down to Their Level
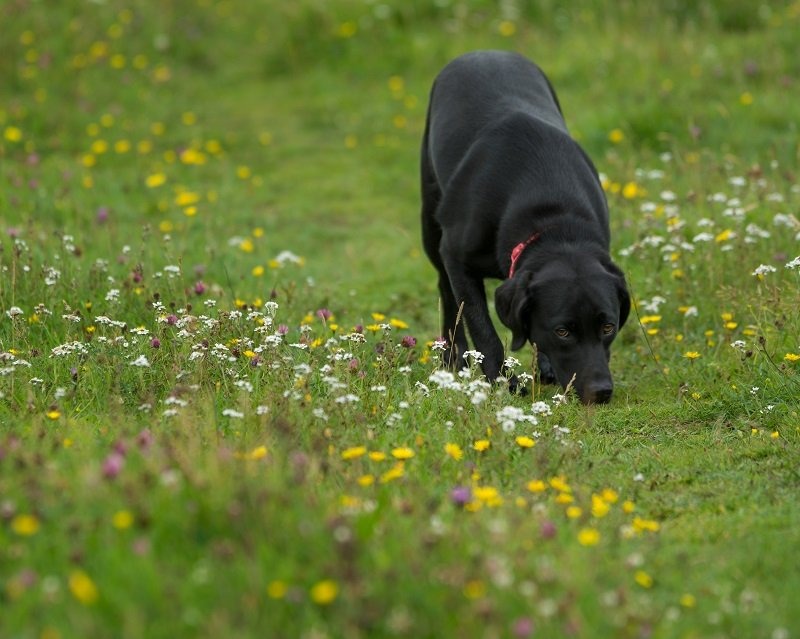
Think about all the pet photos you've seen before; what do they have in common? Pretty much all of them are taken from a human perspective. Sure, those puppy dog eyes looking up at us are cute, but they don't make for spectacular photos. For that we have to take on a new approach.
The best way to instantly improve your pet photography is to get down to the animal's level. This might mean lying on the floor, but it's well worth it when you've got a photo of the pet interacting with the world around it from the perspective of another animal.
These new perspectives take your photography to another level, and as an added bonus nothing gets an animal's attention like a human lying down in the middle of the lawn!
7. Try Something Different
If we want to stand out from the crowd we have to go against the grain. This is true for all walks of life, and pet photography is no exception. We have to look for new ideas and approaches, and in doing so stamp our own personal style on it.
This is why we always advocate breaking the so-called 'photography rules' as often as possible!
There are multiple ways of doing this, and obviously copying somebody else's style doesn't give you a style of your own. This requires practise, creativity, and a lot of preparation to make it work, but when you come out of a shoot with some truly unique images it's well worth it.
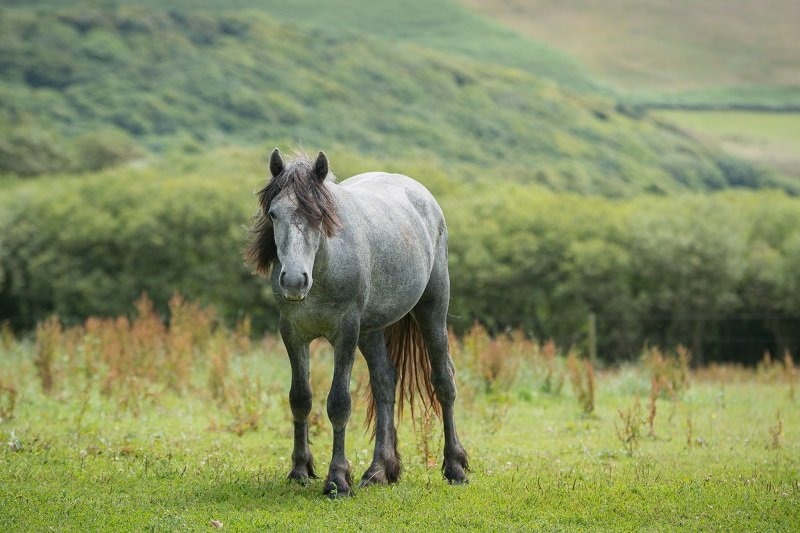
My own personal favourite is to go completely against the crowd and use wide-angle perspectives when everybody else uses telephoto. This can lead to me lying in a field shooting a dog, or nearly getting galloped over by a horse on the beach. So far no injuries have been sustained though, and I've come away with some photos that are completely unlike 95% of the other pet photographs out there.
Another excellent idea is to utilise underwater photography equipment in your pet photography. Seth Casteel does this incredibly well, and as such has carved a name out for himself as an underwater pet photographer!
8. Mix It Up
Make sure you mix things up during your shoot to give you or your client a nice variety of images to choose from. We don't want 200 nicely lit pet portaits that are almost the same, instead we want to try out some action shots and playful ones to show the wide range of character that animals have.
You can plan this beforehand quite easily. Start by assessing the preferences of your client (or yourself) and decide whether more importance is placed on the portrait side of things or the more dynamic images. Once you've done that you can then split up the shoot into separate parts, where the preferential type of shot gets the most time and the other varieties have a smaller role to play.
So, for example, if you had a client that wanted a lot of action shots of her dog then you might divide an hours shoot into:
- 10 minutes getting to know the dog and preparing the environment
- 35 minutes focusing on action and playful shots in the garden
- 15 minutes adding some variety to your portfolio with some portraiture work
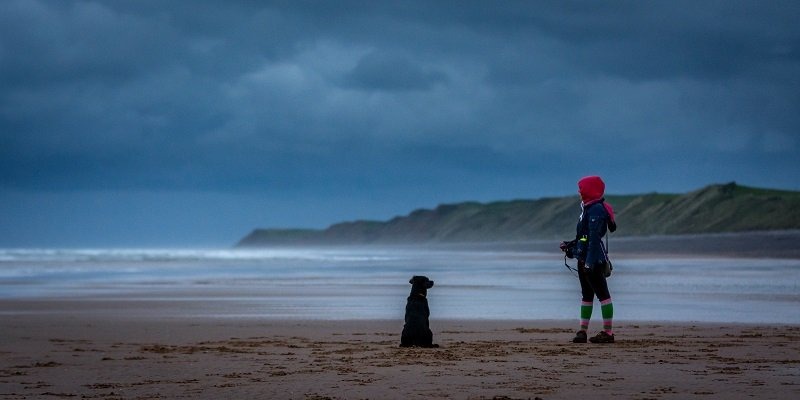
9. Choose Your Environment Wisely
It might not always be possible to choose your own environment for a pet photoshoot, but whenever it is your choice make sure to take full advantage of it. Nobody wants photos of their beloved pet in a tiny, concrete-laden back yard.
Of course, a lot of the time a client will want to have some indoor portraits in their house before migrating to the garden. In these cases you just need to choose the best micro-environments within this space, making sure to avoid any background clutter and generally trying to shoot in the areas with the best light.
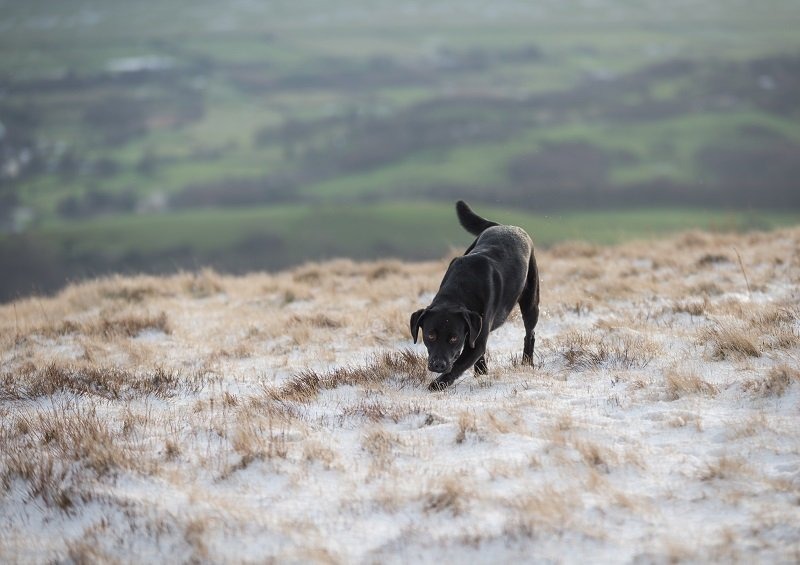
If it is left to you, start making a list of potential locations for all weather conditions. For example, I have about 5 different locations all within ten minutes of my house that I use for pet photography, all of which are suited to different weather conditions and seasons. Here are a few of them, which should give you some idea of what to aim for:
- Rural field next to the beach on the west coast - Dry, summer days and when shooting near to sunset. Can also move onto the beach when appropriate.
- Patch of deciduous woodland - Rainy days and during autumn.
- Patch of Confer Woods - All year round, but excellent for winter sessions.
- East facing field - Morning shoots, works especially well on frosty mornings.
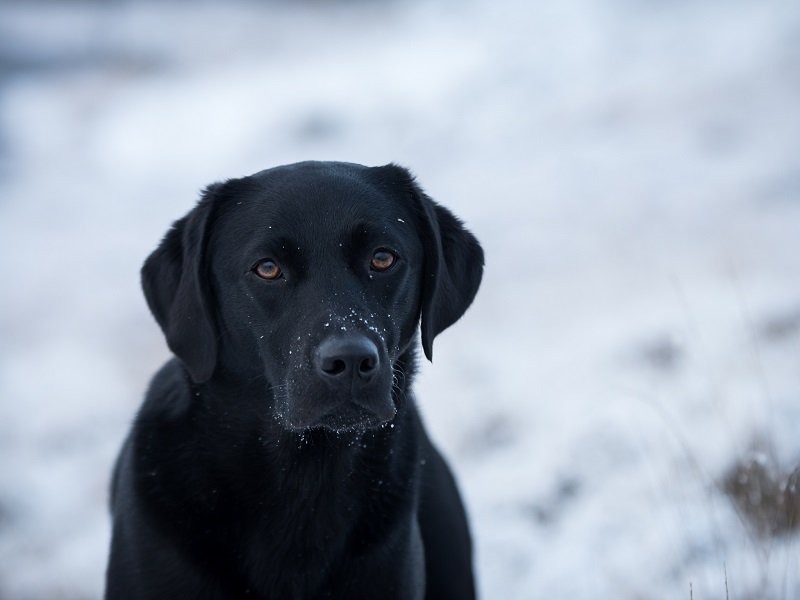
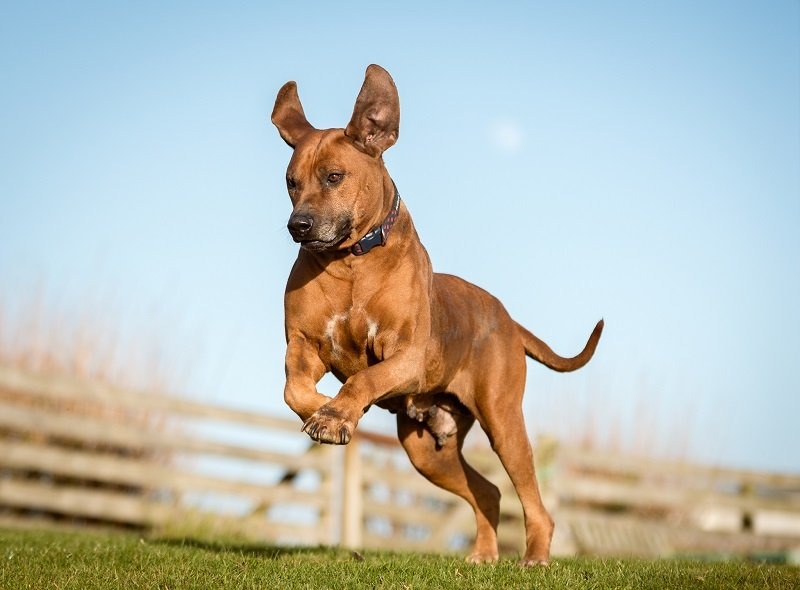
10. Attract Their Attention
One thing that so many photographers forget is that almost all animals look better when their ears are alert and facing forward rather than pinned to the side of their skulls. If an animal's ears are pinned back it generally suggests some sort of negative emotion such as fear or aggression, and that's definitely not something we want to convey in a photograph.
Of course, it doesn't always mean that they're in a bad mood. Sometimes their ears just lie that way, but there is a very simple way around this. If you attract their attention their ears will turn towards you and they will look more alert for the camera, and it doesn't take much to attract a pet's attention.
Take a few things along with you that make a distinct but inoffensive noise. I personally use something as simple as a sandwich bag to make a rustling noise, and it works nine times out of ten.
This is such a simple tip, but many beginner pet photographers don't take it into account. The difference between a pet's ears facing forwards or backwards can be the difference between a photograph you present to your client and one that you send to the recycle bin.
Bonus Tip - Be Patient
Animal's aren't human, and while they do often understand basic commands they can't understand what we want them to do. It can get frustrating at times when a dog moves the wrong way just as you press the shutter, but getting frustrated with them over it won't help in the slightest. All that will do is make the animal confused or scared, neither of which are conducive to a nice photograph.
Instead, be very patient with them and earn their trust. Anybody that has a pet knows that if you earn that animal's unconditional trust it will repay you ten-fold, and that goes for photographers as well.
In fact, patience is an undervalued part of many types of photography, from landscape photography to wildlife photography and even in portraiture.
Read More…
- The Ultimate Guide to Landscape Photography
- 5 Must-Buy Lenses for Your Nikon
- Best Entry-Level DSLR Cameras
- How to Use Leading Lines to Improve Your Photography
 |
 |
 |
 |

About Alex W.
Alex is the owner and lead writer for Click and Learn Photography. An avid landscape, equine, and pet photographer living and working in the beautiful Lake District, UK, Alex has had his work featured in a number of high profile publications, including the Take a View Landscape Photographer of the Year, Outdoor Photographer of the Year, and Amateur Photographer Magazine.
Thoughts on "10 Tips to Take Your Pet Photography to the Next Level"
|
|
|
|
You can Get FREE Gifts. Furthermore, Free Items here. Disable Ad Blocker to receive them all.
Once done, hit anything below
|
|
|
|