Photography in Banff National Park – Tips for the Traveling Photographer
by Alex W.
What separates a stunning Banff photograph from a forgettable snapshot? It comes down to preparation, timing, and knowing exactly where to point your lens. These photography tips Banff National Park visitors overlook are the difference between coming home with portfolio-worthy images and a memory card full of tourist snapshots. Banff is one of the most photographed places on Earth, and for good reason — turquoise lakes, jagged peaks, and wildlife around every bend. But the Canadian Rockies demand respect, and your camera gear needs just as much attention as your composition. Whether you're planning your first trip or returning for another season, this guide from our travel photography collection covers everything you need to capture Banff at its absolute best.
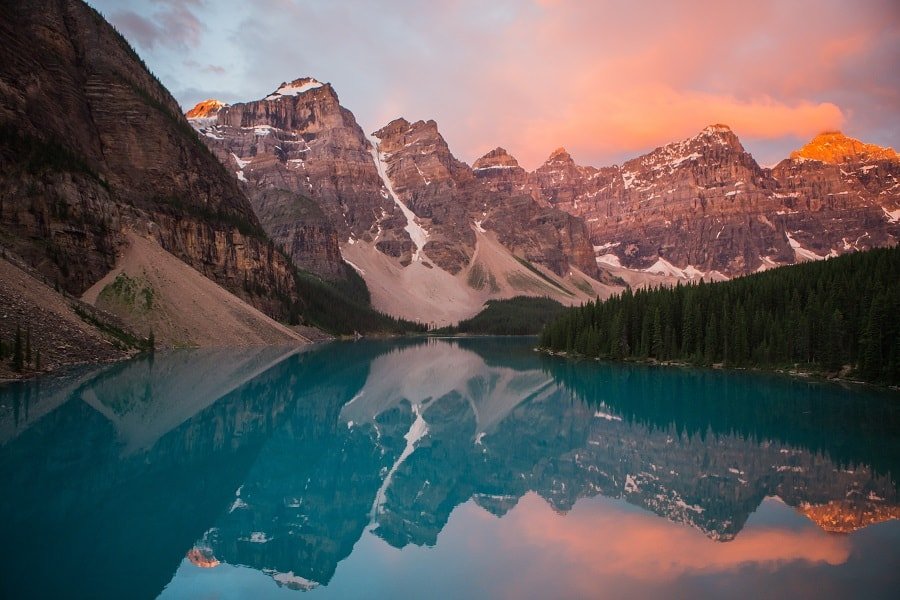
Moraine Lake alone draws thousands of photographers each season, but Banff's real magic lives in the dozens of lesser-known spots scattered across over 6,000 square kilometers of protected wilderness. The Icefields Parkway, Vermilion Lakes at dawn, Johnston Canyon in winter — each location presents unique challenges and rewards that reward the prepared photographer.
Below, you'll find practical guidance on gear protection, shooting strategies for every skill level, the right equipment to pack, honest trade-offs you'll face, and a framework for planning repeat visits that build on each other.
Contents
Protecting Your Gear in the Canadian Rockies
Banff's mountain environment is harder on camera equipment than most photographers expect. Temperatures swing dramatically — you can start a morning shoot at -15°C and be in bright sunshine by noon. Moisture, dust from gravel trails, and the occasional rain shower are constants. If you don't have a plan for protecting your gear, you risk foggy lenses, sensor spots, and worse.
Weather-Proofing Your Camera System
Condensation is your biggest enemy in the Rockies. When you move from a warm vehicle to frigid morning air (or vice versa), moisture forms on every glass surface. The fix is simple: keep your camera in a sealed bag when transitioning between temperatures and let it acclimate for 15 to 20 minutes before shooting. A gallon-sized zip-lock bag works in a pinch, but a proper dry bag is better for longer outings.
Rain covers for your camera bag are non-negotiable. Weather in the Rockies changes fast — a clear sky can turn into a downpour within 30 minutes. If you're shopping for a bag that handles mountain conditions well, check out our guide to the best camera bags for photographers. A weather-sealed body helps, but it's no substitute for common sense and a rain cover.
A Field Cleaning Routine That Works
Carry a rocket blower, a microfiber cloth, and a lens pen on every hike. Banff's trails kick up fine glacial dust that settles on front elements and works into zoom rings. Clean your lens before every session, not after. At the end of each day, use the blower on your sensor area (mirror up, body facing down) and wipe down the exterior with a damp cloth. This five-minute habit prevents the kind of accumulation that ruins shots you can't reshoot.
Shooting Banff: From First-Timer to Seasoned Pro
Your approach to Banff should match your experience level. First-time visitors benefit from concentrating on the accessible iconic spots and nailing the fundamentals. Returning photographers can push into backcountry locations and advanced techniques that reward planning and fitness.
Start Here: Accessible Iconic Locations
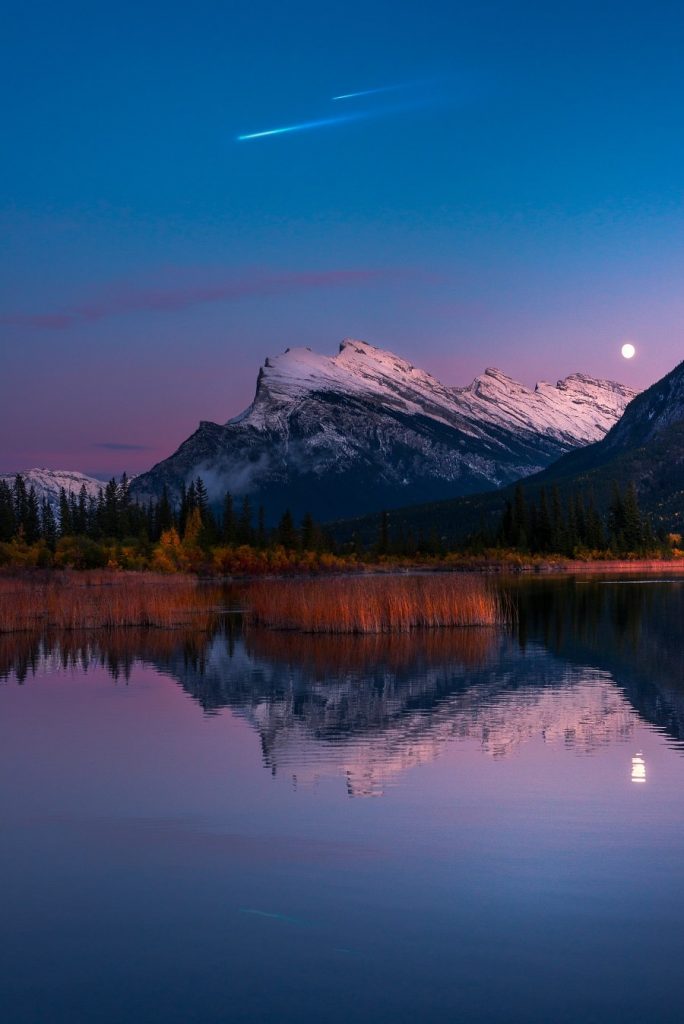
Moraine Lake, Lake Louise, and the Vermilion Lakes viewpoint are the trinity of Banff photography. They're famous for a reason — the compositions practically frame themselves. Moraine Lake's rockpile viewpoint gives you that classic turquoise-and-peaks shot. Lake Louise offers reflections at dawn that are almost too perfect. Vermilion Lakes delivers sweeping views of Mount Rundle that work in every season.
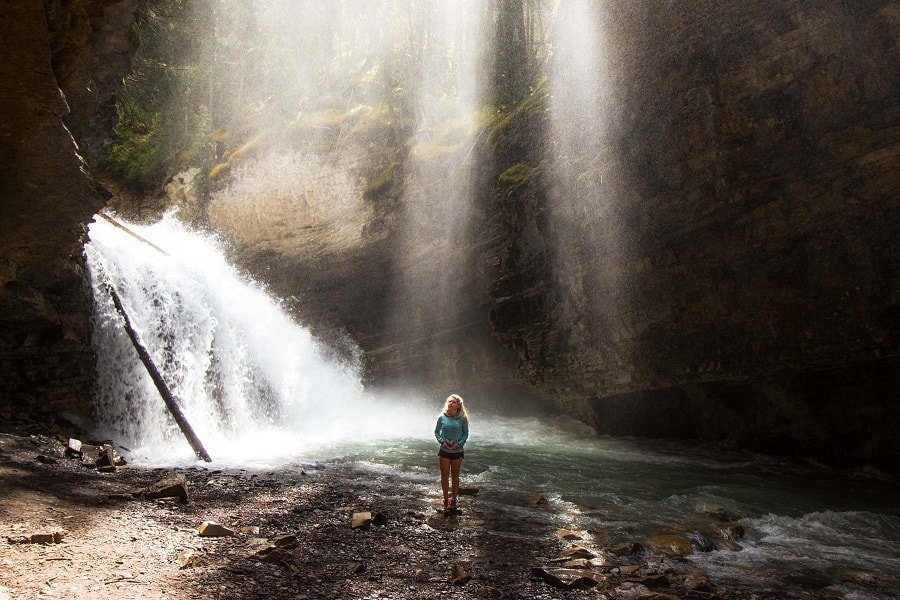
For beginners, the biggest mistake is rushing between locations. Pick two or three spots per day and spend real time at each one. Wait for the light to change. Try different focal lengths. Johnston Canyon is a perfect example — most visitors snap a quick photo of the falls and leave. Stay for an hour and you'll find compositions with ice formations, mossy walls, and light beams that the rushing crowd never sees. Our complete guide to waterfall photography covers the technical side of shooting moving water in detail.
Advanced Techniques for Repeat Visitors
Once you've captured the classics, Banff opens up dramatically. Astrophotography at Banff is world-class thanks to relatively low light pollution in the backcountry. The Milky Way arcs over the peaks from late spring through early fall, and frozen lakes create natural foreground interest in winter. If you're new to shooting stars, start with our beginner's guide to astrophotography before your trip.
Long exposure work along the Bow River and at Peyto Lake adds a dreamlike quality that separates your images from the standard postcard shots. Bracket your exposures for HDR blending — the dynamic range between shadowed valleys and sunlit peaks often exceeds 10 stops. Focus stacking is also worth learning for foreground-to-infinity sharpness with wide-angle lenses at close focusing distances.
Arrive at your location 45 minutes before sunrise. In Banff, the pre-dawn alpenglow on the peaks often produces more dramatic color than the sunrise itself — and you'll have the spot to yourself.
Essential Gear for Photography Tips Banff National Park Visitors Need
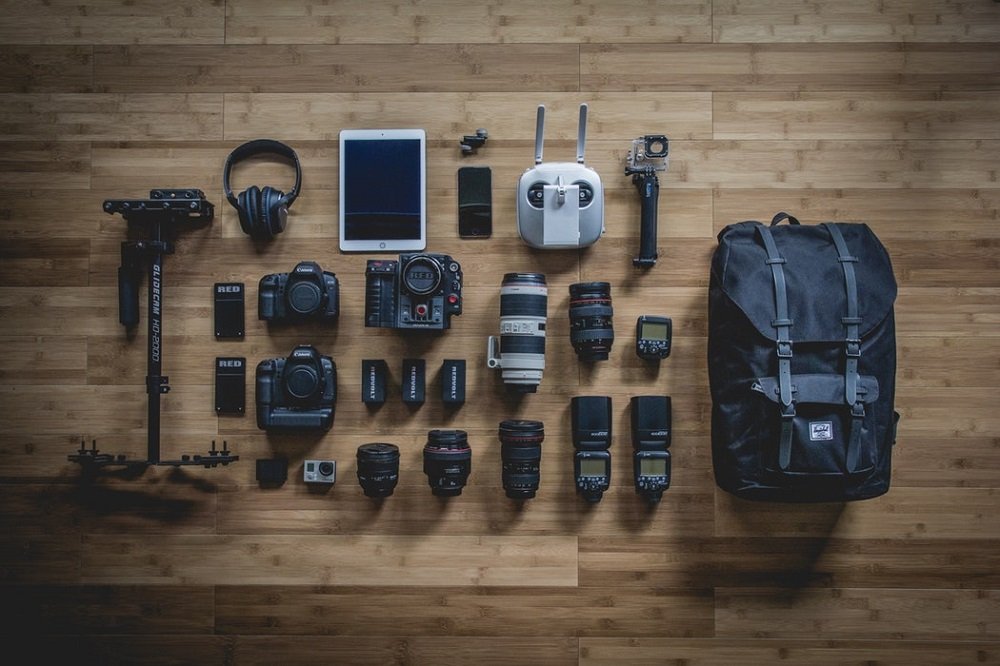
Camera Bodies and Lenses
You don't need a medium format system to get stunning results in Banff. A modern APS-C or full-frame mirrorless body with weather sealing handles everything the park throws at you. What matters more is your lens selection. A wide-angle zoom (16-35mm or equivalent) is your primary landscape tool. A mid-range telephoto (70-200mm) isolates peaks, compresses layers of mountains, and captures wildlife from a safe, respectful distance.
If you can only carry two lenses, those are the two. A fast prime in the 24-35mm range is worth adding for astrophotography and low-light work at dawn and dusk. For a deeper look at spring shooting conditions similar to Banff's shoulder season, our spring photography guide covers adapting to unpredictable light.
Tripods, Filters, and Accessories
A sturdy tripod is not optional in Banff. You're shooting in low light at golden hour, doing long exposures of waterfalls, and potentially working in wind. Carbon fiber saves weight on the trail without sacrificing stability. If you're looking for a travel-friendly option, read our Vanguard Veo 2 tripod review for a solid mid-range choice.
| Accessory | Priority | Why You Need It in Banff |
|---|---|---|
| Circular polarizer | Essential | Cuts glare on lake surfaces, deepens sky contrast |
| ND filter (6-stop) | Essential | Smooths water in bright daylight conditions |
| GND filter (3-stop soft) | Recommended | Balances bright sky against shadowed valleys |
| Extra batteries (3+) | Essential | Cold drains lithium-ion fast — expect 40-50% capacity loss |
| Headlamp (red mode) | Essential | Pre-dawn hikes and setup without ruining night vision |
| Lens cloth + blower | Essential | Glacial dust and spray from waterfalls |
| Remote shutter release | Recommended | Eliminates vibration for long exposures and astro work |
Carry your extra batteries in an inside pocket close to your body. At temperatures below freezing, a battery that reads 10% in the cold often recovers to 40-50% once warmed. Rotating two batteries — one shooting, one warming — effectively doubles your shooting time in winter conditions.
The Rewards and Challenges of Shooting in Banff
What Makes Banff Special
Banff delivers a concentration of world-class landscapes within a relatively compact area. You can shoot turquoise glacial lakes, alpine meadows, dense pine forests, dramatic canyons, and snow-capped peaks all within a single day's drive along the Icefields Parkway. Few places on Earth match that variety. Wildlife encounters — elk, bighorn sheep, bears, and eagles — add an unpredictable element that keeps every visit fresh.
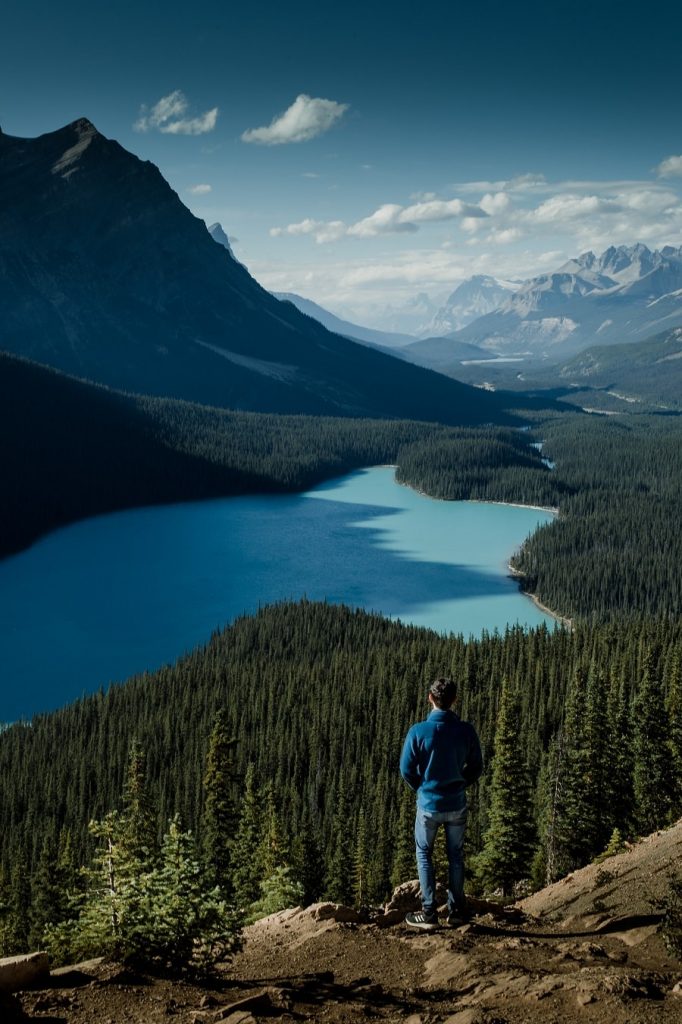
The light in the Rockies has a clarity that flatland photographers find almost shocking. Thin mountain air at 1,400 to 2,000 meters of elevation means less atmospheric haze, punchier colors, and sharper detail at distance. Your images straight out of camera will have a vibrancy that takes serious post-processing effort to replicate elsewhere.
The Real Challenges You Will Face
Crowds at the marquee locations during summer are significant. Moraine Lake's parking lot fills by 6:00 AM in peak season, and Parks Canada now runs a shuttle system. Plan around this — either arrive absurdly early or visit during shoulder season (late September through October) when the larches turn gold and the crowds thin dramatically.
Weather unpredictability is the other constant challenge. You will lose entire shooting days to flat overcast skies and rain. Build buffer days into your itinerary — a five-day trip gives you roughly three solid shooting days in a typical weather cycle. Accept that flexibility is part of the process.
Building a Long-Term Banff Photography Plan
Seasonal Strategy
Each season in Banff produces fundamentally different photographs, and the strongest portfolios draw from multiple visits across the calendar. Summer gives you the iconic turquoise lakes (glacial meltwater creates that color from roughly mid-June through September), wildflower meadows, and the longest shooting days. Fall delivers golden larches, misty mornings, and far fewer people. Winter transforms the park into a frozen landscape of ice bubbles, snow-covered peaks, and ethereal blue-hour light that lasts for hours. Spring is the wildcard — avalanche conditions close some roads, but the waterfalls run at full force and the dramatic cloud formations create moody, atmospheric frames.
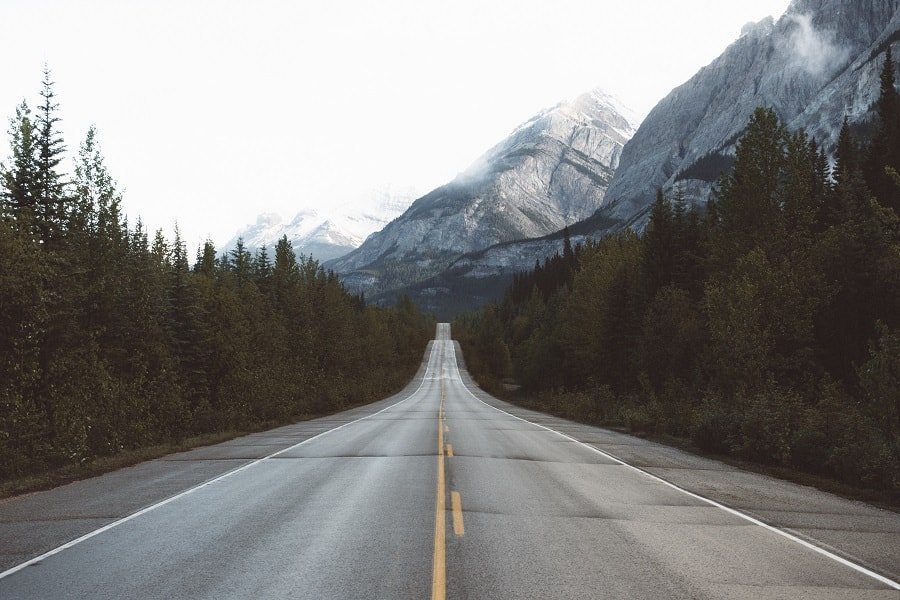
Growing Your Portfolio Over Multiple Trips
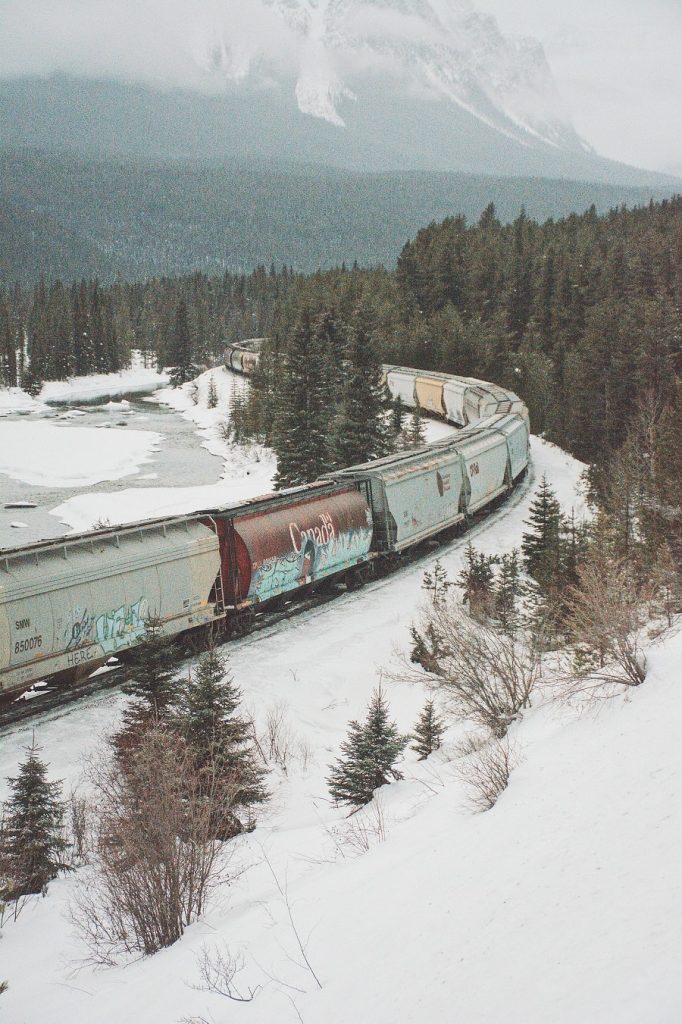
The photographers who produce truly exceptional Banff work treat the park as an ongoing project, not a one-time destination. On your first visit, focus on the iconic compositions — Moraine Lake from the rockpile, Peyto Lake from the Bow Summit lookout, Morant's Curve with the train. These establish your foundation and teach you the park's geography.
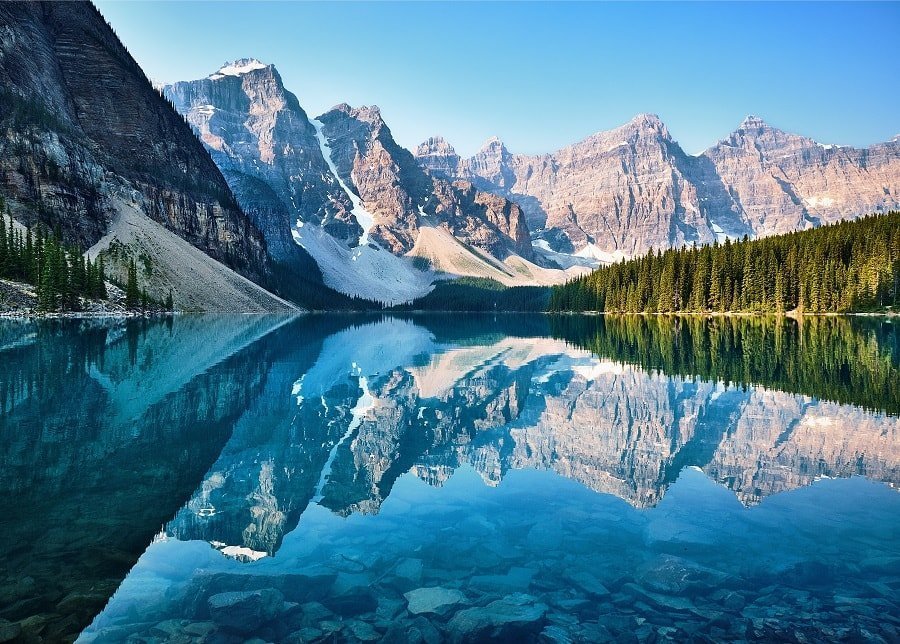
On subsequent trips, push deeper. Hike to locations like Sentinel Pass, Egypt Lake, or the Skoki Valley where fewer photographers venture. Revisit your favorite spots in different seasons and different weather. The image of Lake Louise under a fresh November snowfall looks nothing like the summer version — and both belong in your portfolio. Keep a shot list between trips and review your previous work honestly to identify gaps.
Final Thoughts
Banff National Park rewards photographers who come prepared and stay patient. Pick your season, pack the right gear, protect it from the elements, and give yourself enough time to let the light do its work. Your next step is simple: choose one location from this guide, research its best shooting conditions, and commit to a trip. The Canadian Rockies aren't going anywhere — but the sooner you get out there with a plan, the sooner your portfolio starts filling with images that genuinely stand out.
 |
 |
 |
 |

About Alex W.
Alex is a landscape, equine, and pet photographer based in the Lake District, UK, with years of experience shooting in one of Britain's most photographically demanding natural environments. His work has been featured in Take a View Landscape Photographer of the Year, Outdoor Photographer of the Year, and Amateur Photographer Magazine — publications that reflect a serious, competitive standard of image-making. At Click and Learn Photography, he shares the camera settings, gear choices, and compositional techniques he has developed through real-world shooting and competition-level work.
You can Get FREE Gifts. Furthermore, Free Items here. Disable Ad Blocker to receive them all.
Once done, hit anything below
|
|
|
|