Last summer, I spent an entire afternoon chasing my friend's golden retriever around a backyard, camera in hand, only to end up with dozens of blurry shots of a wagging tail disappearing out of frame. That frustrating experience taught me more about photographing animals than any textbook ever could. If you're looking for reliable pet photography tips for beginners, you've landed in the right place — these techniques will transform the way you capture your furry companions, whether you're working with a hyperactive puppy or a dignified senior cat. For more foundational techniques that apply across all genres, check out our ultimate guides section.

Pet photography sits at the intersection of portrait work and wildlife shooting, demanding quick reflexes alongside a genuine understanding of animal behaviour. Your subjects don't follow directions, they don't hold still on command, and they certainly don't care about your carefully planned composition. That unpredictability is precisely what makes the genre so rewarding when you nail the shot.
The techniques below draw from professional pet photographers and proven methods that work regardless of whether you're shooting with a flagship mirrorless body or a capable smartphone. Each section builds on the last, so by the time you reach the end, you'll have a complete framework for consistently capturing stunning animal portraits.
Contents
Understanding Your Animal Subject
Before you even pick up your camera, spend time observing the animal you plan to photograph. The best pet photography tips for beginners start not with gear or settings but with learning how your subject communicates. Animals telegraph their moods through subtle shifts in posture, ear position, and tail movement, and recognising these signals helps you anticipate the perfect moment rather than reacting too late.
Reading Body Language
A relaxed dog with soft eyes and a loose mouth produces far more natural portraits than one that's been forced into an uncomfortable sit-stay for ten minutes. Watch for these cues before you start shooting:
- Ears forward and eyes bright usually signal curiosity — ideal for engaging portraits
- A yawning dog or cat is often stressed, not tired, so give them a short break
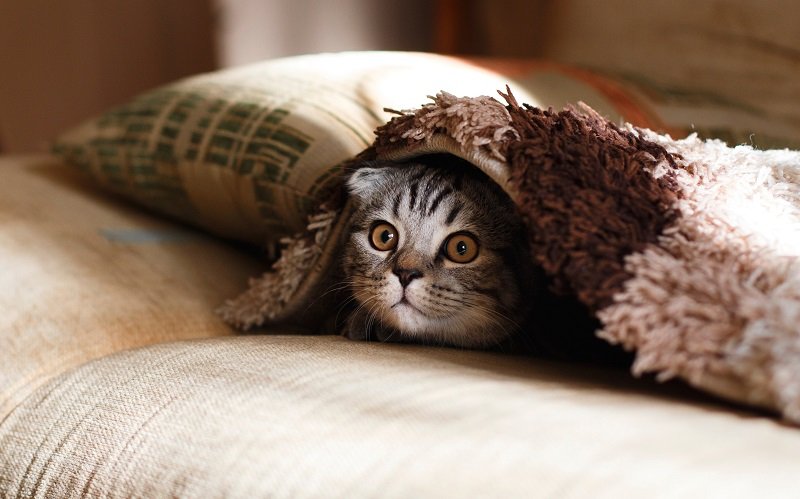
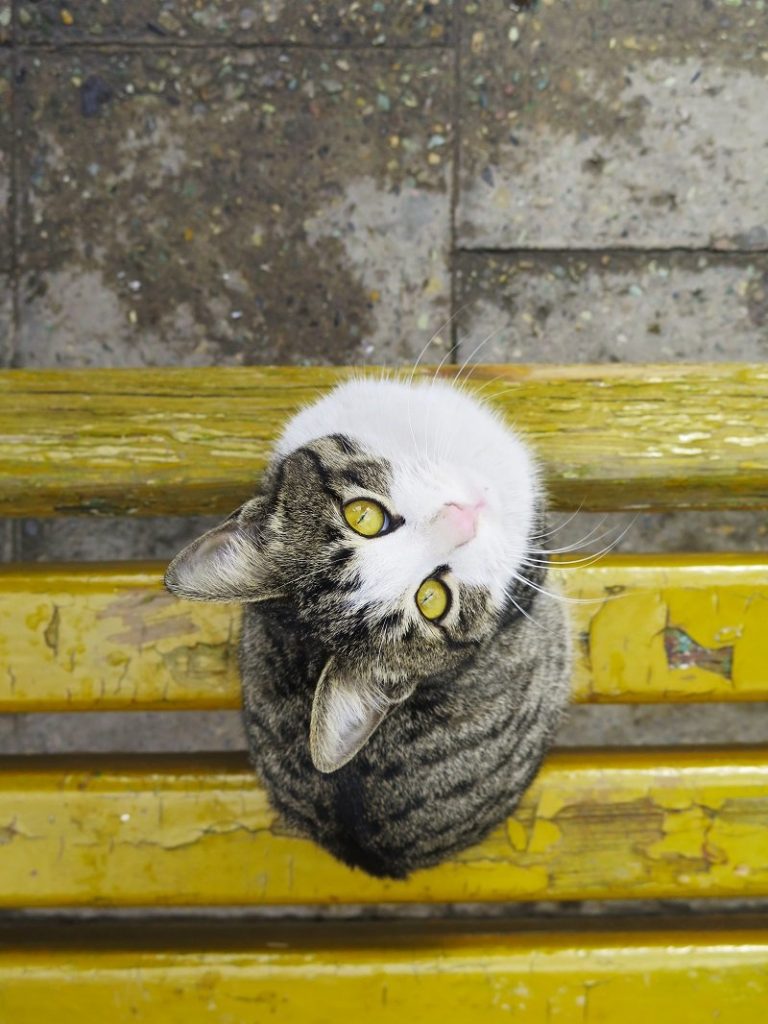
- Cats with slow blinks and half-closed eyes are comfortable and trusting
- A tucked tail or flattened ears mean your subject needs space, not another flash burst
Breed and Species Differences
Different breeds respond to photography sessions in wildly different ways, and adjusting your approach accordingly saves enormous time. High-energy breeds like border collies and Jack Russells benefit from a vigorous play session before shooting so they'll settle into calmer moments. Brachycephalic breeds (pugs, bulldogs, Persian cats) overheat quickly, so keep sessions short and avoid direct sun. According to the Wikipedia article on animal cognition, animals process visual and auditory stimuli differently than humans, which explains why squeaky toys and unusual sounds work so effectively as attention-grabbers.
Essential Camera Settings for Pet Photography
Your camera settings make or break pet photography, and getting them dialled in before the session starts means you won't miss fleeting expressions while fumbling through menus. If you're still getting comfortable with full manual control, our guide on why you should be shooting in manual mode walks you through the fundamentals.
Shutter Speed and Focus Modes
For any moving animal, a minimum shutter speed of 1/500s is non-negotiable, and you'll want 1/1000s or faster for running dogs or pouncing cats. Set your autofocus to continuous tracking mode (AF-C on Nikon, AI Servo on Canon, or the equivalent on your system) and enable animal eye detection if your body supports it.
| Scenario | Min. Shutter Speed | Recommended Aperture | ISO Strategy |
|---|---|---|---|
| Sitting portrait (indoors) | 1/250s | f/2.8 – f/4 | Auto, cap at 3200 |
| Walking / trotting | 1/500s | f/4 – f/5.6 | Auto, cap at 6400 |
| Running / jumping | 1/1000s+ | f/5.6 – f/8 | Auto, no cap |
| Low-light indoors | 1/250s | f/1.8 – f/2.8 | Auto, cap at 6400 |
| Multiple pets together | 1/500s | f/5.6 – f/8 | Auto, cap at 3200 |
Aperture Choices for Sharp Portraits
Shallow depth of field creates that beautiful background separation that makes pet portraits pop, but shooting too wide open is a common mistake. At f/1.4, even a slight head tilt puts one eye out of focus, which ruins an otherwise perfect frame. Start at f/2.8 for head-and-shoulders portraits and stop down to f/5.6 when you want the full body sharp against a softer background. For deeper composition principles, our advanced composition tips guide covers techniques that translate directly to pet work.
Working with Light for Pet Portraits
Natural and Window Light
Natural light remains the most flattering and accessible light source for pet photography, and it's completely free. Position your subject near a large window with indirect light falling across their face, and you'll get soft, even illumination that reveals fur texture without harsh shadows. Our comprehensive breakdown of natural light types and how to use them covers this in greater detail.
Avoid using your camera's built-in flash for pet photography — it produces flat, unflattering light and the sudden burst frequently startles animals, making them anxious for the rest of the session.
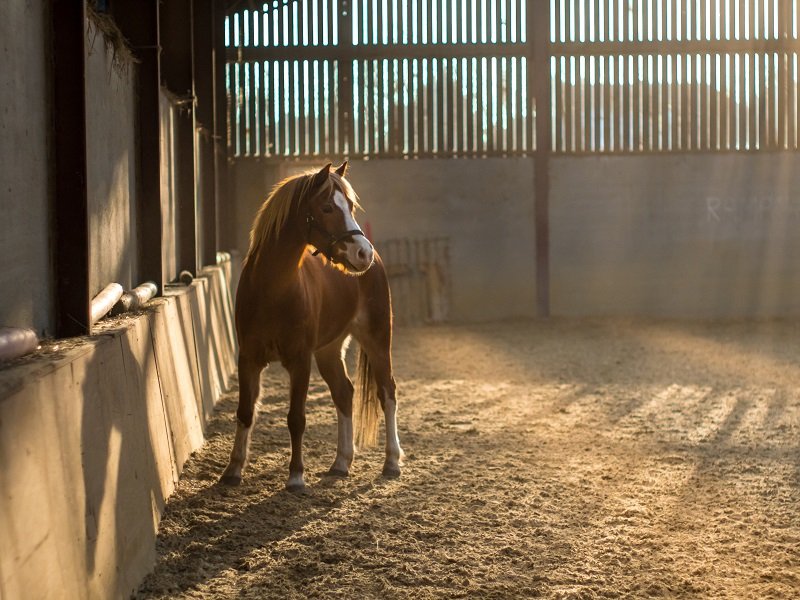
Outdoor Lighting Scenarios
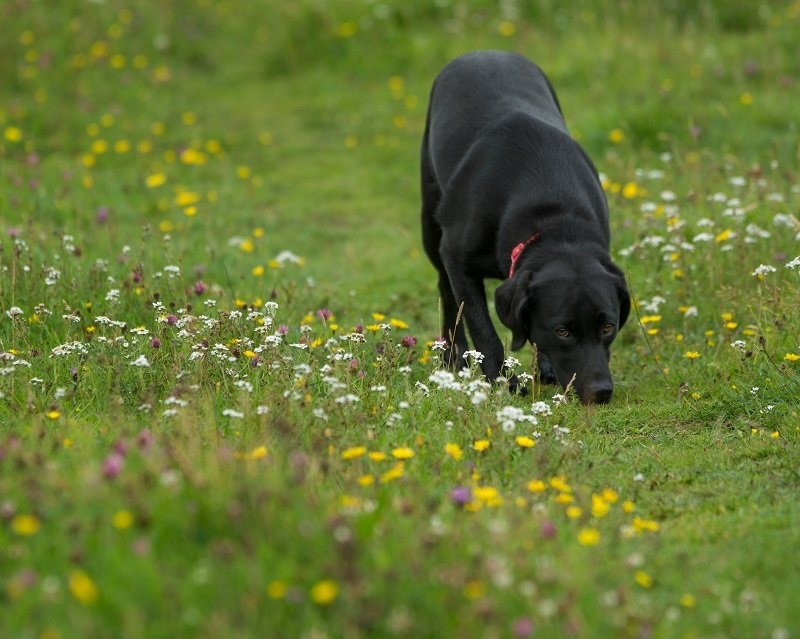
Overcast days are a pet photographer's best friend because the clouds act as a giant softbox, eliminating harsh shadows and reducing squinting. Golden hour provides warm, directional light that adds depth and dimension to fur, particularly on darker-coated animals where midday sun creates featureless black patches. Avoid shooting in direct overhead sunlight, which creates unflattering raccoon-eye shadows beneath brow ridges and ears.
Composition and Perspective Techniques
Getting Down to Eye Level
The single most transformative pet photography tip for beginners is embarrassingly simple: get down on your subject's level. Shooting from your standing height looking down at a dog or cat produces a distorted, unflattering perspective that makes the animal look small and disconnected. Drop to your knees, lie on your stomach, or sit cross-legged so your lens is at the same height as their eyes, and you'll immediately notice how much more intimate and engaging your images become.
Creative Angles and Framing
Once you've mastered eye-level shooting, experiment with more creative perspectives to add variety to your portfolio. A wide-angle lens positioned just inches from a dog's nose creates a playful, exaggerated portrait with wonderful comedic character. Shooting from slightly below eye level looking upward gives your subject a regal, powerful presence that works beautifully for larger breeds.
Use negative space to your advantage by placing your subject off-centre following the rule of thirds, and leave room in the frame for the animal to "look into" so the composition feels balanced and intentional.
Solving Common Pet Photography Problems
Dealing with Motion Blur
Motion blur is the number one frustration for new pet photographers, and the fix is straightforward: increase your shutter speed, even if that means pushing your ISO higher than you'd normally prefer. Modern cameras handle noise remarkably well at ISO 3200 or even 6400, and a sharp photo with some grain always beats a blurry photo with clean shadows. Switch to shutter priority mode if you're not comfortable managing all three exposure variables simultaneously.
Grabbing and Holding Attention
Getting an animal to look at the camera requires a toolkit of attention-grabbing techniques that you rotate throughout the session. Here are the most effective methods:
- Squeaky toys held just above the lens — use sparingly, as animals habituate quickly
- Treat pouches attached to a lanyard around your neck so you can reward without breaking position
- Unusual sounds like clicking your tongue, whistling, or crinkling a wrapper
- A helper positioned behind you making noises while you focus on shooting
- Tennis balls balanced on top of your camera hood for dogs that are ball-obsessed
Rotate your attention-getters every few minutes — animals lose interest in the same stimulus after about three to five repetitions, so having four or five different tools in your bag keeps them engaged throughout the session.
Real-World Pet Photography in Action
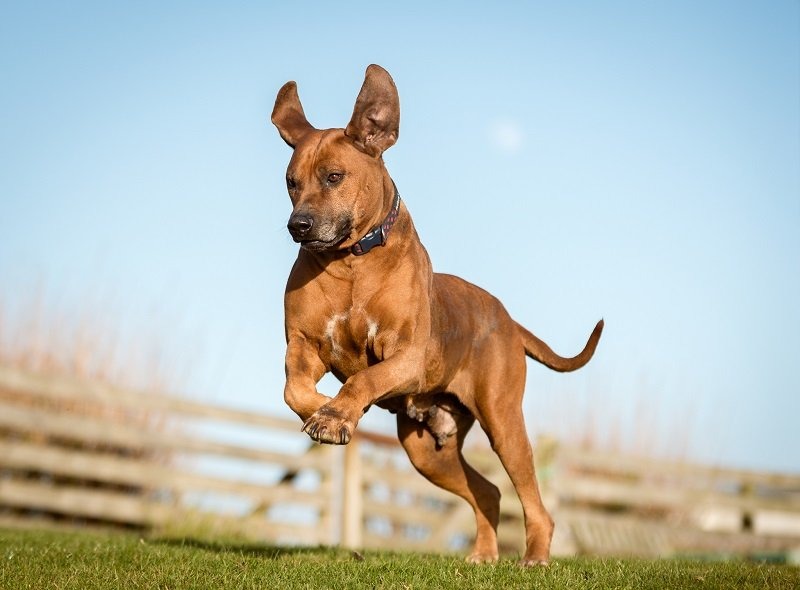
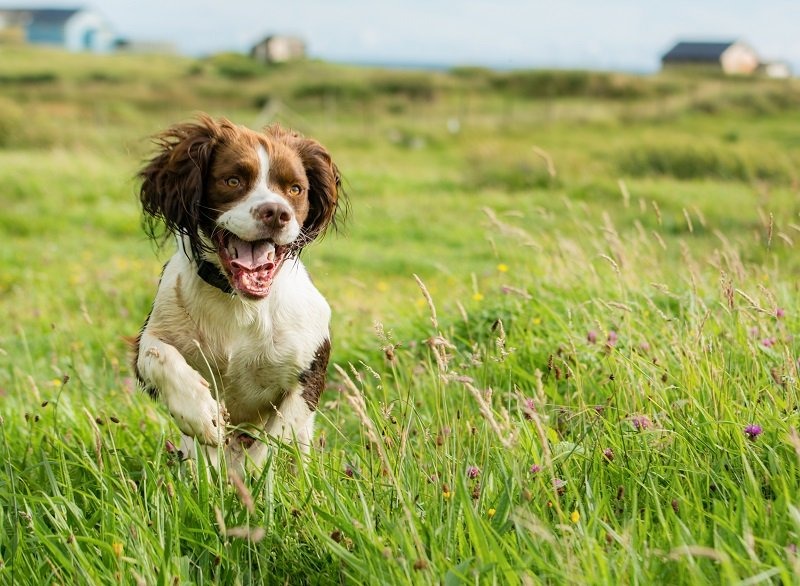
Action and Play Sessions
Some of the most compelling pet photographs capture animals mid-motion — a dog leaping for a frisbee, a cat pouncing on a toy, or a horse galloping across a field. For these shots, use burst mode at the highest frame rate your camera supports and pre-focus on the area where you expect the action to happen. Continuous autofocus tracking combined with burst shooting gives you dozens of frames to choose from, and you only need one perfect capture out of the entire sequence.
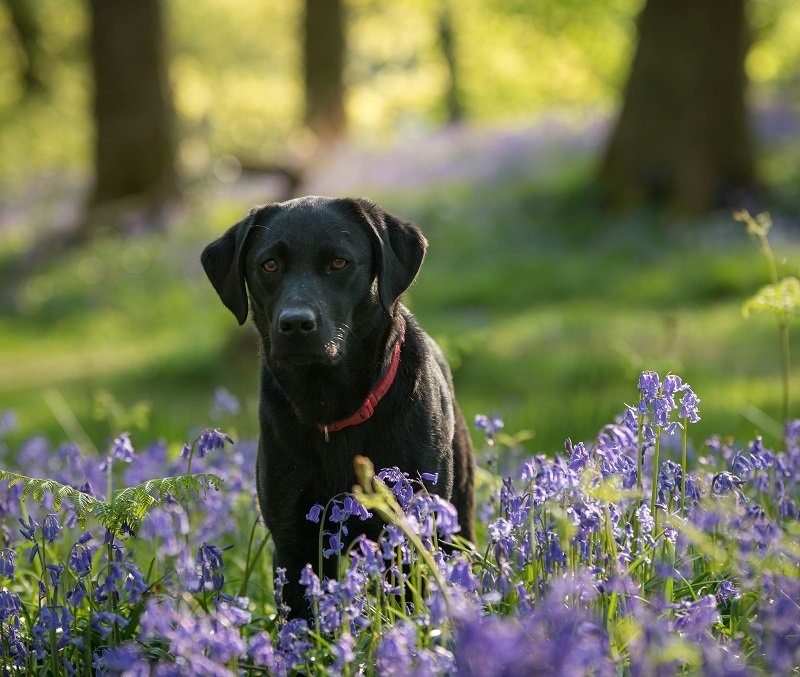
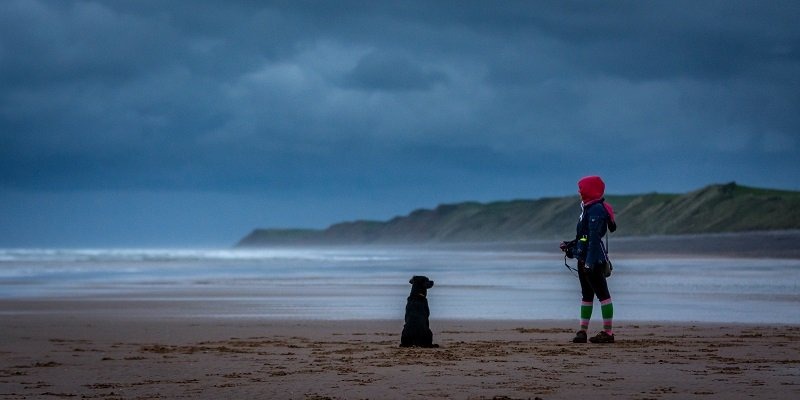
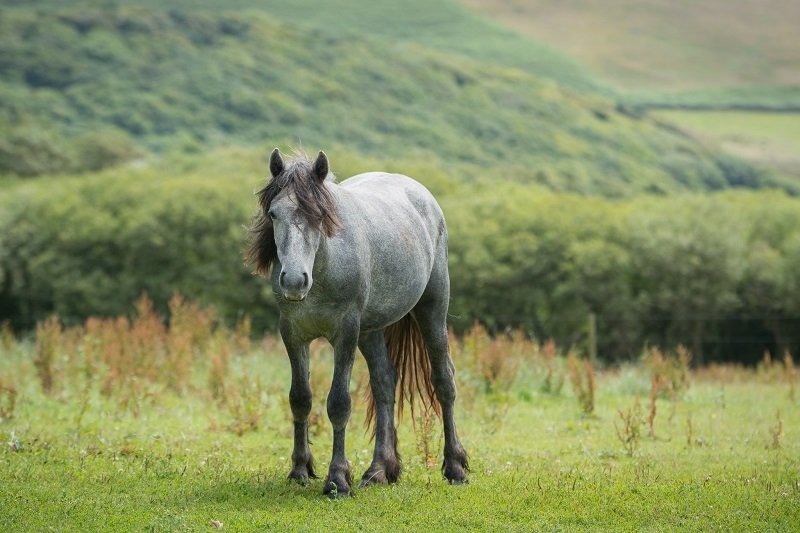
Environmental Portraits
Environmental pet portraits place the animal within a meaningful setting — a dog on their favourite hiking trail, a cat perched in their window spot, or a rabbit exploring a garden. These images tell a richer story than studio-style portraits because they reveal something about the animal's personality and daily life. Use a moderate aperture like f/5.6 to keep both your subject and enough of the environment recognisable, and pay careful attention to background clutter that could distract from your subject.

If you're selecting lenses for animal work that extends beyond pets into wildlife territory, our roundup of the best lenses for wildlife photography covers options across every budget range.
Frequently Asked Questions
What is the best lens for pet photography?
A 50mm f/1.8 or 85mm f/1.8 prime lens works beautifully for pet portraits, offering fast autofocus and gorgeous background blur at an affordable price point. For action shots of running dogs, a 70-200mm f/2.8 zoom gives you the reach and speed to freeze motion from a comfortable distance.
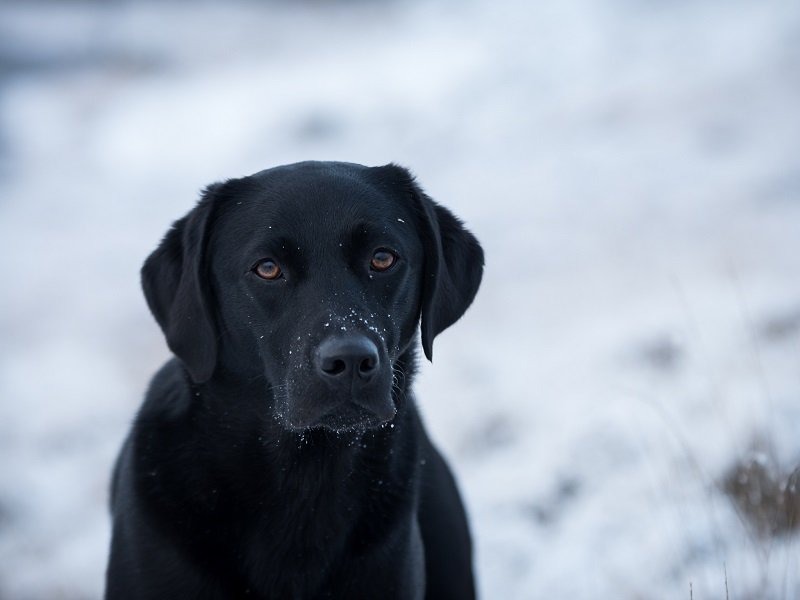
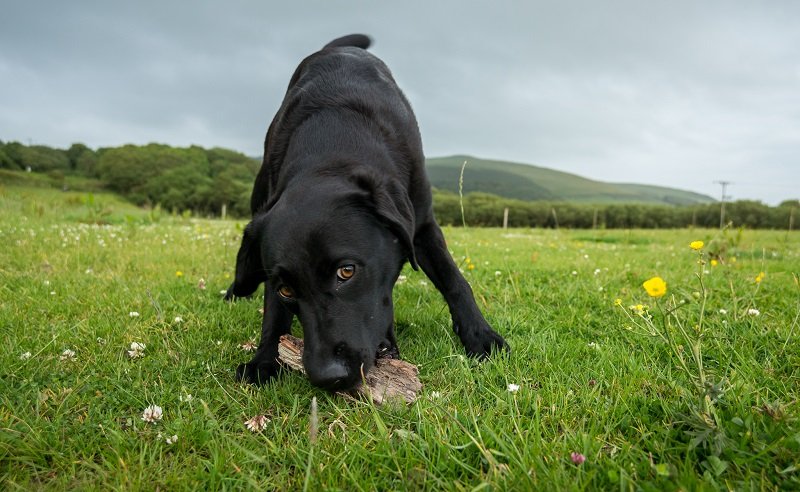
How do I photograph a black dog without losing detail?
Slightly overexpose by +0.7 to +1.0 stops compared to what your meter suggests, and shoot in soft, diffused light rather than direct sun. This reveals fur texture and prevents your subject from becoming a featureless dark blob in the frame.
Should I use flash for pet photography?
Avoid on-camera flash entirely as it startles most animals and produces flat, unnatural lighting with harsh red-eye reflections. If you need artificial light, use an off-camera speedlight bounced off a ceiling or wall, or invest in a continuous LED panel that animals can acclimate to gradually.
How do I keep my pet still for photos?
Tire them out with exercise before the session, use high-value treats as rewards for calm behaviour, and keep sessions short — fifteen to twenty minutes is plenty before most animals lose patience. A helper holding a treat just above the lens is one of the most effective methods for getting a still, engaged subject.
What camera settings work best for pet photography beginners?
Start with aperture priority mode at f/4, set your ISO to auto with a minimum shutter speed of 1/500s, and use continuous autofocus with animal eye detection enabled. These settings handle the majority of pet photography scenarios while you develop your manual exposure skills.
Is a smartphone good enough for pet photography?
Modern flagship smartphones produce excellent pet photos in good light, and their computational photography features handle tricky exposures surprisingly well. You'll hit limitations in low light and with fast-moving subjects, but for social media and personal prints, a smartphone is a perfectly capable starting point.
How do I photograph multiple pets together?
Use a narrower aperture (f/5.6 to f/8) so all animals fall within the depth of field, and position them on the same focal plane whenever possible. Have one person per pet acting as a handler behind you, and use a single attention-grabber at the last moment to get everyone looking at the camera simultaneously.
Key Takeaways
- Get down to your pet's eye level and use continuous autofocus with a fast shutter speed (1/500s minimum) to capture sharp, engaging portraits that feel intimate rather than distant.
- Soft natural light — whether from a window or an overcast sky — flatters animal subjects far more effectively than flash, and it keeps them calm throughout the session.
- Understanding your animal's body language and rotating through multiple attention-grabbing tools prevents frustration and produces more authentic, expressive photographs.
- Keep sessions short, shoot in burst mode for action, and remember that patience and preparation consistently outperform expensive gear when it comes to pet photography results.
 |
 |
 |
 |

About Alex W.
Alex is a landscape, equine, and pet photographer based in the Lake District, UK, with years of experience shooting in one of Britain's most photographically demanding natural environments. His work has been featured in Take a View Landscape Photographer of the Year, Outdoor Photographer of the Year, and Amateur Photographer Magazine — publications that reflect a serious, competitive standard of image-making. At Click and Learn Photography, he shares the camera settings, gear choices, and compositional techniques he has developed through real-world shooting and competition-level work.
You can Get FREE Gifts. Furthermore, Free Items here. Disable Ad Blocker to receive them all.
Once done, hit anything below
|
|
|
|