The single most important winter photography tips and tricks you need to know: overexpose by +1 to +2 stops, protect your gear from condensation, and keep spare batteries warm in your pocket. That's the foundation everything else builds on. Whether you're a weekend hobbyist or a seasoned landscape shooter, cold-weather photography rewards those who prepare properly. In this guide, you'll get a complete breakdown of techniques, gear protection strategies, budget considerations, and common myths that hold photographers back in the snow. If you're looking for more seasonal shooting advice, check out our ultimate guides collection for deep dives on every type of photography.
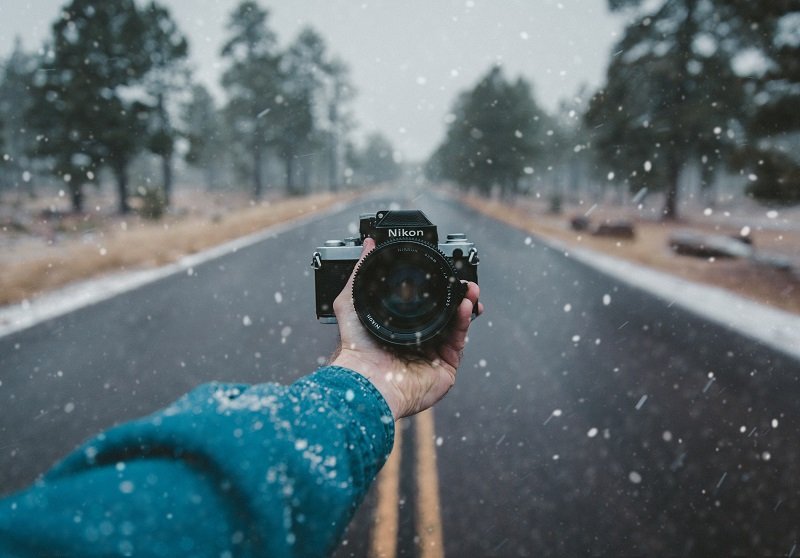
Winter transforms ordinary landscapes into high-contrast, minimalist scenes that are impossible to replicate in any other season. The soft directional light, the low sun angle, and the natural reflector that snow creates all work in your favor — if you know how to handle them. The challenge isn't creative. It's technical and logistical: batteries die fast, condensation kills lenses, and your camera's meter lies to you constantly in bright snow.
Below, you'll find everything from beginner fundamentals to advanced techniques, along with real cost breakdowns for cold-weather gear and the myths you should stop believing immediately. If you've already mastered autumn photography, winter is the natural next step in expanding your seasonal skills.
Contents
Winter Photography Foundations: Beginner to Advanced
Your skill level determines where you should focus your energy. Beginners need to nail exposure compensation and battery management before anything else. Advanced shooters can push into long exposures, focus stacking in snow, and creative white balance shifts.
Beginner Essentials
If you're shooting winter scenes for the first time, start here:
- Dial in +1 to +1.7 EV exposure compensation. Your camera's meter sees all that white snow and tries to make it medium gray. Override it.
- Shoot in RAW. You'll need the extra latitude to recover highlights and fine-tune white balance in post.
- Keep two fully charged batteries in an inside jacket pocket. Swap them every 30–45 minutes in sub-zero temps.
- Use a lens hood — always. Snow glare causes severe flare, especially at low sun angles.
- Set your white balance manually to around 6000–6500K. Auto white balance tends to overcorrect and strip the natural blue tones from snow.
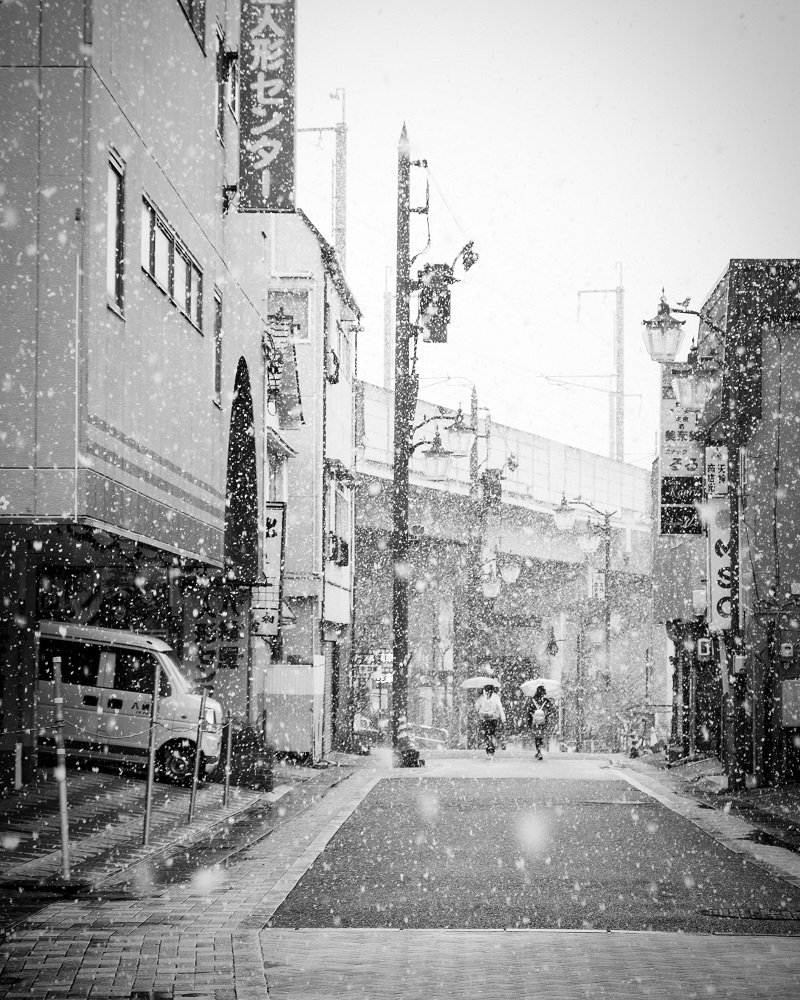
Advanced Techniques for Experienced Shooters
Once you've got the basics locked in, these winter photography tips and tricks will elevate your work:
- Bracket exposures aggressively. Snow scenes have extreme dynamic range. Bracket at -2, 0, and +2 for HDR merges that retain detail in both snow highlights and shadowed tree lines.
- Use spot metering on a midtone subject (tree bark, a gray rock) instead of fighting evaluative metering across a white field.
- Shoot during blue hour. The 20 minutes before sunrise and after sunset turn snow scenes into moody, desaturated compositions that stand apart from typical "bright white" winter shots.
- Try intentional camera movement (ICM) with slow shutter speeds (1/4s to 1s) through birch forests or snow-covered fields for abstract results.
- Focus stack at f/8 rather than stopping down to f/16+. Diffraction softens images noticeably in cold, dry air where atmospheric haze isn't masking it. If you enjoy pushing technical boundaries in harsh conditions, our guide on night photography and astrophotography covers similar challenges with long exposures.
Pro tip: Check your histogram after every few shots in snow. The LCD screen looks deceptively bright in dim winter light, tricking you into thinking your exposure is fine when you're actually underexposed by a full stop.
Cold-Weather Gear: What It Actually Costs
You don't need to spend a fortune to shoot comfortably in winter, but there are a few non-negotiable items. Here's an honest breakdown of what cold-weather photography accessories cost.
Essential Accessories
| Item | Budget Option | Mid-Range | Premium |
|---|---|---|---|
| Photography gloves (touchscreen) | $15–25 | $40–60 | $80–120 |
| Extra batteries (2-pack) | $15–20 (third-party) | $30–50 (OEM) | $50–80 (OEM 2-pack) |
| Rain/snow cover for camera | $8–12 (disposable) | $25–40 | $60–100 |
| Hand/toe warmers (bulk box) | $10 (40-pack) | $20 (rechargeable) | $35 (rechargeable multi) |
| Weatherproof camera bag | $40–60 | $100–150 | $200–350 |
| Lens cleaning cloth + anti-fog | $5–8 | $12–18 | $20–30 |
Total budget-friendly winter kit: roughly $90–150. That gets you gloves, spare batteries, a rain cover, hand warmers, and a decent bag. You don't need the premium tier unless you're shooting professionally in extreme conditions.
Where You Can Save Money
- Third-party batteries perform nearly identically to OEM in most modern mirrorless cameras. The savings add up fast when you need 3–4 spares.
- A gallon-size Ziploc bag does the same job as a $60 rain cover in a pinch. Seal your camera inside before bringing it indoors to prevent condensation.
- Skip heated glove liners. Standard photography gloves with flip-back fingertips give you better dexterity for $20.
- If you need a solid bag that handles weather, browse our camera bag roundup for tested options at every price point.
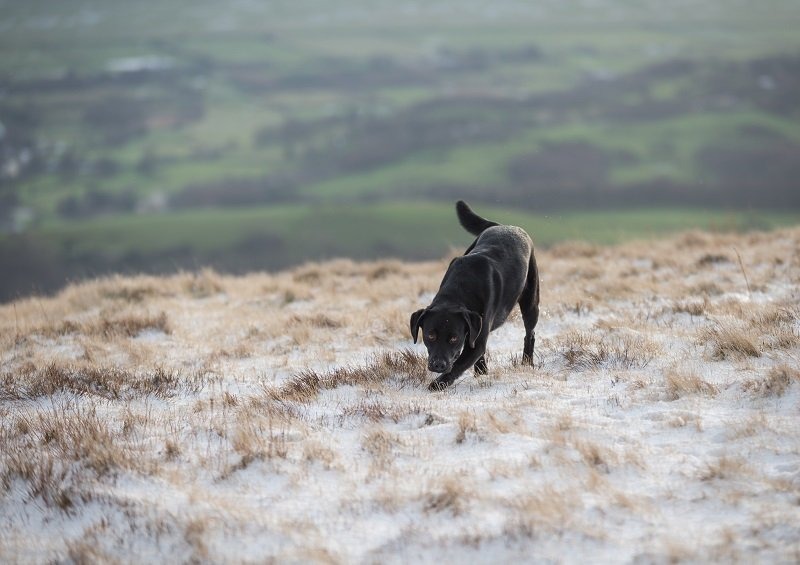
Protecting Your Camera in Freezing Conditions
Cold alone rarely damages modern cameras. Condensation is the real enemy. When you move a cold camera into a warm environment, moisture forms on and inside the lens, the sensor, and the electronics. Over time, this leads to fungus, corrosion, and fogged optics.
In-the-Field Protection
- Keep your camera inside your jacket or bag when not actively shooting. Body heat maintains battery performance and prevents extreme temperature cycling.
- Avoid breathing on your viewfinder or lens. It sounds obvious, but it's the most common cause of instant fogging in sub-zero temps.
- Use a silica gel pack inside your camera bag. It absorbs ambient moisture before it reaches your gear.
- If snow lands on your camera, brush it off immediately with a soft cloth — don't blow on it (moisture from your breath) and don't let it melt on the body.
- Wrap a rubber band around your focus and zoom rings. This keeps snow and ice from jamming the mechanisms, especially on push-pull zooms.
The Post-Shoot Transition
This is where most gear damage actually happens. Follow this exact sequence:
- Before going indoors, seal your camera in an airtight bag (Ziploc works fine).
- Leave the sealed bag at room temperature for 60–90 minutes. The condensation forms on the outside of the bag, not on your camera.
- Remove the camera only after it has reached room temperature.
- Wipe down the body and lens with a microfiber cloth.
- Remove the battery and memory card. Leave the battery compartment open overnight to allow any residual moisture to evaporate.
Warning: Never use a hair dryer or heater to warm up your camera faster. Rapid temperature changes cause internal condensation that you can't wipe away — and it can permanently damage sensor coatings.
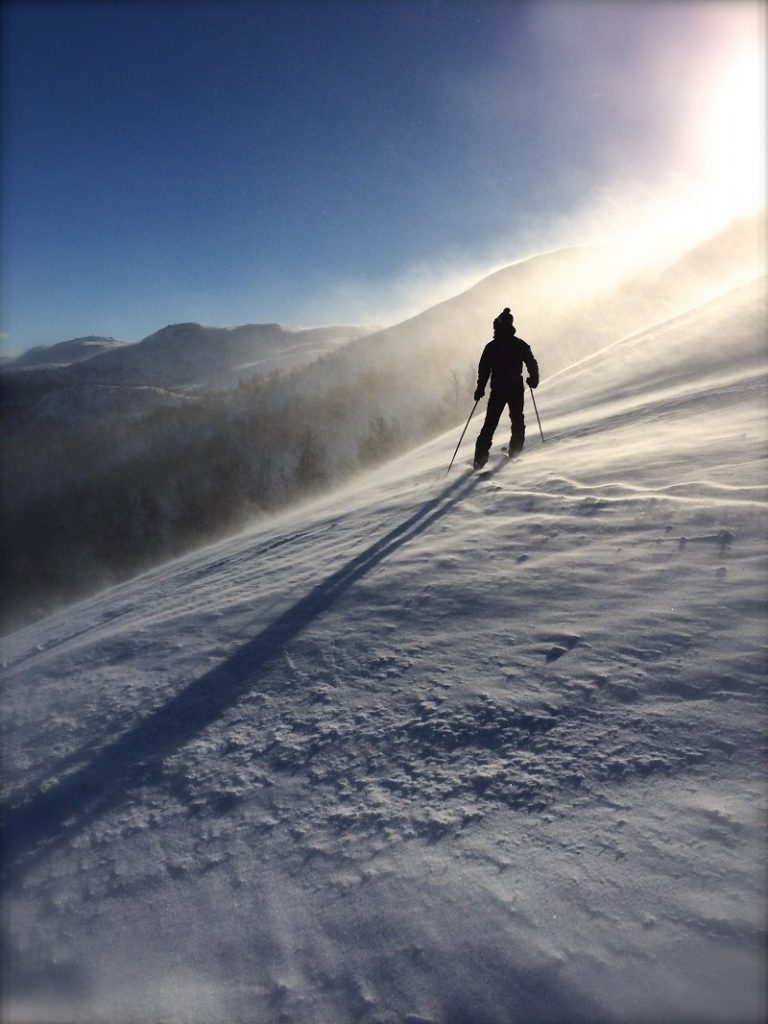
Camera Settings: Snow Scenes vs. Standard Conditions
One of the most useful winter photography tips and tricks is understanding exactly how your settings need to shift when shooting in snow versus normal conditions. Here's a side-by-side comparison.
Exposure and White Balance
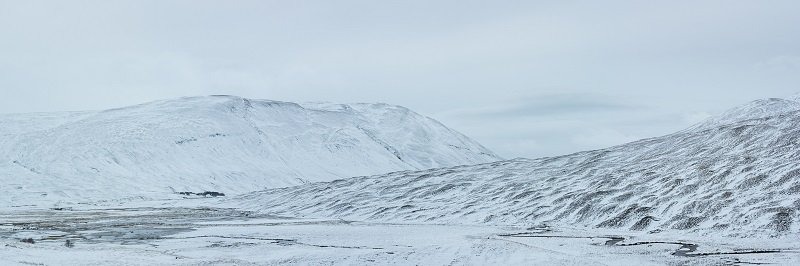
- Exposure compensation: Standard scenes use 0 EV. Snow scenes demand +1 to +2 EV to render white as white, not muddy gray.
- Metering mode: Evaluative/matrix works for most conditions but fails in snow. Switch to spot or center-weighted and meter off a midtone.
- White balance: Auto WB tends to add warmth to counteract blue snow reflections. Set it manually to 5500–6500K to preserve the cool, natural tones that make winter scenes feel authentic.
- ISO: Snow acts as a giant reflector, so you can often shoot at ISO 100–400 even on overcast days. This is lower than you'd use in similar light without snow cover.
Focus and Drive Modes
- Autofocus: Contrast-detect AF can struggle in low-contrast snow scenes. Use single-point AF and aim for an edge with clear contrast (a branch against the sky, a dark rock on white ground).
- Drive mode: Continuous shooting helps when photographing wildlife in snow, where animals appear and disappear quickly. For landscapes, single shot is fine.
- Aperture: f/8 to f/11 gives you the sharpest results on most lenses. Avoid f/16+ in winter — diffraction is more visible in the clean, dry air, and you rarely need the extra depth of field when your background is a flat snow field.
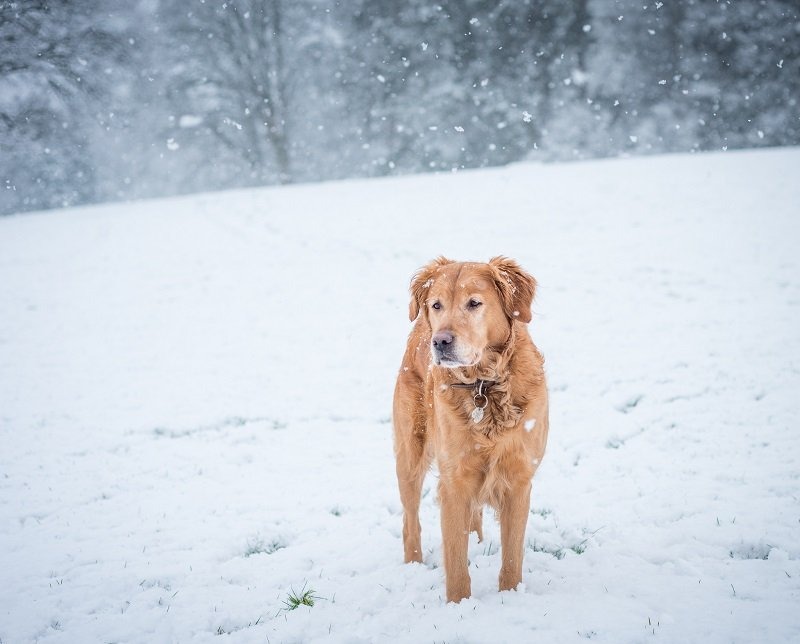
- Shutter speed: Falling snow requires at least 1/250s to freeze individual flakes. For a softer, streaky effect, drop to 1/60s. Both looks work — it's a creative choice.
Winter Photography Myths That Cost You Great Shots
There's a lot of bad advice floating around about shooting in cold weather. Let's clear up the most damaging myths so they stop holding you back.
Exposure Myths
- "Snow should look pure white in your photo." False. Snow has texture, shadow, and subtle color. If your snow is blown out to pure white (#FFFFFF), you've lost detail and your image looks flat. Aim for around 240–245 in the histogram, not 255.
- "Always shoot in Aperture Priority for snow." Aperture Priority works, but only with exposure compensation dialed in. Manual mode with auto-ISO actually gives you more consistent results across a winter session, because you lock in your compensation once and forget it.
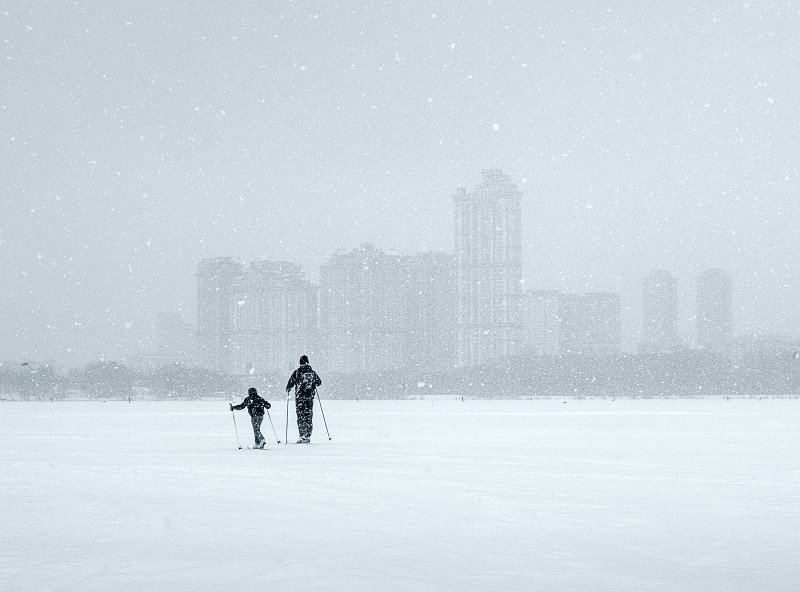
- "Overcast days are bad for winter photography." Overcast light is actually ideal for detail shots, macro, and portraits in snow. The diffused light eliminates harsh shadows and reduces the extreme dynamic range that makes sunny snow scenes so tricky. According to the golden hour principles documented by photography experts, low-angle light adds dimension — but flat light has its own strengths for texture and color accuracy.
Gear and Timing Myths
- "You need weather-sealed gear to shoot in snow." Weather sealing helps, but it's not mandatory. Photographers have been shooting in winter for decades with non-sealed film cameras. A rain cover and common sense protect any camera. Keep it dry, keep it warm, and you'll be fine.
- "Cold weather will damage your sensor." Modern camera sensors operate perfectly down to -10°C (14°F) and most are rated lower. In fact, cold temperatures actually reduce sensor noise, which is why astrophotographers sometimes cool their sensors deliberately.
- "You can only shoot winter photos during winter." High-altitude locations have snow cover well into spring and early fall. Mountain passes, glacial areas, and northern latitudes extend your winter photography season by months. If you're planning a trip, our Banff National Park photography guide covers a destination with snow opportunities across multiple seasons.
- "Mirrorless cameras drain faster than DSLRs in cold." This was true for early mirrorless models. Current-generation mirrorless cameras with efficient EVFs and larger batteries have closed the gap significantly. The difference is now 10–15% in real-world cold tests, not the 50%+ gap from a few years ago.
Frequently Asked Questions
What exposure compensation should I use for snow scenes?
Start at +1 EV and increase to +1.7 or +2 EV depending on how much of the frame is covered in snow. A full snowy landscape needs more compensation than a scene with trees, buildings, or dark foreground elements breaking up the white. Always check your histogram — the snow peak should sit around 240–245, not clipping at 255.
How do I prevent my camera batteries from dying in the cold?
Carry at least two spare batteries in an inside pocket close to your body. Rotate them every 30–45 minutes. When a battery shows low charge, warm it in your pocket for 10 minutes — it will often recover significant capacity. Lithium-ion batteries lose power temporarily in cold but aren't permanently damaged.
What's the best time of day for winter photography?
The golden hour lasts longer in winter because the sun stays low on the horizon. Shoot within two hours of sunrise or sunset for warm directional light that rakes across snow and reveals texture. Blue hour (20 minutes before sunrise, 20 after sunset) gives moody, cool-toned results that work beautifully with snowy scenes.
How do I avoid condensation when bringing my camera indoors?
Seal your camera in an airtight plastic bag before entering a warm building. Leave it sealed for 60–90 minutes until it reaches room temperature. The condensation forms on the outside of the bag instead of on your lens and sensor. Never skip this step — it's the single most important habit for protecting your gear.
Do I need a special tripod for shooting in snow?
You don't need a dedicated winter tripod, but avoid touching bare metal legs without gloves — they'll stick to your skin in extreme cold. Carbon fiber tripods are better than aluminum in winter because they don't conduct cold as aggressively. Use the tripod's snow/mud feet if available, or press the legs into the snow firmly to prevent sinking mid-exposure.
What white balance setting works best for snow?
Set your white balance manually between 5500K and 6500K. Auto white balance typically overcorrects by adding warmth to counteract the natural blue cast of snow. That blue cast is part of what makes winter scenes feel cold and atmospheric — removing it entirely makes the image look unnatural.
Can I shoot winter photography with a smartphone?
Yes, but with limitations. Smartphone batteries drain even faster than camera batteries in cold weather. Keep your phone in an inside pocket and only pull it out to shoot. Use the exposure lock feature (tap and hold on most phones) and manually increase brightness to compensate for snow. Results are decent for social media but won't match a dedicated camera for prints or detail work.
How do I capture falling snowflakes sharply?
Use a shutter speed of at least 1/250s, a wide aperture (f/2.8 to f/4), and a fast autofocus lens. Flash can help freeze the flakes and make them pop against a darker background — use rear-curtain sync for a natural look. For a softer, streaky effect, drop to 1/60s and use continuous shooting to pick the best frame.
Key Takeaways
- Always overexpose by +1 to +2 stops in snow — your camera's meter will underexpose every time, turning white snow into dull gray.
- Condensation, not cold, is what damages gear — seal your camera in a plastic bag before going indoors and let it acclimate for at least an hour.
- A complete cold-weather accessory kit costs under $150 and makes the difference between a comfortable, productive shoot and a miserable one.
- Ignore the myth that you need weather-sealed gear or perfect sunny conditions — overcast light, basic rain covers, and manual settings get professional results in any winter scene.
 |
 |
 |
 |

About Alex W.
Alex is a landscape, equine, and pet photographer based in the Lake District, UK, with years of experience shooting in one of Britain's most photographically demanding natural environments. His work has been featured in Take a View Landscape Photographer of the Year, Outdoor Photographer of the Year, and Amateur Photographer Magazine — publications that reflect a serious, competitive standard of image-making. At Click and Learn Photography, he shares the camera settings, gear choices, and compositional techniques he has developed through real-world shooting and competition-level work.
You can Get FREE Gifts. Furthermore, Free Items here. Disable Ad Blocker to receive them all.
Once done, hit anything below
|
|
|
|