Over 70% of landscape photographs shared on major photography platforms feature mountains as their primary subject — yet most of those images suffer from the same handful of avoidable mistakes. Whether you're planning your first alpine shoot or you've already worn through a pair of hiking boots chasing the perfect ridge, these mountain photography tips will sharpen your technique and help you bring home images that actually match the grandeur you witnessed in person. For a deeper dive into mountain-specific techniques, check out our mountain photography guide.

Mountains are deceptively difficult to photograph well. Your eyes perceive depth, scale, and atmosphere simultaneously — your camera does not. The gap between what you see and what your sensor captures is where most frustration lives. Closing that gap comes down to understanding light, composition, and the specific challenges altitude throws at your gear and your body.
This guide breaks the process into actionable steps. You'll learn what myths to ignore, which scenarios call for different approaches, how to think long-term about your mountain work, quick fixes you can apply immediately, and the gear that actually matters when you're hauling everything uphill.
Contents
Mountain Photography Myths That Hold You Back
Before you invest in new gear or plan an expensive trip, clear out the misconceptions that waste your time and money. These myths circulate constantly in photography forums, and they actively prevent you from improving.
You Need Expensive Gear
This is the most persistent myth in mountain photography — and the most damaging. Here's what actually matters versus what doesn't:
- A sturdy tripod matters more than a $3,000 body. Wind at altitude will ruin sharp images faster than any sensor limitation.
- Any modern APS-C or full-frame camera produces files with more than enough dynamic range for mountain scenes.
- A kit lens at 18-55mm covers the majority of compositions you'll want to shoot.
- Filters (a circular polarizer and a 3-stop ND) do more for your mountain images than upgrading from 24MP to 45MP.
The photographers producing award-winning alpine work aren't always carrying the heaviest packs. They're carrying the right knowledge.
Golden Hour or Nothing
Golden hour produces beautiful light — nobody disputes that. But dismissing every other hour of the day costs you incredible opportunities. Overcast skies eliminate harsh shadows and let you capture the subtle textures in rock faces. Midday light works brilliantly for black and white mountain photography, where contrast is your friend. If you haven't explored that approach yet, our guide on black and white landscape photography is a solid starting point.
Storm light — those brief moments when the sun breaks through heavy cloud — often produces the most dramatic mountain photographs you'll ever take. Don't pack up when the weather turns.
Always Shoot Wide
Wide-angle lenses are popular for landscapes, but they can actually diminish mountains. A wide focal length pushes distant peaks further away, making them appear smaller and less imposing. Telephoto compression at 70-200mm stacks layers of ridges together and conveys the sheer mass of a mountain range far more effectively than an ultra-wide.
Scenarios That Demand Different Mountain Photography Tips
Mountains don't present a single photographic challenge — they present dozens, often simultaneously. Your approach needs to shift based on conditions.
Shooting in Unpredictable Weather
Mountain weather changes faster than you can swap lenses. Here's how to handle the most common conditions:
- Fog and mist: Overexpose by +0.7 to +1.0 EV. Your meter will try to render fog as grey. Push it back to white.
- Rain: Keep shooting. Wet rock surfaces become deeply saturated and reflective. Use a lens hood and a microfiber cloth.
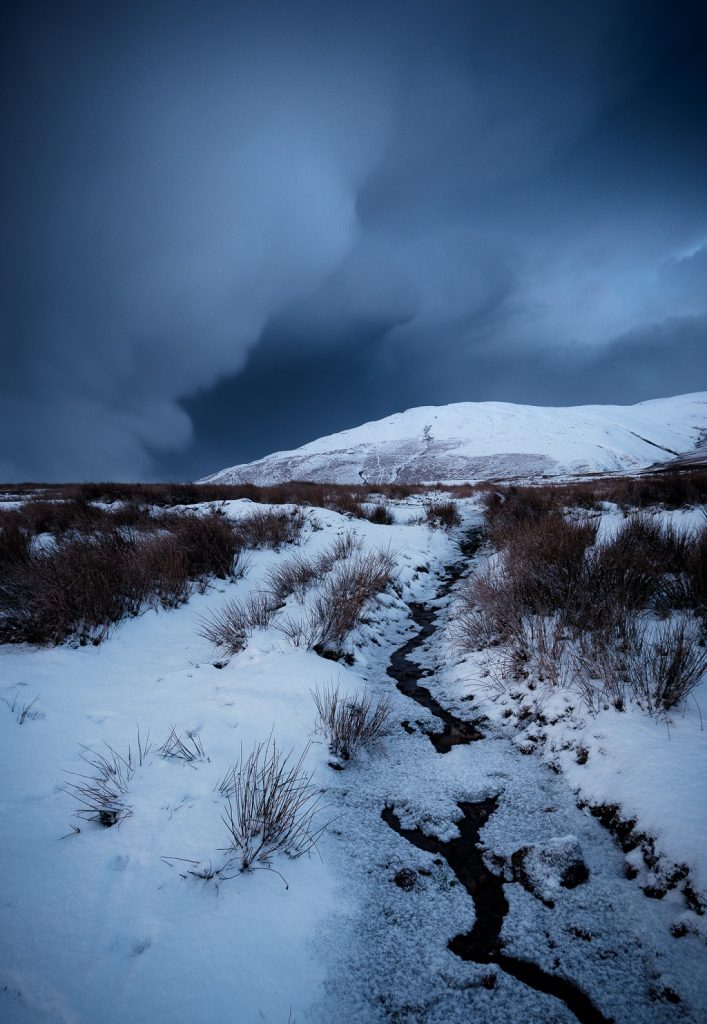
- Snow: Apply +1.0 to +1.5 EV compensation. Check your histogram after every few shots — blown highlights in snow are unrecoverable.
- High wind: Lower your tripod, hang your bag from the center column, and use a remote shutter or 2-second timer.
According to the Wikipedia overview of mountain weather, temperature drops roughly 6.5°C per 1,000 meters of elevation gain. That temperature shift directly affects battery performance, lens fogging when moving between warm and cold environments, and your own physical ability to operate controls with cold hands.
Adapting to Seasonal Conditions
Each season transforms the same mountain into an entirely different subject:
| Season | Key Challenge | Best Approach | Ideal Focal Range |
|---|---|---|---|
| Winter | Exposure compensation for snow | Shoot blue hour for warm/cool contrast | 24-70mm |
| Spring | Rapidly changing weather windows | Stay flexible, shoot wide and tight | 16-200mm |
| Summer | Harsh midday light, haze | Use polarizer, shoot early/late | 70-200mm |
| Autumn | Balancing foliage with peaks | Include foreground color, use layers | 35-135mm |
If you're planning a winter mountain trip specifically, our winter photography tips guide covers cold-weather shooting in detail — including battery management strategies that apply directly at altitude.
Building a Mountain Photography Portfolio Over Time
The best mountain photographers don't chase one-off shots. They build bodies of work that tell a story about a place, a range, or a season. This section is about thinking beyond the single trip.
Returning to the Same Location
Your first visit to any mountain location is reconnaissance. You're scouting compositions, learning how light moves across the terrain, and identifying the spots worth returning to. Here's a practical workflow:
- First visit: Shoot liberally. Note GPS coordinates of your best compositions using your phone.
- Review at home: Identify 3-5 compositions that have real potential but need better light or conditions.
- Return visits: Target specific conditions — fog in the valley, fresh snow on the ridgeline, autumn color at the treeline.
- Refine: Each return trip tightens your compositions and deepens your understanding of the location.
The difference between a good mountain photograph and a great one is almost never the camera — it's the photographer's willingness to return when conditions align.
Developing a Cohesive Series
A portfolio of mountain images gains power through consistency. Consider unifying your work with:
- A consistent editing style (color palette, contrast curve, grain structure)
- A thematic focus — all four seasons of one peak, or all the major summits in one region
- A recurring compositional element — always including a human figure for scale, or always shooting from above the clouds
- A deliberate aspect ratio — square, 4:5, or panoramic applied across the series
This kind of intentional work is what separates a photographer with strong mountain images from a photographer known for mountain photography.
Instant Improvements for Your Next Mountain Shoot
You don't need months of practice to see results. These mountain photography tips produce visible improvements on your very next outing.
Composition Fixes
Composition mistakes account for the majority of mediocre mountain photos. Apply these fixes immediately:
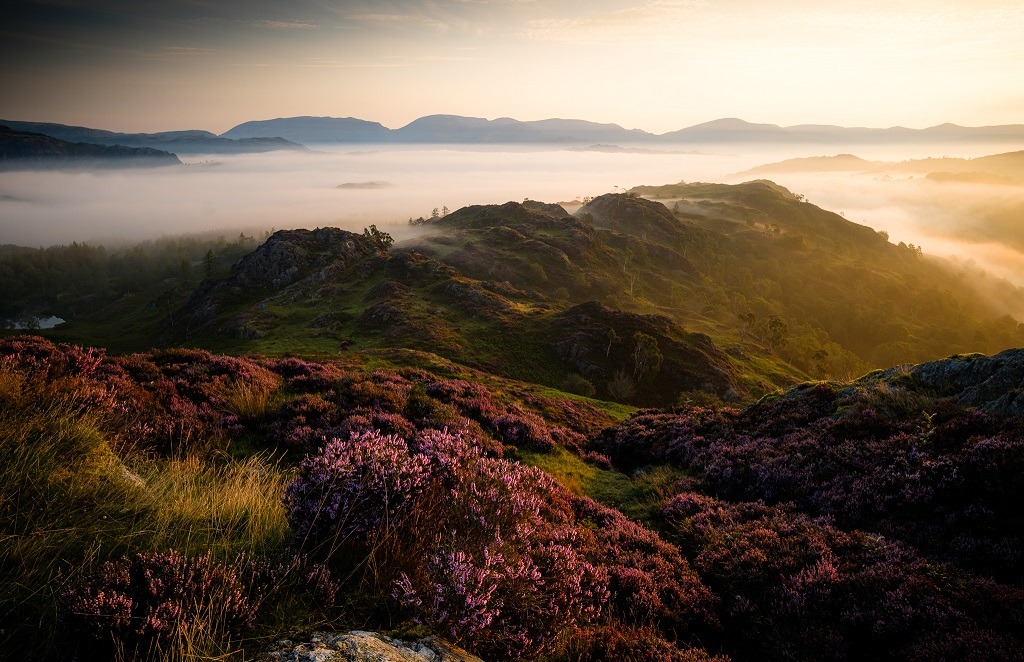
- Add foreground interest. Rocks, wildflowers, a stream, a trail — anything that anchors the bottom third of your frame and leads the eye toward the peak.
- Use natural frames. Tree branches, rock arches, or even the walls of a narrow valley create depth and direct attention.
- Tilt your camera down. Most beginners point the camera at the peak and include too much empty sky. Drop the horizon to the upper third and fill the frame with landscape.
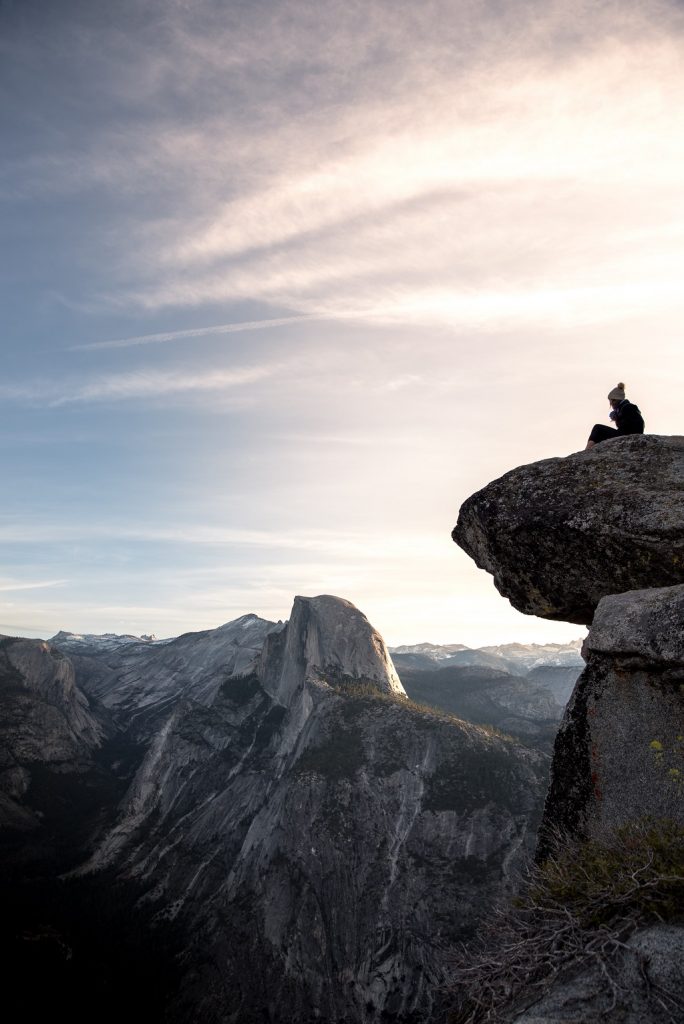
- Include scale reference. A person, a tent, a cabin — without scale, a 4,000-meter peak looks identical to a 400-meter hill.
- Look for leading lines: ridgelines, rivers, trails, and fence lines all work.
Exposure and Focus Tricks
Getting technically clean files in the mountains takes specific adjustments:
- Focus one-third into the scene when using wide angles. This maximizes depth of field without stopping down past f/11, where diffraction softens your image.
- Bracket your exposures (3 frames at -2, 0, +2 EV) as a safety net. You can blend later or just pick the best single frame.
- Use aperture priority at f/8 to f/11 for the sharpest results from most lenses. Go to f/16 only when you absolutely need the depth of field.
- Set your white balance to "cloudy" or "shade" for warmer tones during golden hour. Auto white balance often neutralizes the warmth you're trying to capture.
- Shoot RAW. The dynamic range in mountain scenes — deep shadows in valleys, bright snow on peaks — demands the latitude that RAW files provide.
If you're only going to change one setting before your next mountain shoot, switch to back-button focus. It separates focus from the shutter button and gives you complete control over when your camera refocuses.
Essential Gear for Mountain Photography
Gear matters less than technique — but it doesn't matter zero. When you're hiking several kilometers uphill, every gram counts, and choosing the right kit becomes a genuine strategic decision.
Camera Bodies and Lenses
Here's what to prioritize when building a mountain photography kit:
- Weather-sealed body: Non-negotiable. Mountain conditions will expose any weakness in your camera's build quality.
- A versatile zoom: A 24-105mm or 24-70mm covers 80% of mountain compositions in a single lens.
- A telephoto: 70-200mm f/4 is lighter than f/2.8 and you rarely need that extra stop outdoors. Telephoto compression is your best tool for conveying mountain scale.
- A wide prime: A 20mm or 24mm prime for astrophotography at mountain camps — if you're interested in that crossover, our astrophotography beginner's guide covers the technique in depth.
Skip the ultra-fast primes. You're shooting at f/8-f/11 for landscapes. That f/1.4 aperture adds weight you won't use.
Support and Protection
Your support gear protects your investment and makes sharp images possible in the conditions mountains throw at you:
- Carbon fiber tripod: Worth the premium over aluminum when you're carrying it uphill for hours. Look for one under 1.5kg that still holds steady in wind.
- Circular polarizer: Cuts haze, deepens sky contrast, and removes glare from wet rock and water surfaces. This is the single most impactful filter for mountain work.
- ND filters: A 3-stop and a 6-stop cover most needs — smoothing waterfalls, extending exposure for cloud movement.
- Rain cover: A dedicated camera rain cover weighs almost nothing and saves you from cutting a shoot short when weather turns.
- Extra batteries: Cold temperatures drain batteries rapidly. Carry at least two spares and keep them in an inside pocket close to your body heat.
- Lens cloth and blower: Dust and moisture at altitude are constant. Clean your front element every few shots.
Frequently Asked Questions
What is the best time of day for mountain photography?
The hour after sunrise and the hour before sunset provide the warmest, most directional light. However, overcast midday conditions work well for detail shots and black and white work. Blue hour — the 20-30 minutes before sunrise and after sunset — adds a cool, ethereal quality that suits moody mountain scenes.
What camera settings should I use for mountain landscapes?
Start with aperture priority mode at f/8 to f/11, ISO 100, and let the camera choose the shutter speed. Use a tripod for anything slower than 1/125s. Shoot in RAW format to preserve maximum dynamic range in the highlights and shadows that mountain scenes always produce.
Do I need a full-frame camera for mountain photography?
No. Modern APS-C and Micro Four Thirds cameras produce excellent results for mountain landscapes. The dynamic range gap between crop and full-frame sensors has narrowed significantly. Invest in good glass and a solid tripod before upgrading your body.
How do I deal with haze in mountain photos?
A circular polarizer removes a significant amount of atmospheric haze. Shooting in the early morning before thermals lift moisture also helps. In post-processing, use a dehaze slider and targeted contrast adjustments on the distant peaks.
What focal length is best for mountain photography?
There is no single best focal length. A 24-70mm zoom covers most compositions, but a 70-200mm telephoto is essential for compressing layers of ridgelines and isolating individual peaks. Carry both if you can manage the weight.
How do I keep my camera safe in cold mountain conditions?
Keep spare batteries warm in your jacket pockets. When moving from cold to warm environments, place your camera in a sealed plastic bag first — this prevents condensation from forming on the sensor and inside the lens. Use a weather-sealed body and lens whenever possible.
How can I make mountains look bigger in my photos?
Use a telephoto lens at 100mm or longer — compression stacks the layers and emphasizes the peak's height. Include a foreground element like a person or building to provide scale. Get low to the ground to exaggerate the upward sweep of the terrain.
Key Takeaways
- Strong mountain photography tips center on composition, light awareness, and returning to locations — not on expensive gear upgrades.
- Adapt your exposure settings and approach to each season and weather condition rather than relying on a single formula.
- Use telephoto compression to convey mountain scale, add foreground interest for depth, and always include a sense of scale in your frame.
- Build a cohesive portfolio over time by revisiting locations, developing a consistent editing style, and shooting through every season.
 |
 |
 |
 |

About Alex W.
Alex is a landscape, equine, and pet photographer based in the Lake District, UK, with years of experience shooting in one of Britain's most photographically demanding natural environments. His work has been featured in Take a View Landscape Photographer of the Year, Outdoor Photographer of the Year, and Amateur Photographer Magazine — publications that reflect a serious, competitive standard of image-making. At Click and Learn Photography, he shares the camera settings, gear choices, and compositional techniques he has developed through real-world shooting and competition-level work.
You can Get FREE Gifts. Furthermore, Free Items here. Disable Ad Blocker to receive them all.
Once done, hit anything below
|
|
|
|