The secret to stunning beach photography isn't expensive gear or exotic locations — it's understanding how light, water, and sand interact and knowing how to use that to your advantage. Whether you're shooting dramatic seascapes or candid portraits with the ocean as your backdrop, these beach photography tips and tricks will transform the way you approach the coast. If you've already nailed the basics from our ultimate guides collection, this post takes things further with field-tested techniques that deliver results every single session.
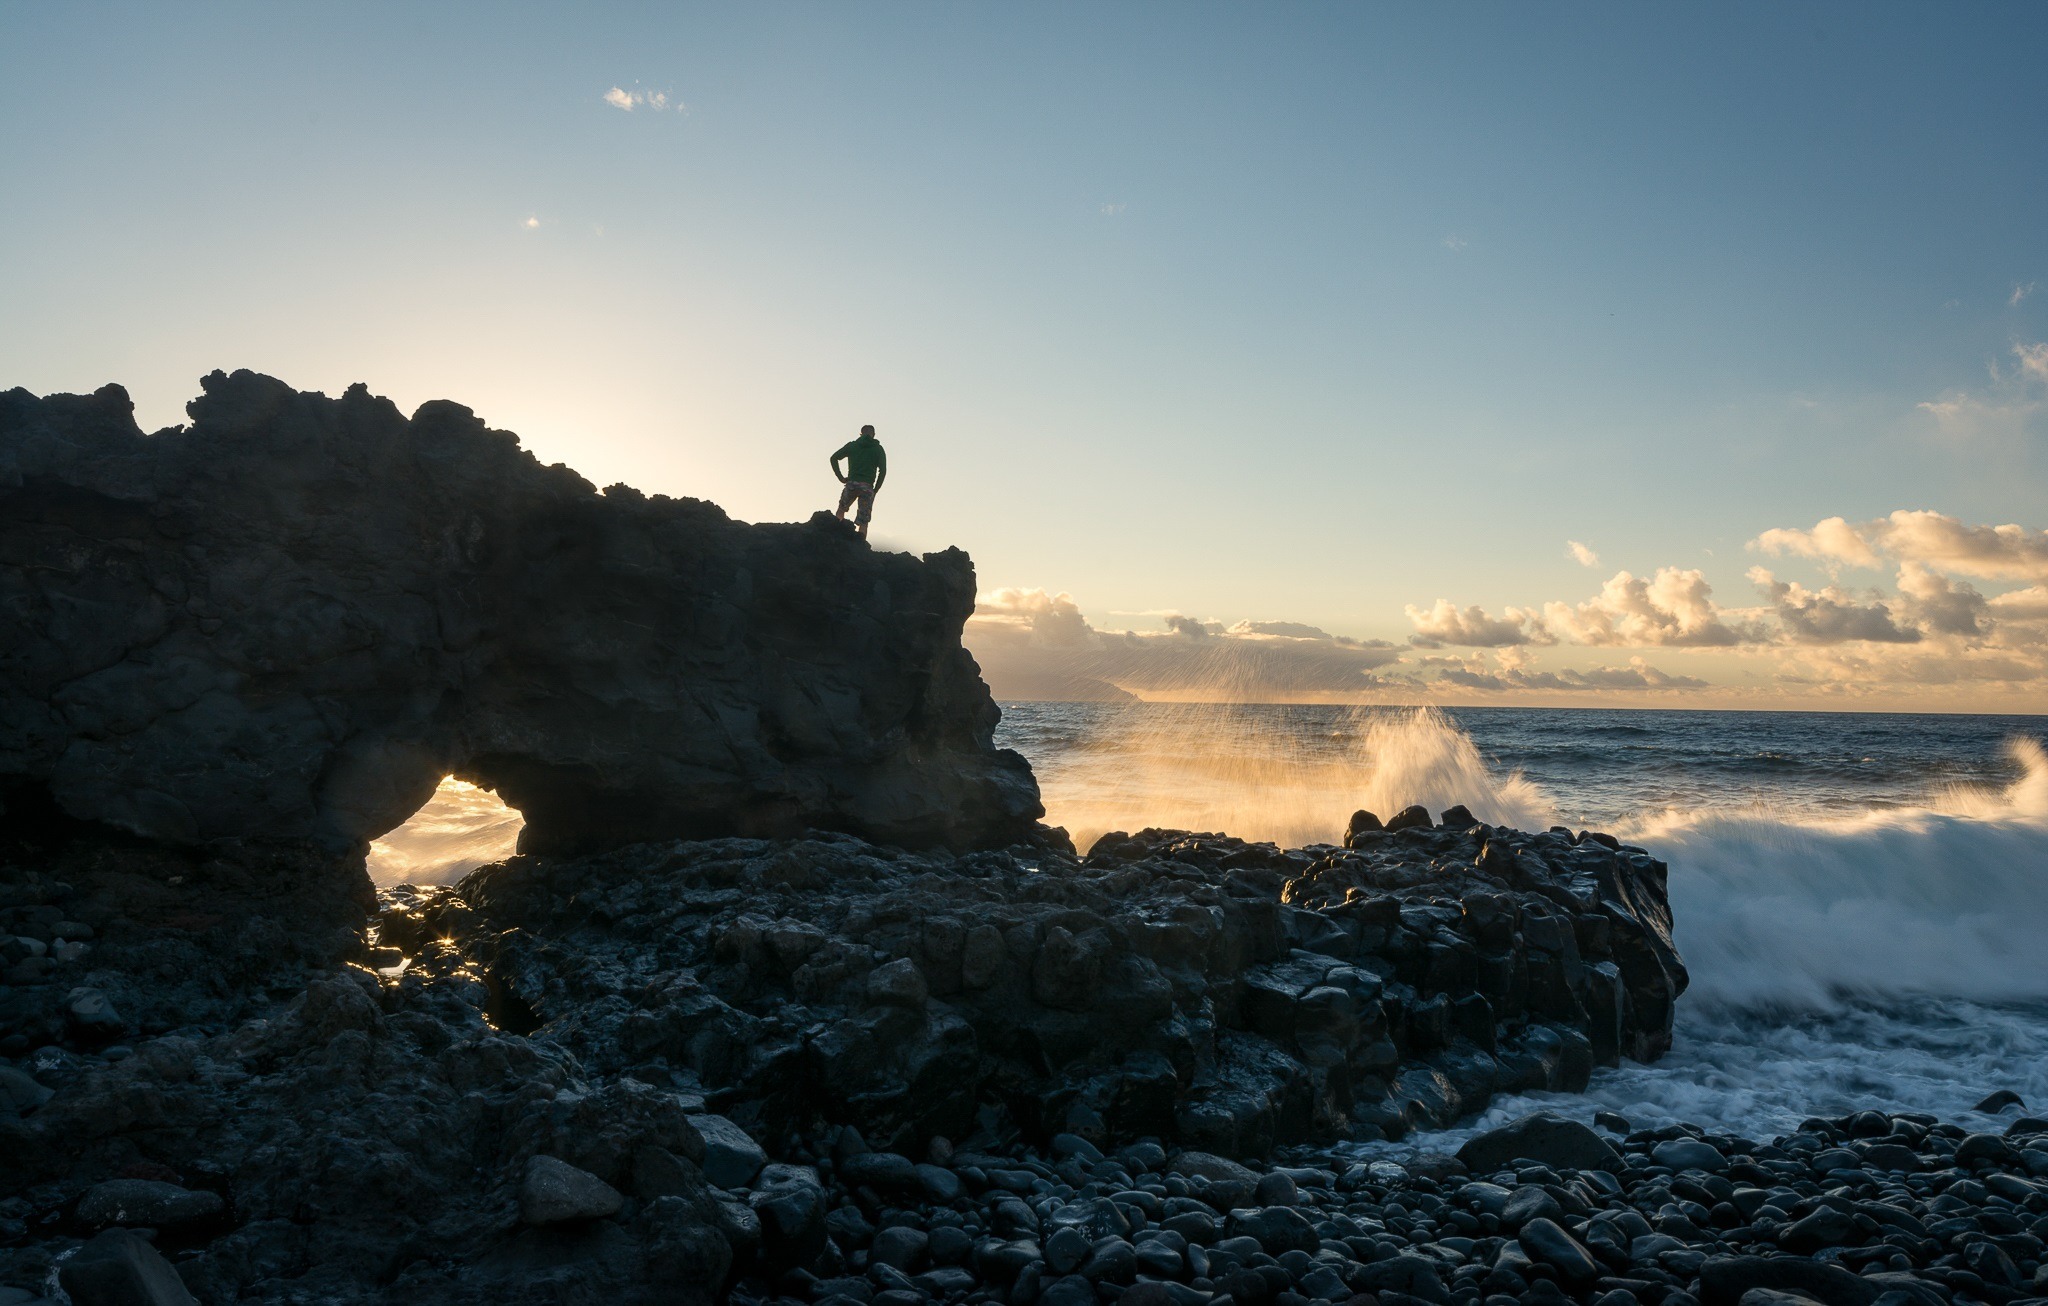
Beaches are deceptively tricky environments. The light is harsh midday, salt spray threatens your lenses, and sand gets into everything. But once you learn to work with these challenges instead of against them, coastal locations become some of the most rewarding places to shoot. The payoff is enormous — golden reflections on wet sand, long-exposure waves turned to silk, and the kind of dramatic skies that make people stop scrolling.
This guide covers timing, gear, composition, and post-processing so you walk away with a complete system for capturing the beach at its best.
Contents
The Best and Worst Times to Shoot at the Beach
Timing isn't just important for beach photography — it's everything. The same stretch of coastline can look flat and lifeless at noon, then utterly cinematic ninety minutes later. Your shooting window matters more here than almost any other genre.
Golden Hour and Blue Hour
The golden hour — roughly the first and last hour of sunlight — is when beaches truly come alive. The low-angle light does several things at once:
- Warm tones that saturate sand and skin naturally
- Long shadows that add depth and dimension to rocks and dunes
- Wet sand becomes a mirror, reflecting the sky in stunning detail
- Contrast drops to manageable levels for your sensor
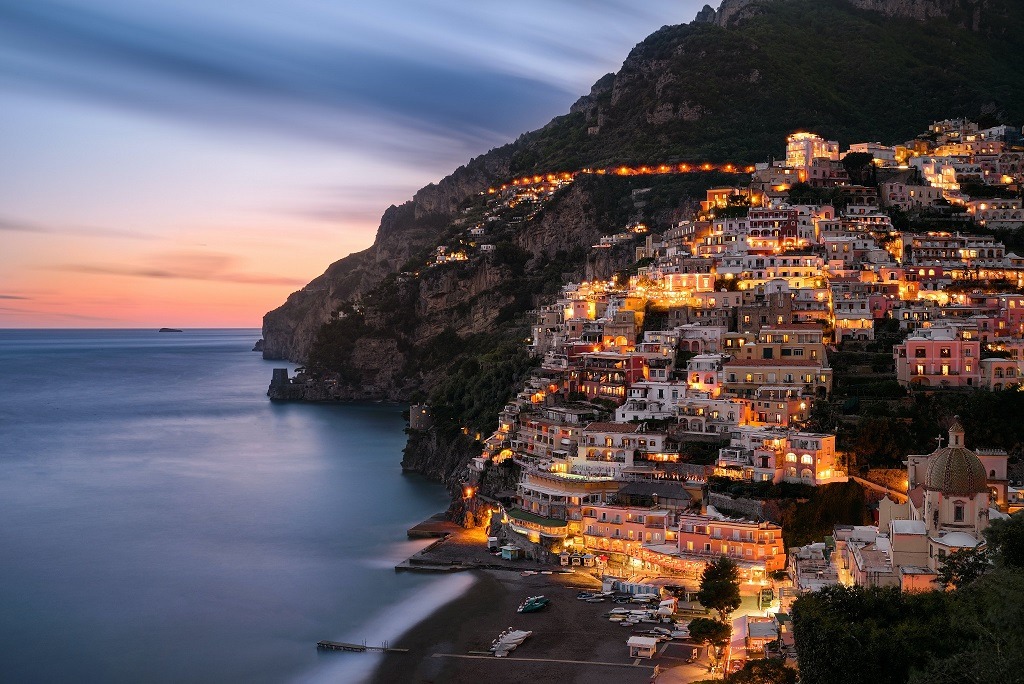
Blue hour — the twenty to thirty minutes before sunrise or after sunset — gives you something completely different. The light turns cool and even, perfect for moody long exposures. If you're interested in shooting after dark, our beginner's guide to astrophotography picks up right where blue hour ends.
Why Midday Rarely Works
Shooting between 11 a.m. and 3 p.m. on a clear day is a recipe for frustration. The overhead sun creates harsh shadows, blown-out highlights on the water, and that washed-out look that no amount of editing can fix. Your camera's dynamic range simply can't handle the contrast between bright sand and dark wave troughs.
There are two exceptions. Overcast midday light works beautifully for detail shots — shells, textures, tide pools. And if you're shooting directly down into clear shallow water, the overhead angle actually eliminates surface glare.
Easy Wins for Stronger Beach Photos
You don't need advanced techniques to dramatically improve your coastal shots. A few deliberate choices in composition will separate your work from the snapshots everyone else takes.
Composition Shortcuts That Always Deliver
Start with these and you'll see immediate improvement:
- Place the horizon on a third line — never dead center unless you're going for a deliberate symmetry with reflections
- Use leading lines from wave patterns, jetties, or shoreline curves to pull the eye in
- Shoot low. Getting your camera within a foot of the sand creates a dramatic perspective that standing height never achieves
- Leave space for waves to "move into" — don't crop the water's edge tight
Using Foreground Interest
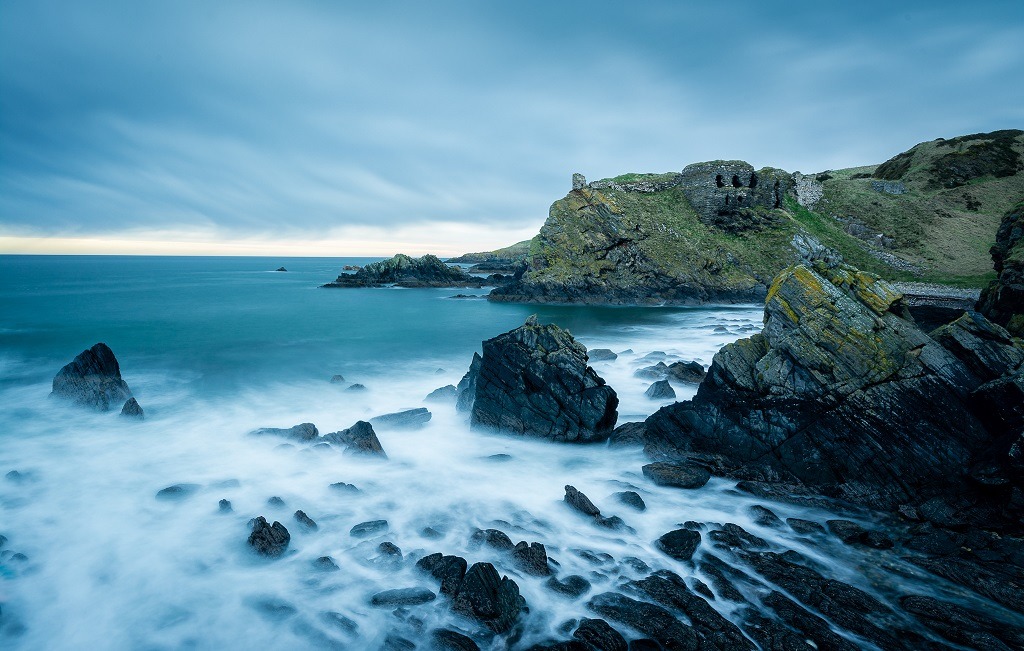
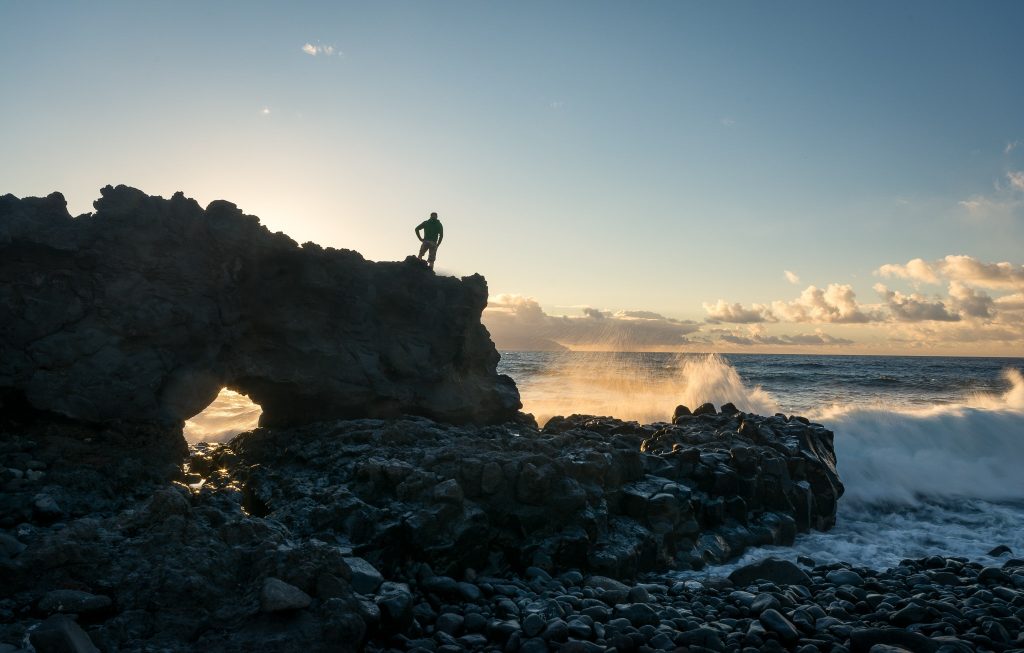
An empty beach looks boring in photos even when it's gorgeous in person. Your brain fills in the sounds, smells, and scale — your camera can't. Solve this by anchoring your foreground with something tactile: a cluster of rocks, a piece of driftwood, patterns in the sand left by retreating water, or shells scattered along the tideline.
Pair a strong foreground element with a wide-angle lens at f/8 to f/11, and you'll get sharpness from the sand at your feet to the horizon. This is the single fastest way to add depth to any seascape. For more ideas on adding visual interest, check out our guide to photography props for every genre.
Understanding Coastal Light and Weather
Beaches aren't just about sunshine and blue skies. Some of the most powerful coastal images come from conditions most photographers avoid entirely.
The Overcast Advantage
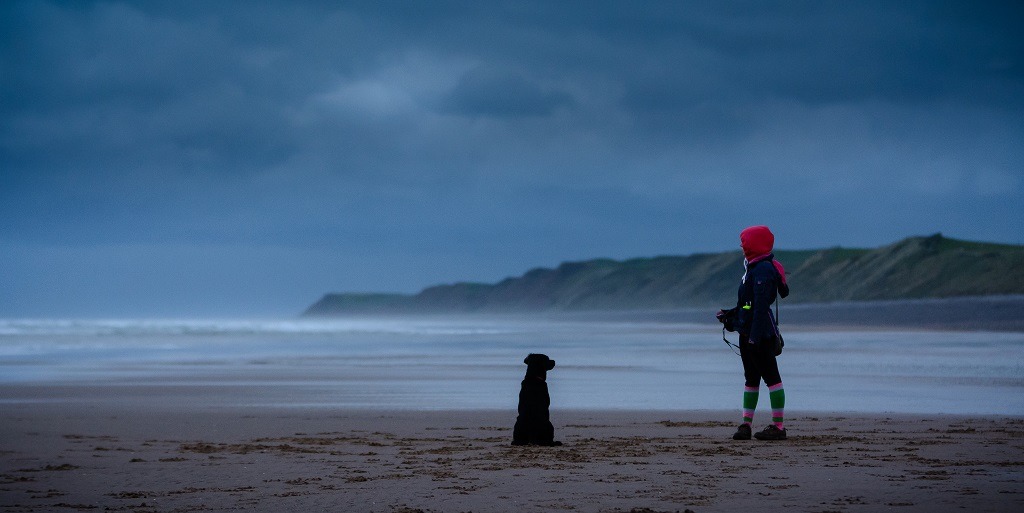
Cloud cover acts as a giant softbox. It eliminates harsh shadows, reduces contrast, and gives you an even exposure across the entire frame. This is ideal for detail work, portrait sessions on the beach, and long exposures where you want smooth, ethereal water without needing a 10-stop ND filter.
Overcast skies also extend your usable shooting time dramatically. Instead of racing to catch a thirty-minute golden hour window, you've got hours of workable light.
Shooting Before and After Storms
The moments just before or after a storm passes through are when you get those jaw-dropping dramatic skies. Breaks in the clouds create shafts of light that hit the water like spotlights. The seas are rougher, waves crash harder against rocks, and there's a raw energy that translates directly into your images.
Pro tip: Check the tide charts before every beach shoot. A rising tide with storm energy behind it can move fast — always keep an escape route behind you and never turn your back on the ocean.
If you enjoy shooting in challenging weather, you'll love our guide to waterfall photography, which shares many of the same techniques for capturing moving water.
Essential Gear for Beach Photography
You don't need a bag full of specialized equipment, but a few key pieces make a significant difference in your results and your gear's survival.
Cameras and Lenses
Any camera with manual controls works. What matters more is your lens choice:
- Wide-angle (16-35mm) — your primary seascape lens. Captures sweeping vistas and exaggerates foreground elements
- Mid-range zoom (24-70mm) — versatile for everything from landscapes to candid beach portraits
- Telephoto (70-200mm) — compresses distant waves, isolates surfers or birds, and captures details in cliff faces
If you're shooting Micro Four Thirds, our roundup of the best MFT lenses covers solid options for coastal work.
Filters and Tripods
| Filter Type | Purpose | When to Use |
|---|---|---|
| Circular Polarizer (CPL) | Cuts glare, deepens sky, reveals underwater detail | Daytime, especially with side-lighting |
| 3-Stop ND | Slows shutter for slightly blurred waves | Golden hour, overcast days |
| 6-Stop ND | Silky smooth water, streaked clouds | Bright conditions, 1-4 second exposures |
| 10-Stop ND | Ultra-long exposures, misty flat water | Midday or bright overcast, 30+ second exposures |
| Graduated ND | Balances bright sky against darker foreground | Sunrise/sunset with clear horizon line |
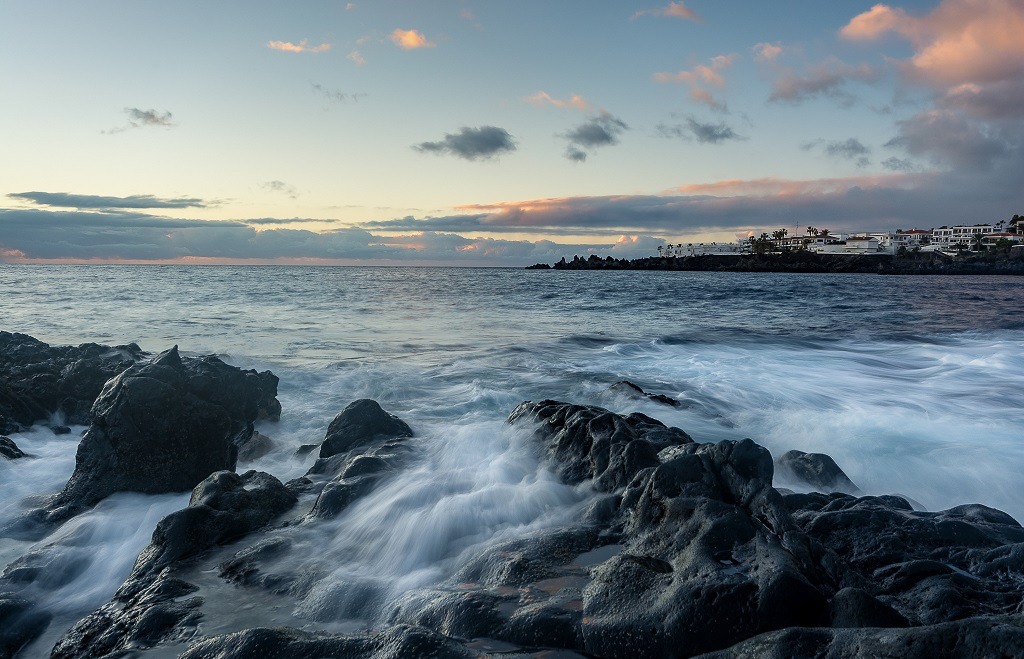
A sturdy tripod is non-negotiable for long exposures. Look for one with spiked feet that dig into sand rather than sinking. Leg locks should be easy to clean — twist locks collect less sand than flip locks but both work if you rinse them after. For a solid budget option, read our Vanguard Veo 2 tripod review.
Beach Photography Tips and Tricks in Action
Theory only gets you so far. Here's how to apply these beach photography tips and tricks to specific shooting scenarios you'll encounter on every coastal trip.
Long Exposure Waves
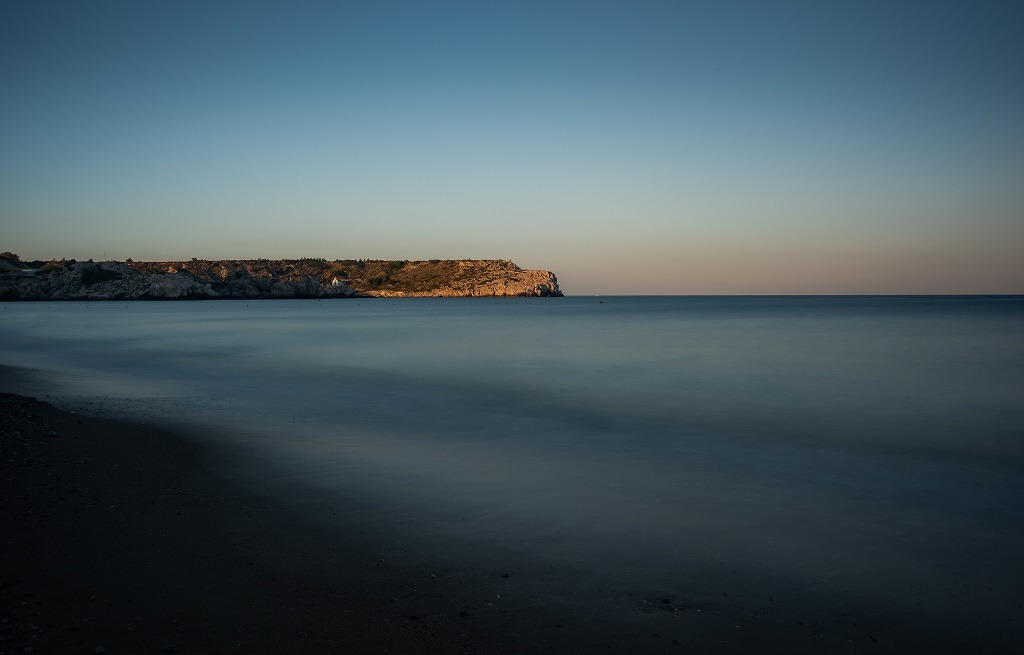
Long exposures are where beach photography becomes genuinely artistic. Different shutter speeds create completely different moods:
- 1/4 to 1 second — waves show motion but retain texture and structure. The sweet spot for most seascapes
- 2 to 8 seconds — water smooths out but individual wave movements are still visible as streaks
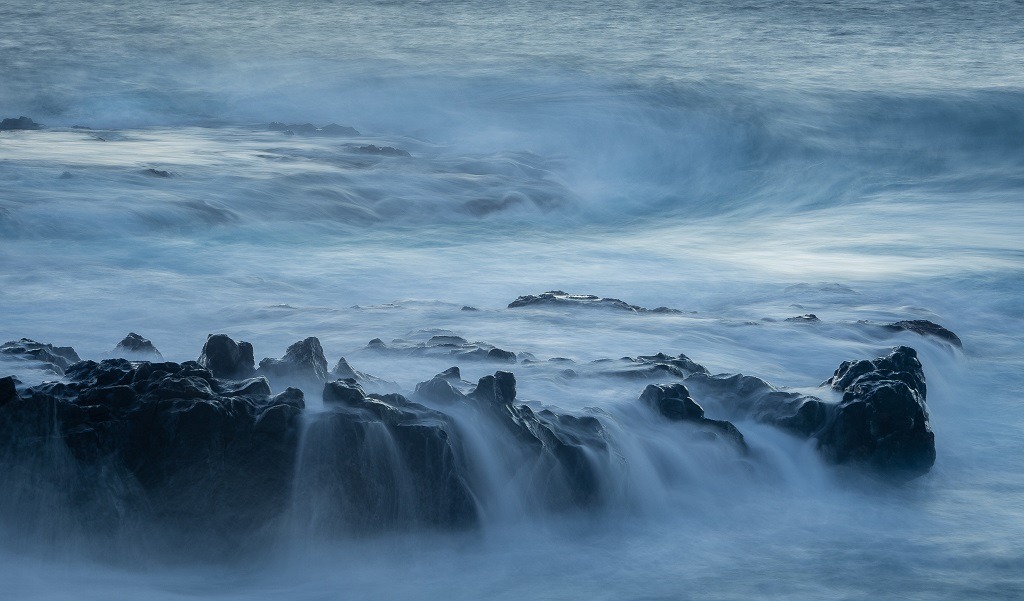
- 15 to 30 seconds — the ocean turns to glass. Clouds streak across the sky. Everything static stays sharp
- 1 minute and beyond — extreme minimalism. The ocean becomes a flat plane of mist
Set your camera to manual mode, mount it on the tripod, and use a remote shutter release or the two-second timer to avoid camera shake. Start at ISO 100 and adjust your aperture and ND filter strength to achieve your target exposure time. Shoot in RAW — you'll need the latitude in post.
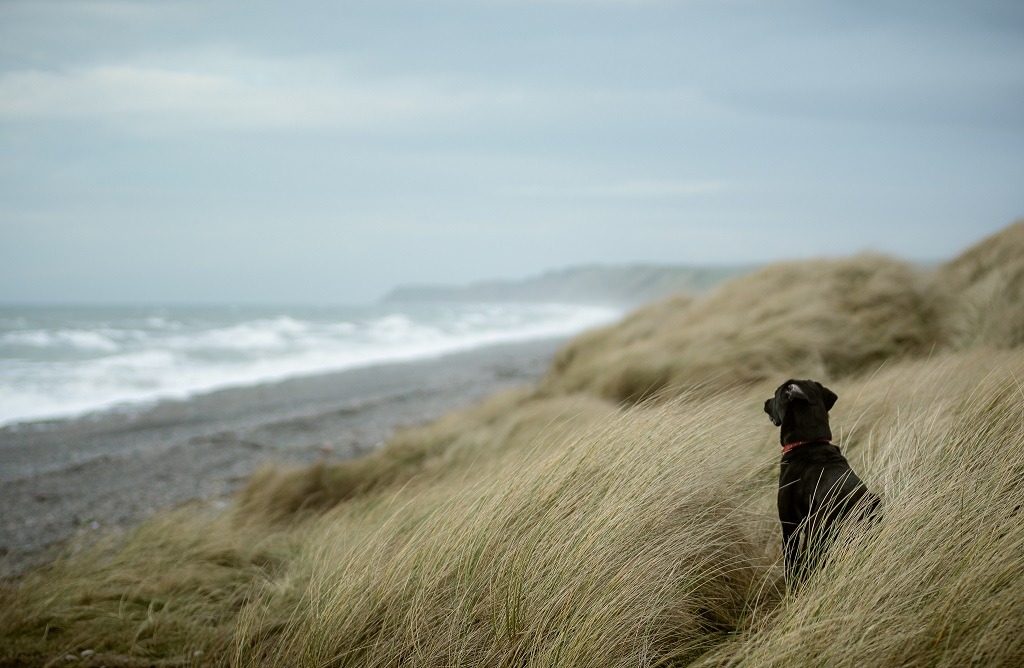
Black and White Seascapes
Beaches are natural subjects for black and white. The interplay of sky, water, and sand gives you a full tonal range from pure white foam to deep shadow in volcanic rock. Strip away the color and your viewer focuses entirely on shape, texture, and contrast.
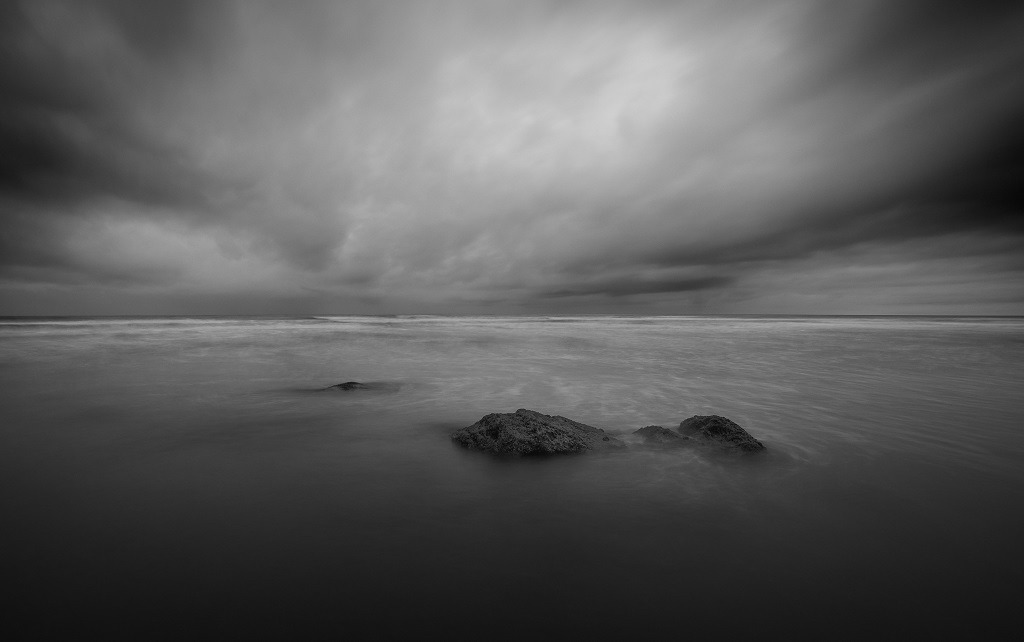
Shoot in color and convert in post — this gives you full control over how each color channel maps to grey tones. Our in-depth guide to black and white landscape photography walks you through the conversion process step by step.
Protecting Your Gear and Getting Consistent Results
Sand and salt are the enemies of camera gear. A single grain of sand in the wrong place can scratch a lens element or jam a zoom ring. A bit of preparation goes a long way toward keeping your kit safe.
Dealing with Sand and Salt
- Change lenses away from the beach whenever possible — do it in your car or behind a windbreak
- Keep a UV filter on every lens as a sacrificial protective layer
- Never set your bag directly on the sand — use a groundsheet, towel, or hang it from your tripod's center column hook
- Carry a rocket blower to remove sand particles before wiping — rubbing sand across glass is how scratches happen
- After every beach session, wipe down your camera body and lens barrel with a slightly damp microfiber cloth, then dry immediately
If you're shooting near the waterline, accept that some spray will reach your gear. Weather-sealed bodies handle this well, but budget cameras need a rain cover or even a zip-lock bag with a hole cut for the lens. Clean everything thoroughly when you get home.
Post-Processing for Coastal Shots
Beach photos benefit from a few targeted adjustments in Lightroom or your editor of choice:
- Recover highlights aggressively — the sky and white foam often clip. RAW files give you two or more stops to pull back
- Boost clarity or texture slightly to bring out wave detail and sand patterns
- Use a graduated filter digitally to darken the sky if you didn't use a physical grad ND
- Warm the white balance slightly for golden hour shots — aim for accuracy, not orange
- Straighten the horizon. A tilted horizon in a seascape is immediately obvious and distracting
Frequently Asked Questions
What camera settings should you use for beach photography?
Start with aperture priority mode at f/8 to f/11 for landscapes, ISO 100, and let the camera choose the shutter speed. For long exposures, switch to manual mode and use an ND filter to slow the shutter down. If you're shooting moving subjects like surfers or birds, bump the shutter speed to at least 1/1000 and raise the ISO as needed. Always shoot in RAW format so you have maximum flexibility when editing highlights and shadows.
How do you protect your camera from sand and salt water at the beach?
Use a UV filter on every lens as a sacrificial barrier, never change lenses on the beach if you can avoid it, and keep your bag off the sand. After shooting, blow loose sand off with a rocket blower before wiping anything down. When you get home, wipe the entire body and lens with a lightly dampened cloth and dry it immediately. If you shoot near the waterline regularly, consider a weather-sealed camera body or a dedicated rain cover.
What is the best time of day for beach photography?
Golden hour — the first and last hour of sunlight — gives you the warmest tones, longest shadows, and most dramatic reflections on wet sand. Blue hour, the twenty to thirty minutes before sunrise or after sunset, is ideal for moody long-exposure work. Overcast days are also excellent because the even lighting lets you shoot comfortably at any time. Avoid harsh midday sun unless you're specifically shooting details like shells or tide pools.
Final Thoughts
Pick one technique from this guide — whether it's long exposure waves, foreground composition, or simply showing up at golden hour instead of noon — and commit to practicing it on your next beach trip. Bring a tripod, pack an ND filter, arrive early, and give yourself permission to experiment without worrying about getting the perfect shot on every frame. The beach will always be there, and every session teaches you something new about reading light, timing waves, and seeing compositions that other people walk right past.
 |
 |
 |
 |

About Alex W.
Alex is a landscape, equine, and pet photographer based in the Lake District, UK, with years of experience shooting in one of Britain's most photographically demanding natural environments. His work has been featured in Take a View Landscape Photographer of the Year, Outdoor Photographer of the Year, and Amateur Photographer Magazine — publications that reflect a serious, competitive standard of image-making. At Click and Learn Photography, he shares the camera settings, gear choices, and compositional techniques he has developed through real-world shooting and competition-level work.
You can Get FREE Gifts. Furthermore, Free Items here. Disable Ad Blocker to receive them all.
Once done, hit anything below
|
|
|
|